A little catch-up!

A little catch-up… I know it has been AGES!
I don’t know about you but time has passed me by in a whirl of yarn, patterns, ideas, pictures, stories and the odd family commitment or two..lol
So where to start…
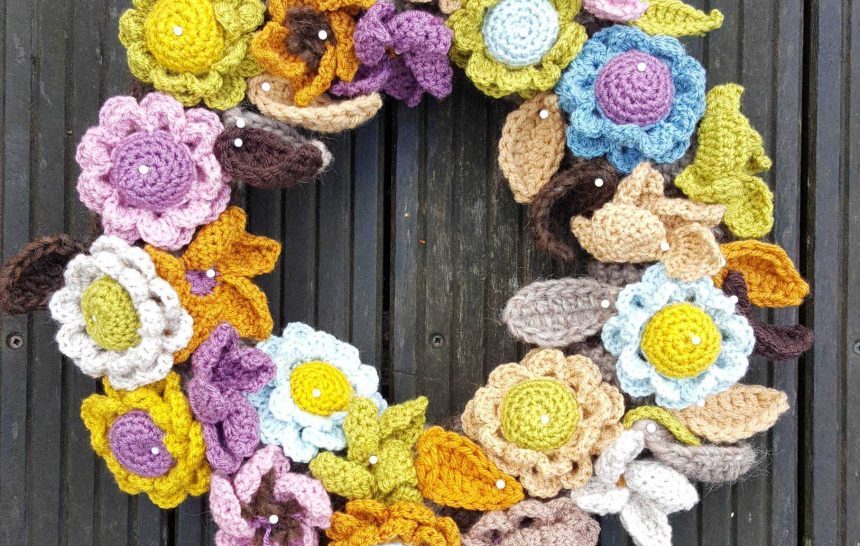
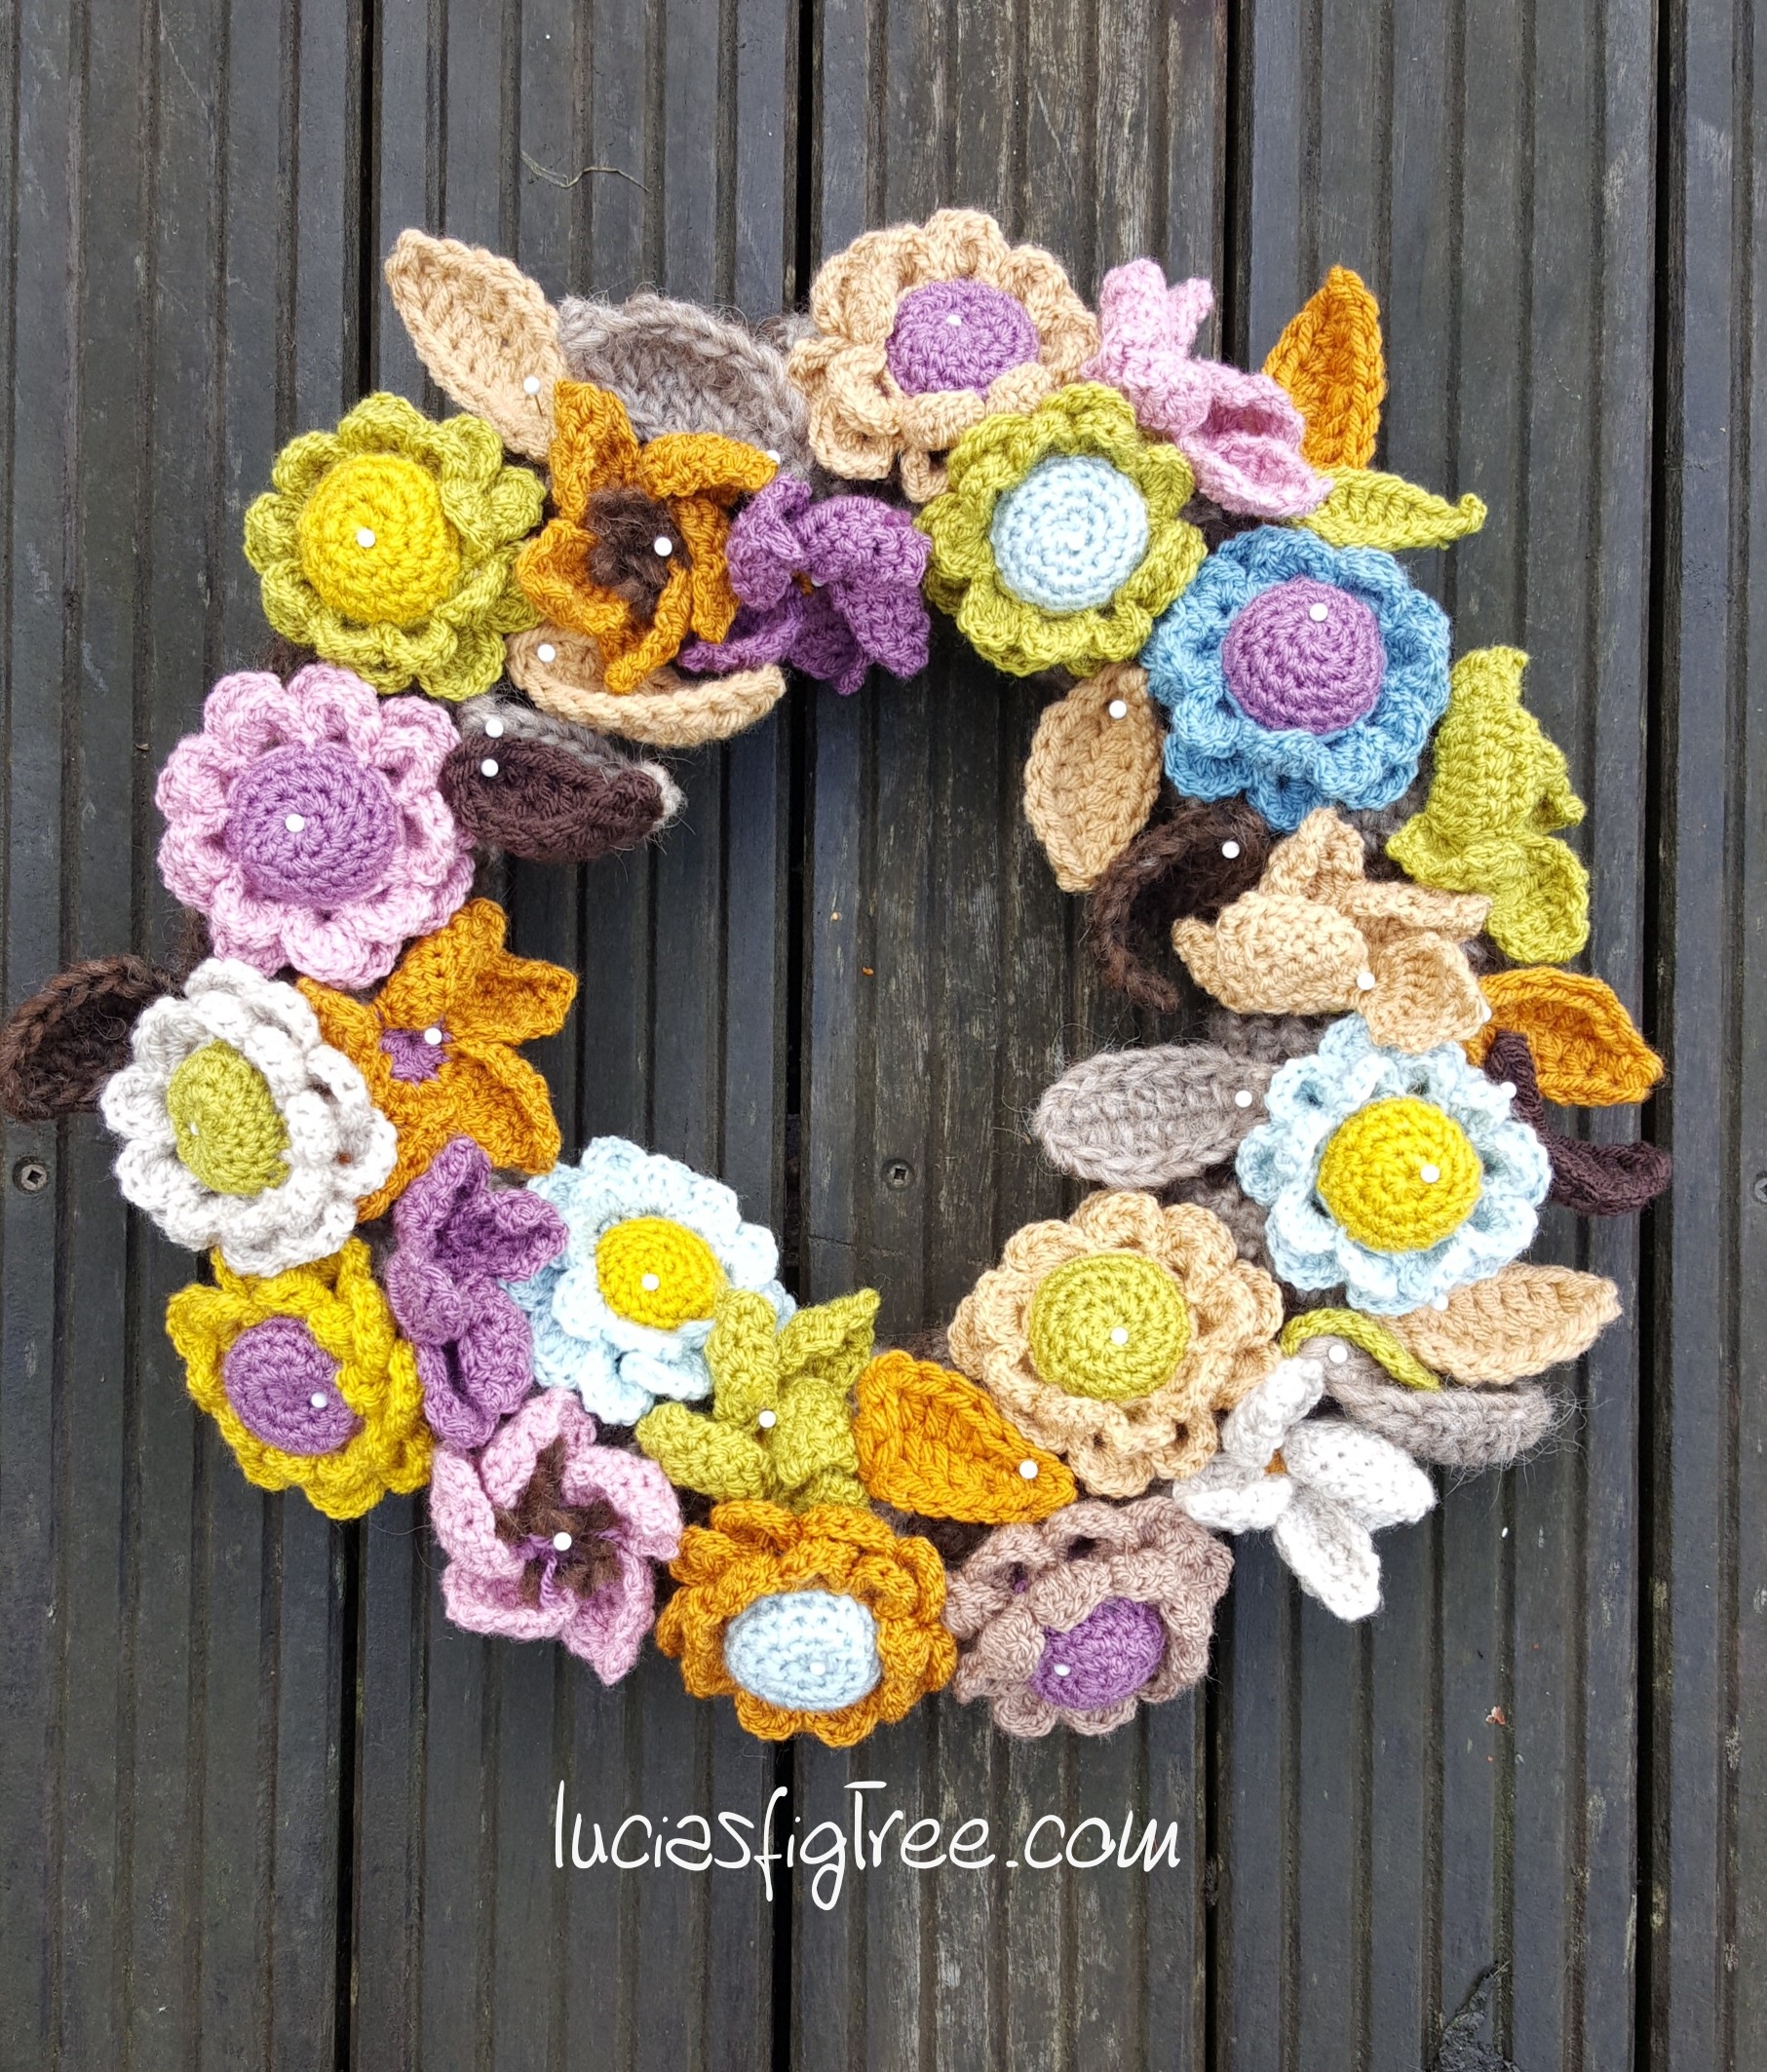
I have pulled together very basic information about the Wreath because I know quite a few of you are interested in it.
I made it, as said, a couple of years ago, I guess I must have been a bit bored and when I am bored of my current WIPs or I am tired, I always look for something reasonably small and quick to make. I call it “instant gratification”
It turns out that in these 2 years I found my wreath really useful, I never, as said on Facebook, stitched the pieces permanently on the ring but I left them pinned down with these little white headspins. I have used that wreath many times, for trying different colour combinations or using some of the flowers as decoration in pictures of other projects.
So if you need to test some colours instead than doing a lot of boring squares, make some flowers!! Then you can play with them!
There are many wreaths available in both Ravelry and Pinterest that can help you to decide how to make yours, for me, my initial inspiration was seeing the most amazing, beautiful and complicated wreaths that Lucy @attic24 had made and that what spun me making one.
Mine is much more simple in comparison with Lucy but .. did I mention, instant gratification??? LOL
I love small projects that can be made in a day or a weekend!
I have been looking throughout the past couple of days if I had saved any pattern or link or reference, but all I found were a couple of pictures. So for the purpose of this blog I pulled my wreath down and I made a 3D daisy and the 5 petal flower again so I can jot down the details.
so let’s start :
what do you need?
- 1 half rounded polystyrene ring – 35cm in diameter. It has to be flat in the back and rounded in the front. (you can get them from crafts shops or Amazon)
- leftover yarns.
Please look at Lucy’s wreaths, she has a very comprehensive tutorial on how to cover up your polystyrene ring and also there are some lovely patterns for the leaves too, which I used in my wreath. this is the link to Lucy’s blog wreath :
http://attic24.typepad.com/weblog/2015/03/winter-wreath-ta-dah-1.html
for the base of my wreath, I used some Lopi’s ALAFOSSLOPI yarn left over from a jumper it is a chunky yarn, the colours are:
- 0085 OATMEAL HEATHER
- 0867 CHOCOLATE HEATHER.
I love this Icelandic 100% yarn because has a rustic, organic feeling, and it makes the most amazing super -toasty jumper ever!
I can’t remember exactely what hook I used but I guess must have been either a 4.00 or a 4.5 mm, you want your fabric to be dense so it covers the ring beautifully. So make a small section and see if it covers up the ring neatly. Mine worked, like Lucy’s, in rows of double crochet stitches (Uk terms) 22 stitches wide and 112 rows alternating 2 rows in oatmeal and 2 in chocolate.
To help to keep the strip in place as well as the sewing in the back I sprayed my ring with some SprayMount Yp208060506 adhesive spray, I use it in the office for my mood boards, it is great, but make sure you spray lightly!
now to the FLOWERS:
the yarn is leftovers of STYLECRAFT SPECIAL DK in:
- storm blue
- duck egg
- mustard
- camel
- grape
- lime
- pale rose
- parchment
- gold
you also need some polyester toy filling for the centre of the daisy. If you have none, ordinary cotton wool balls will do.
I made 2 types of flowers :
-10 Hellebore flowers from Lucy’s wreath, pattern link here:
http://attic24.typepad.com/weblog/crochet-hellebore-flower.html
-12 three dimensional daisies:
the pattern as follow:
The centre of the daisy is done with the same principle of amigurumi, crocheting in a spiral, without joining in the round and without turning the crochet work,
Start with any yarn and a 4.00mm hook and make a magic ring
Rnd1 :
Work 6 dc in a magic ring. ( 6 dc)
Rnd2:
work 2 dc in each stitch. ( 12dc)
Rnd3:
work [dc in next st, 2 dc in next st] repeat [ ] 6 times ( 18st)
Rnd4:
work 1dc in each st. ( 18dc)
Rnd5:
as Rnd 4 (18 st).
Rnd6:
as Rnd4 (18st) put a marker in any of those stitches as a reference for the petals we are going to do after.
Rnd7:
as Rnd4. (18 st).
Rnd8:
we start the decreasing now and your work will start to looks like a little cup.
work [1dc, 2dc together] 6times . stuff your little cup with the filling.
Rnd9:
work 2dc together all around, add some more stuffing and close the bud. ( if you want you can leave a long tail to sew the flower to the wreath later).
PETALS:
with a different yarn work on the side ( rnd6) , using the picture as a reference,
1st ROUND OF PETALS
work :
[1dc, ch3,skip 1 st, 1dc ] all around that should give you 9ch3 loops that we are going to fill up to make the first ring of petals.
in each of the ch3 spaces work: 1dc-1htr-2tr-1htr-1dc.
2nd ROUND OF PETALS
work:
1dc in the skipped st above, 5 ch, skip 1 dc and repeat that makes another round of 9petals staggered from the petals before the previous round. In each of the ch5 space we work: [1dc-1htr-4tr-1htr-1dc ]
that makes our 3D DAISY!
LEAVES:
makes 18 ( again make as much as you like!)
the pattern is again from lucy’s @Attic24, this is the link:
http://attic24.typepad.com/weblog/may-roses.html
For my version I used some leftovers of STYLECRAFT CHUNKY SPECIAL and some of the ALAFOSS LOPI I used for covering the ring in:
STYLECRAFT SPECIAL CHUNKY:
- gold
- camel
- dark brown
- lime ( stylecraft DK)
ALAFOSS LOPI
- oatmeal heather
- chocolate heather.
then you can take a few pins and place your little flowers and leaves all around the ring…
hope it has helped
love to you all and happy “crocheting”..( someone told me I shouldn’t use the term “happy hooking”!)
I got a few more things coming along so stay tuned!!!
lucia xxx


Thanks, Lucia, you make it look so simple and quick I might have a go! And if you want to say “happy hooking”, go ahead and say it, it’s much easier to say than happy crocheting, (and I prefer it! lol) xxx
hahahh I know! I always thought “happy crocheting” was a mouthful lol