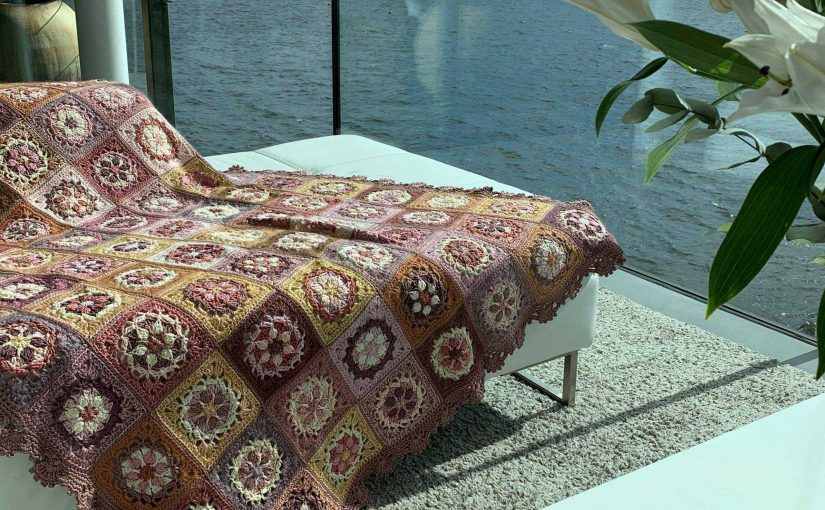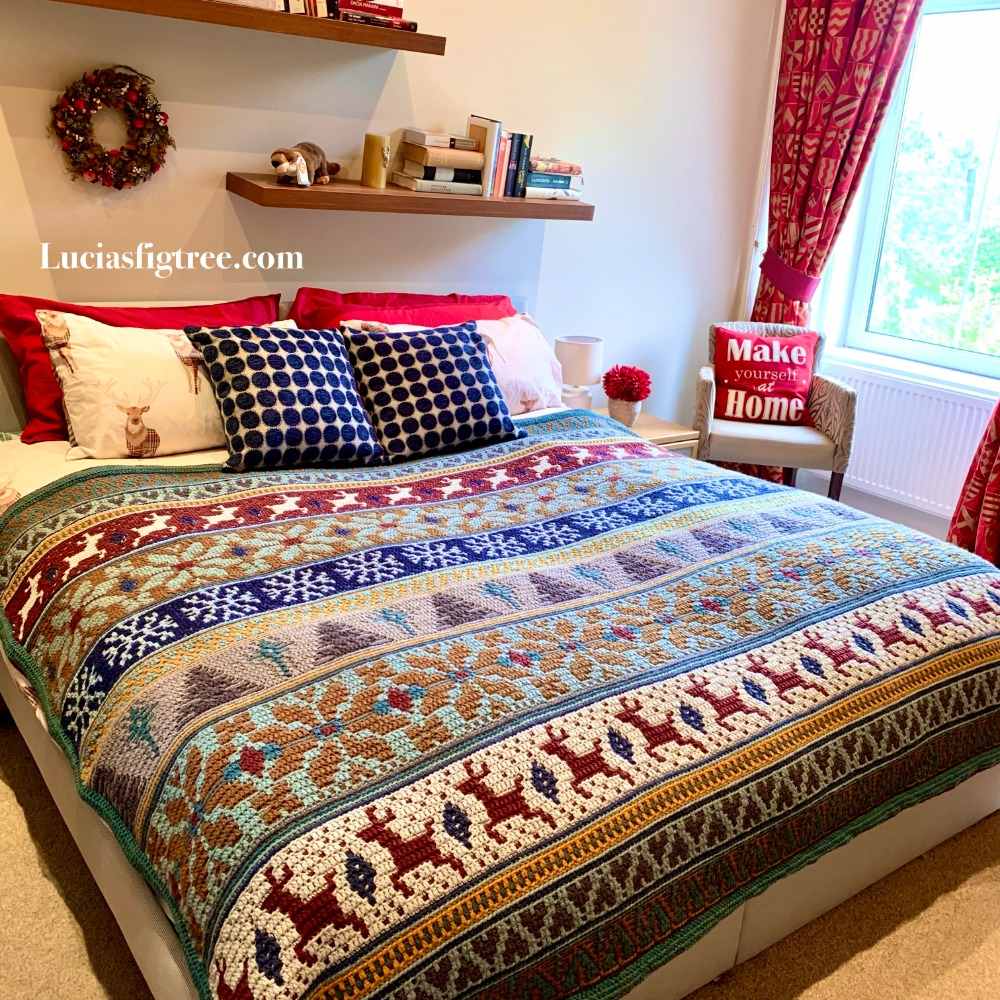
THE NONNO BEPI BLANKET
One very BIG blanket…
Hello everyone,
Firstly thank you very much for all the likes and lovely messages I received both on Facebook and Instagram for my blanket! I am overwhelmed.
This is a project that started without a precise plan and mainly as a way to relax during a rather difficult time and has ended up being a rather successful one.
Sometimes it is really true, the less you plan, the better the results.
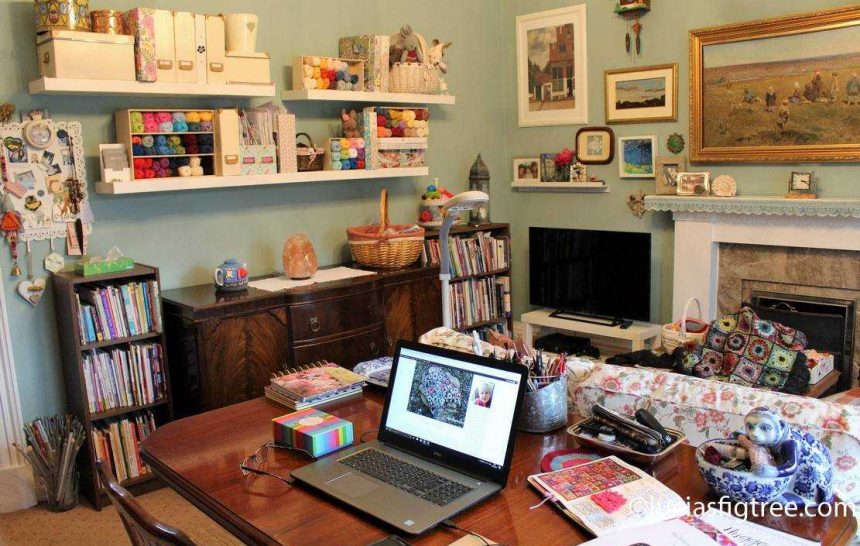
It all started at the end of January, I needed something to do while in Italy looking after my dad that was very sick, and the blanket kept me going during those long weeks.
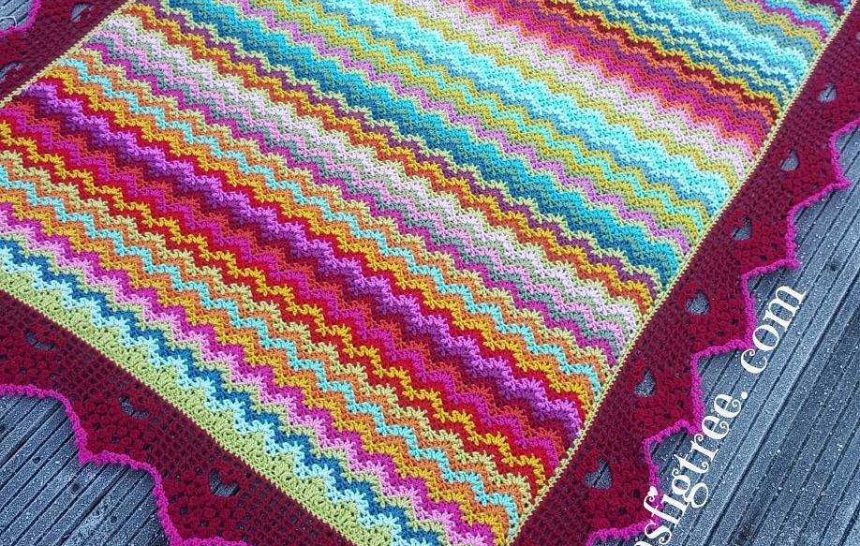
Mosaic crochet is a straightforward and rewarding technique, there is something quite cathartic in working rows upon rows of double crochet and trebles, so it seems, at the time, the perfect choice for the circumstances.
I had seen Winter Wonderland and Winters Heart on social media and in order to create a bit more of a challenge I just mixed the 2 patterns together.
Drops Alaska seemed to be the most sensible choice as it is widely available in both Italy and the UK, and, at the time was also 30% off. ( which helps…)
After Dad passed, I have to say, I got tempted to abandon the project as it reminded me of a difficult time, but then I thought, that my dad never left anything half-done, he was a perfectionist and everything he did was always done at the best of his abilities and he took great pride in his work…
So I kept going and I finished! And I am very glad I did!
I called the blanket NONNO BEPI ‘S BLANKET, in his memory, to remind me, not of the sadness of his departure, but of all the lovely times we had together.
A BIG THANK YOU also to ABI @getyerhookon and ANA @oneskeinoflove , they created 2 beautiful blankets that inspired me!

As promised I have pulled together as many pieces of information as possible, so you can make the blanket yourself.
Please bear in mind that I have combined two patterns of other designers to make my blanket and I take copyrights very seriously so I will give you the colour I used, their placements and quantities but you need to buy ( as I did ) both the patterns for the charts of the different sections.
To make it easier I also added a diagram with the position of the different charts in the blanket.
You need to figure how ( depending on how wide you want your blanket to be ) the number of repeats for the blanket and how wherein the repeat you want to start to create and combine the 2 different patterns together.
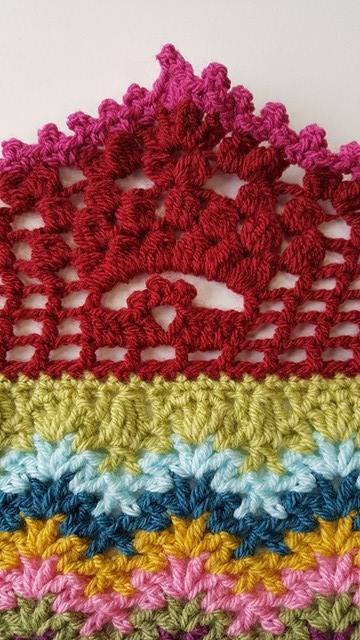
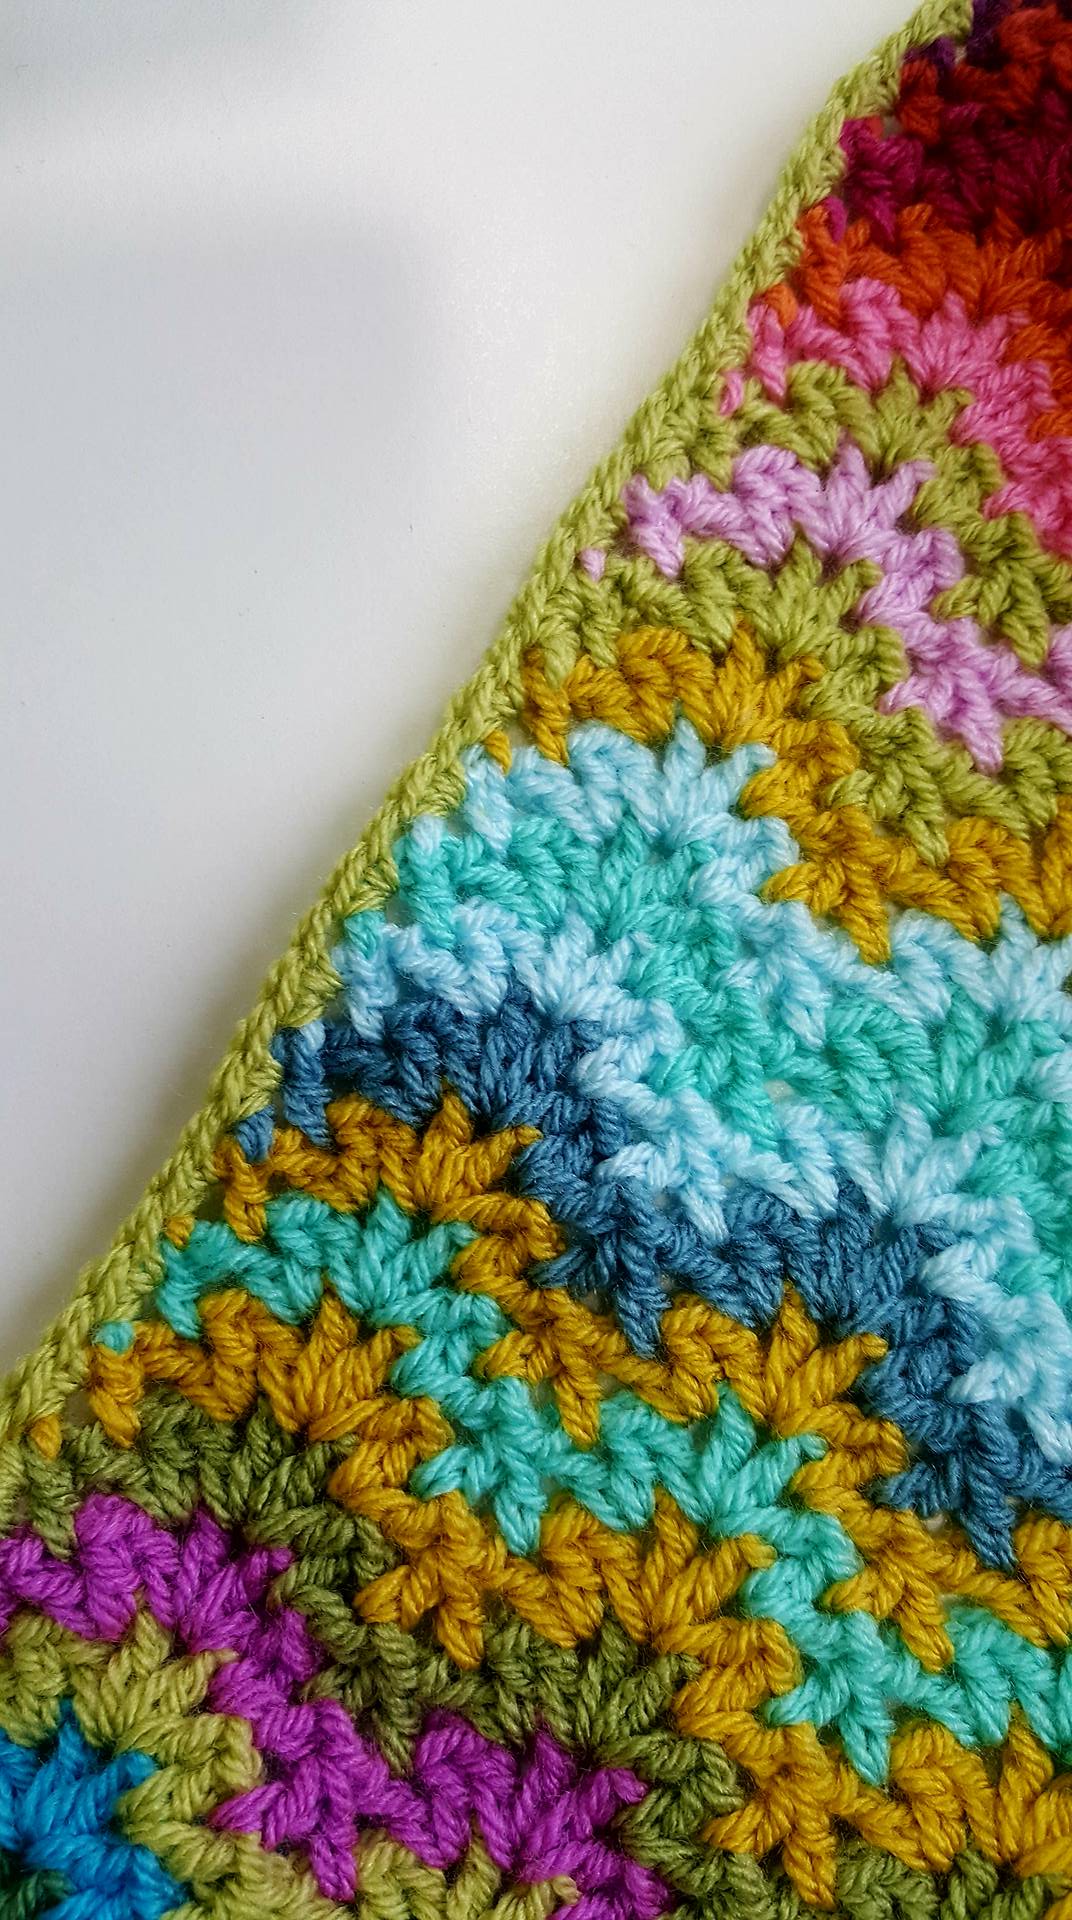
I added some close-up pictures of the edges so that should help.
Both Patterns are very comprehensive and they already give you the number of repeats so it is just up to you how wide you want your blanket to be.
My blanket is 200 cm wide by 180cm long in total.
those measures are UNBLOCKED.
I had not a chance to wash or block the blanket because it is huge, it weighs 5 kilograms..
The weather in Scotland is still pretty awful at the moment and there is a big chance, if I wash it , that it will NEVER dry!
So that is my excuse for not blocking… Besides the fact that being so heavy it sits perfectly flat and square and I am not so bothered about the blocking.
So lets start:
As said on social media I used 2 different patterns combined:
-WINTERS HEART designed by Abi McIntyre ( a fellow Scot!) @GetYerHookOn
https://www.ravelry.com/patterns/library/winters-heart-mosaic-blanket
and
– WINTER WONDERLAND designed by Ana Morais Soares @One Skein of Love.
ttps://www.ravelry.com/patterns/library/winter-wonderland-mosaic-cal
You can find both patterns on Ravelry and here are the links
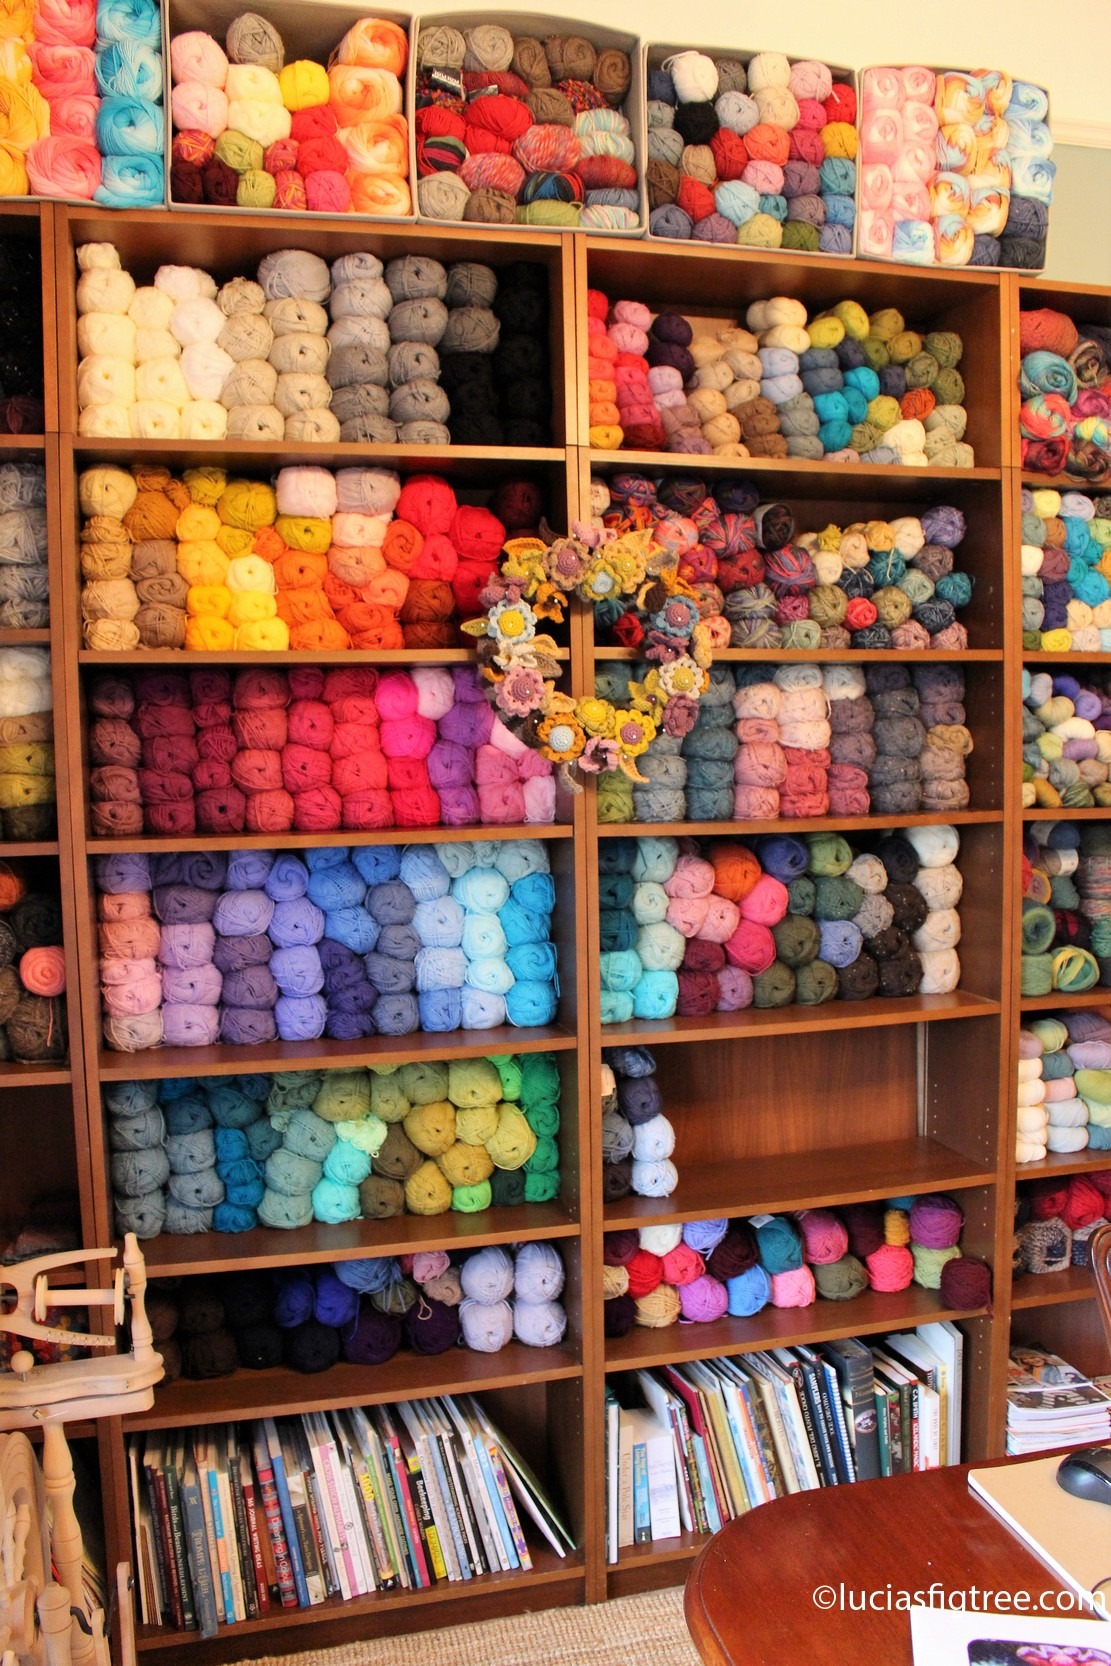
YARN:

I used 108 balls of DROPS YARNS: ALASKA.
ALASKA is a 100% wool, Aran weight yarn that comes in 50gr balls,70 metres.
As said on social media it is a LOT of yarn but it is reasonably priced, well tested, widely available and also Drops does regular 30% discounts sales during the year ( I bought mine at the sale).
I have used Drops many times for my projects over the years and I think it is an excellent choice.
The Wool warehouse sells the yarn so please click on their logo on the side of the blog.
COLOURS USED:
– 58 MUSTARD: 4 balls
– 62 FOG MIX: 6 balls
– 66 TOFFEE: 15 balls
– 67 MAROON: 10 balls
– 12 NAVY BLUE: 12 balls
– 63 PEARL GREY: 10 balls
– 64 NORTH SEA: 21 balls
– 65 SAGE GREEN: 16 ball
– 50 DARK BROWN MIX: 9 balls
– 49 LIGHT BROWN MIX : 5 balls
PLEASE NOTE:
The quantities are approximate and are based on my tension so bear that in mind
I used 2 hooks:
-5.0mm for the body of the blanket
-4.5mm for the foundation round of the border.
TENSION:
BASED ON A SQUARE 10CM X 10CM worked in MOSAIC TECHNIQUE AND A 5.0 HOOK:
16 stitches x 15 rows.
PATTERN REPEATS:
You will have to do a bit of maths to fit the repeats of the 2 patterns as they are not the same, but it is very easily done by looking at the blanket edges.


In order to calculate your stitches counts and me not breaking copyrights
I give you the number of repeats I used:
I took as reference WINTER WONDERLAND’s reindeer as they are easily spotted in the blanket (PATTERN 4 in Oneskeinoflove’s pattern)
MY BLANKET HAS 14 REINDEER.
For WINTERS HEART I took as reference the STAR (PATTERN 9 in Getyerhookon ‘s pattern)
MY BLANKET HAS 9 STARS.
Some advice…
Please study the picture of the blanket… and the start of the patterns. You will notice that I have respected the start of the WINTER WONDERLAND chart but I had to MOVE the beginning of WINTERS HEART to fit the discrepancy between the repeat.
I am also a bit obsessed with symmetry so I always try to centre the patterns, even though I might have to fidget a little, for example, the centre of the pine trees is in line with the centre of the star… but again it is up to you.
PATTERN SECTIONS/COLOURS USED
I made a chart for you to see which pattern I used in each SECTION.
There are 13 SECTIONS which I numbered with letters from A to M .
Please see the chart below:

SECTION A :
Pattern 1 of WINTER WONDERLAND.
COLOURS:
C1: 64 north sea
C3: 66 toffee
SECTION B:
Pattern 2 of WINTER WONDERLAND (small hearts)
COLOURS:
C1: 50 dark brown mix
C3: 65 sage green
Small variation:
Row 2 and Row 14 are in NAVY BLUE
SECTION C:
Pattern 3 of WINTER WONDERLAND
COLOURS:
C1: 64 north sea
C3: 58 mustard
Small variation:
I added 1 extra row of DC ( UK ) and SC ( us) at the top and at the bottom of the pattern and they are both in sage green (65).
SECTION D:
Pattern 4 of WINTER WONDERLAND, The reindeer is my favourite!
COLOURS:
C1: 67 maroon
C3: 63 pearl grey
Small variation:
I added 1 extra row of DC ( UK ) SC ( us) at the top and at the bottom of the pattern and they are both in navy blue (12)
There is some INTARSIA technique in this section, the diamonds between the reindeer are done in NAVY BLUE.
To do the intarsia you carry 2 strands at the same time and you switch colours following the chart. If you have never done intarsia before there are several videos on youtube. The colours that you are not using you carry in the back, to avoid the floats being a nuisance in the following row when you do the DC ( UK term) you can include the float. it will not appear on the front. Please look at the picture of the back as a reference.

SECTION E:
Pattern 9 of WINTERS HEARTS ( stars)
COLOUR A: 65 sage green
COLOUR B: 66 toffee
Small variation:
I added 1 extra row of DC ( UK ) SC ( us) at the top and at the bottom of the pattern and they are both in the north sea (64)
Row A1 and Row A35 are in a Dark brown mix (50)
Also in this section, there is some intarsia (the diamond and the centre of the star are in MAROON (67) and row 18 and row 20
are in the north sea (64) plus take note of row 16 the intarsia to frame the square around the centre.
Close up of star E
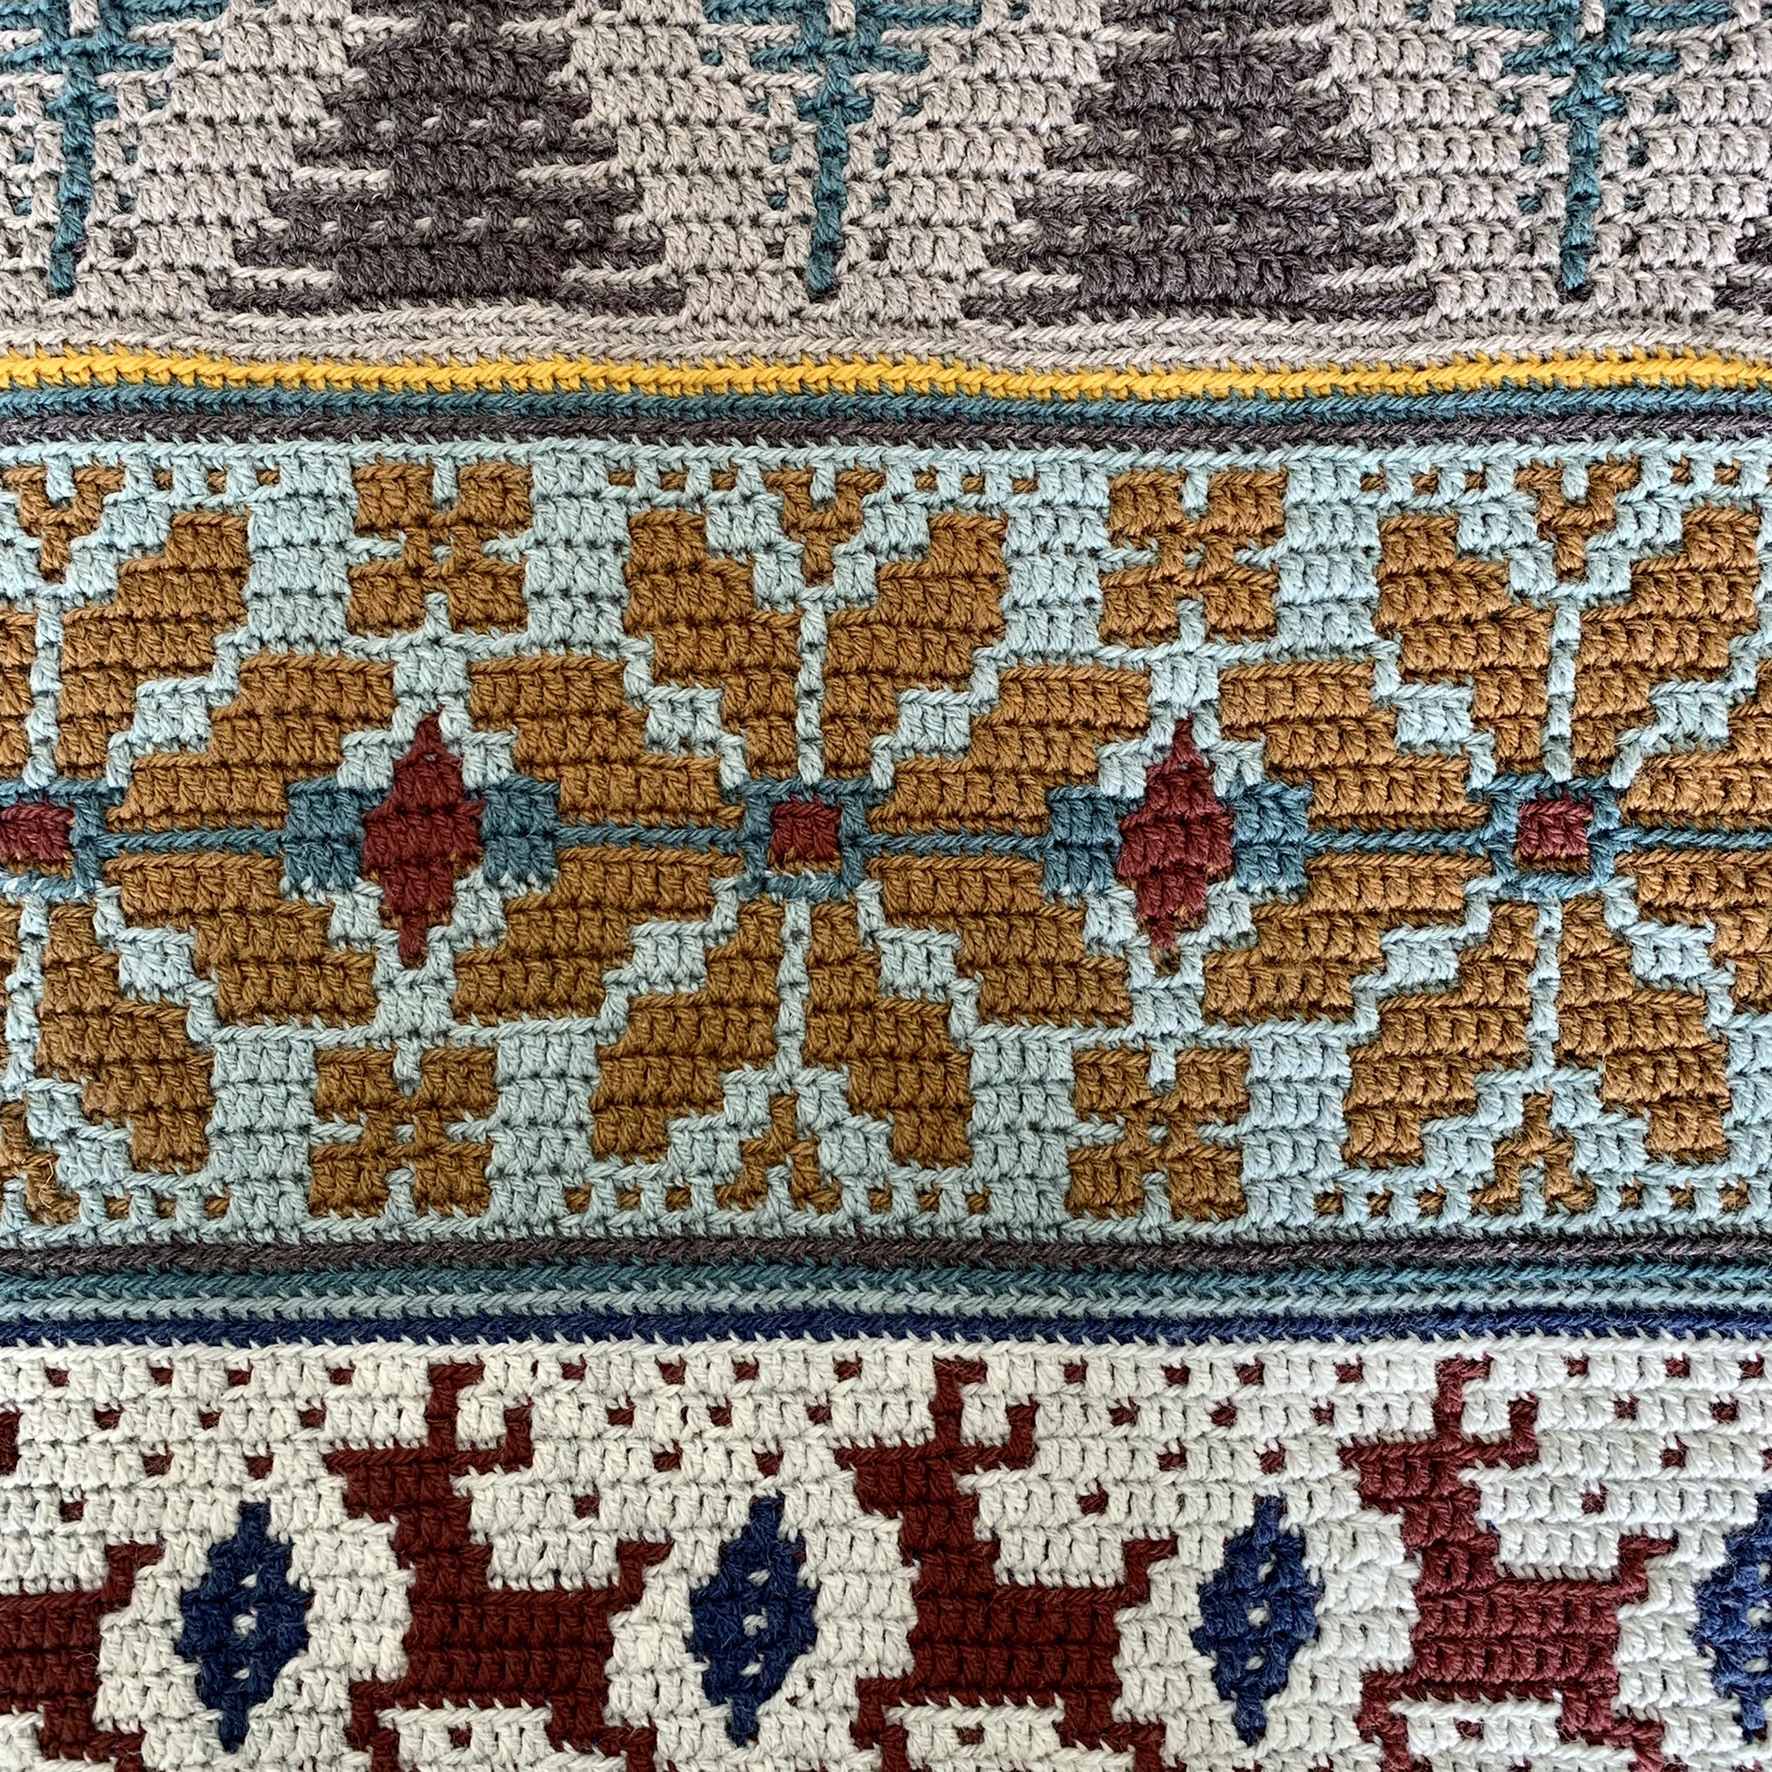
SECTION F:
Pattern 5 of WINTERS HEARTS ( pine trees)
MY BLANKET HAS 8 PINE TREES
COLOUR A: 49 light brown mix
Colour B: 50 dark brown mix
Small variation:
Intarsia for the star in between the pine trees is worked in the north sea (64)
I added 1 extra row of DC ( UK ) SC ( us) at the top and at the bottom of the pattern and they are both in mustard (58)
SECTION G:
Pattern 7 of WINTER WONDERLAND
COLOURS:
C1: 65 sage green
C3: 58 mustard
Small variation :
R1 is in light brow mix (49) and R11 is in north se (64)
SECTION H:
Pattern 14 of WINTER WONDERLAND (snowflakes )
MY BLANKET HAS 14 SNOWFLAKES
COLOURS:
C1: 62 fog mix
C3: 12 navy blue
Small variation:
I added 1 extra row of DC ( uk ) SC ( us) at the top and at the bottom of the pattern and they are both in north sea (64)
SECTION I:
Pattern 9 of WINTERS HEARTS ( stars)
COLOUR A: 66 toffee
COLOUR B: 65 sage green
Small variation:
I added 1 extra row of DC ( uk ) SC ( us) at the top and at the bottom of the pattern and they are both in north sea (64)
Row A1 and Row A35 are in Dark brown mix (50)
Also in this section there is some intarsia (the diamond and the centre of the star are in navy blue (12) and at the same time you carry an extra strand of maroon for the centre of the star.

Closeup picture star I
SECTION J
Pattern 4 of WINTER WONDERLAND, The reindeer again
COLOURS:
C1 : 63 pearl grey
C3: 67 maroon
Small variation:
I flipped the original chart!
So the reindeer are looking to the RIGHT ( that is easily done with a phone using the edited photo and you mirror the original chart )
I think they look much better but obviously is up to you. I added 2 extra rows of DC ( UK ) SC ( us) at the top and at the bottom of the pattern and they are both in fog mix (62) and navy blue (12)
There is some INTARSIA technique in this section, the diamonds between the reindeer are done in NAVY BLUE.
SECTION K:
Pattern 3 of WINTER WONDERLAND
COLOURS:
C1: 64 north sea
C3: 58 mustard
Small variation:
I added 1 extra row of DC ( UK ) SC ( us) at the top and at the bottom of the pattern and they are both in fog mix (62).
SECTION L:
Pattern 2 of WINTER WONDERLAND (small hearts)
COLOURS:
C1: 50 dark brown mix
C3: 65 sage green
Small variation:
Row 2 and Row 14 are in NAVY BLUE
SECTION M:
Pattern 1 of WINTER WONDERLAND.
COLOURS:
C1: 64 north sea
C3: 66 toffee
BORDER:
My border is a double border so I can sandwich the pesky ends!
the foundation round is done in dc ( UK terms) and a size 4.5 hook and the following rounds are half trebles(UK term) the back is 4 rows and the front is 4 rows too, both made in the north sea (54), I joined the 2 sides of the border with a row of dc ( UK term) in maroon (67)
Also …
Make sure you have the same number of stitches on the vertical sides!!! otherwise, your blanket will squint.. the best way is to take a note of how many stitches you do per section, and make sure you do the same on the other side!
FEWWWW IT IS DONE!!! I hope it helps
HAPPY CROCHETING TO YOU ALL
Love,
Lucia xxx