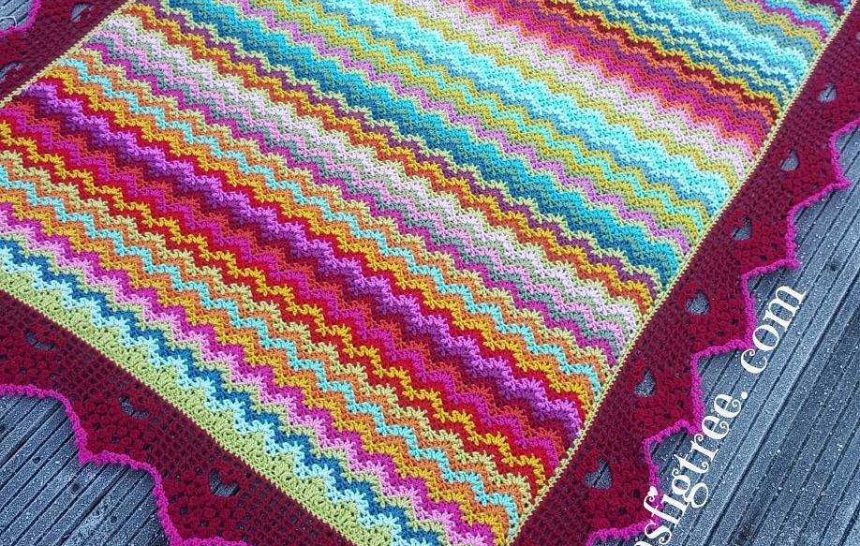
Last chapter on the January ‘s blues blanket.

I can not believe we are already in February!
Normally January drags a bit on for me but this year has definitely not been the case.
I guess I have been very busy with work and with “non-crochet “related stuff but I still managed to add a border and finish the blanket.
Today I can give you the last pieces of information so, if you like, you can finish your blanket in the same way.
About the border, I am going to digress a little bit and give you some thoughts.
I personally love borders very much especially if they are big and bold!
That works even better if you have a simple pattern throughout the main body of the blanket as we have in this case. Maybe my propensity for statements borders is due to the fact that my first attempts on crochet, many years ago, were cotton’s tread fancy borders for linen towels!
If you are Italian or Spanish or just Mediterranean in general you might are very familiar with them.
another picture this time from the oldest and most famous creative magazine in italy called “Mani di fata” which translate very appropriately in “Faerie hands” !!
It used to be a great test for beginners to master crochet without embarking in something too challenging or time-consuming, even if, I have to admit, it still took a fair amount of time to make them as the cotton yarn was at least a 4ply but often much thinner than that.
I have a few stashed in a drawer somewhere in the house, I use them seldom as they are delicate and definitely not tumble-driers proof!!!
If bold and big is not your style, it doesn’t matter as a ripple pattern can look just beautiful as it is! the little scallop at the top and end can be left as it is and still look fabulous so do not panic if you cannot be bothered doing the border your blanket will still look lovely. Just surf the internet or Pinterest for inspirations, and remember it is YOUR blanket so don’t be afraid to go off-piste! actually, I love if you go off-piste and you put your input! it makes your blanket more personal.
Back to what I have done… some pictures to start with:
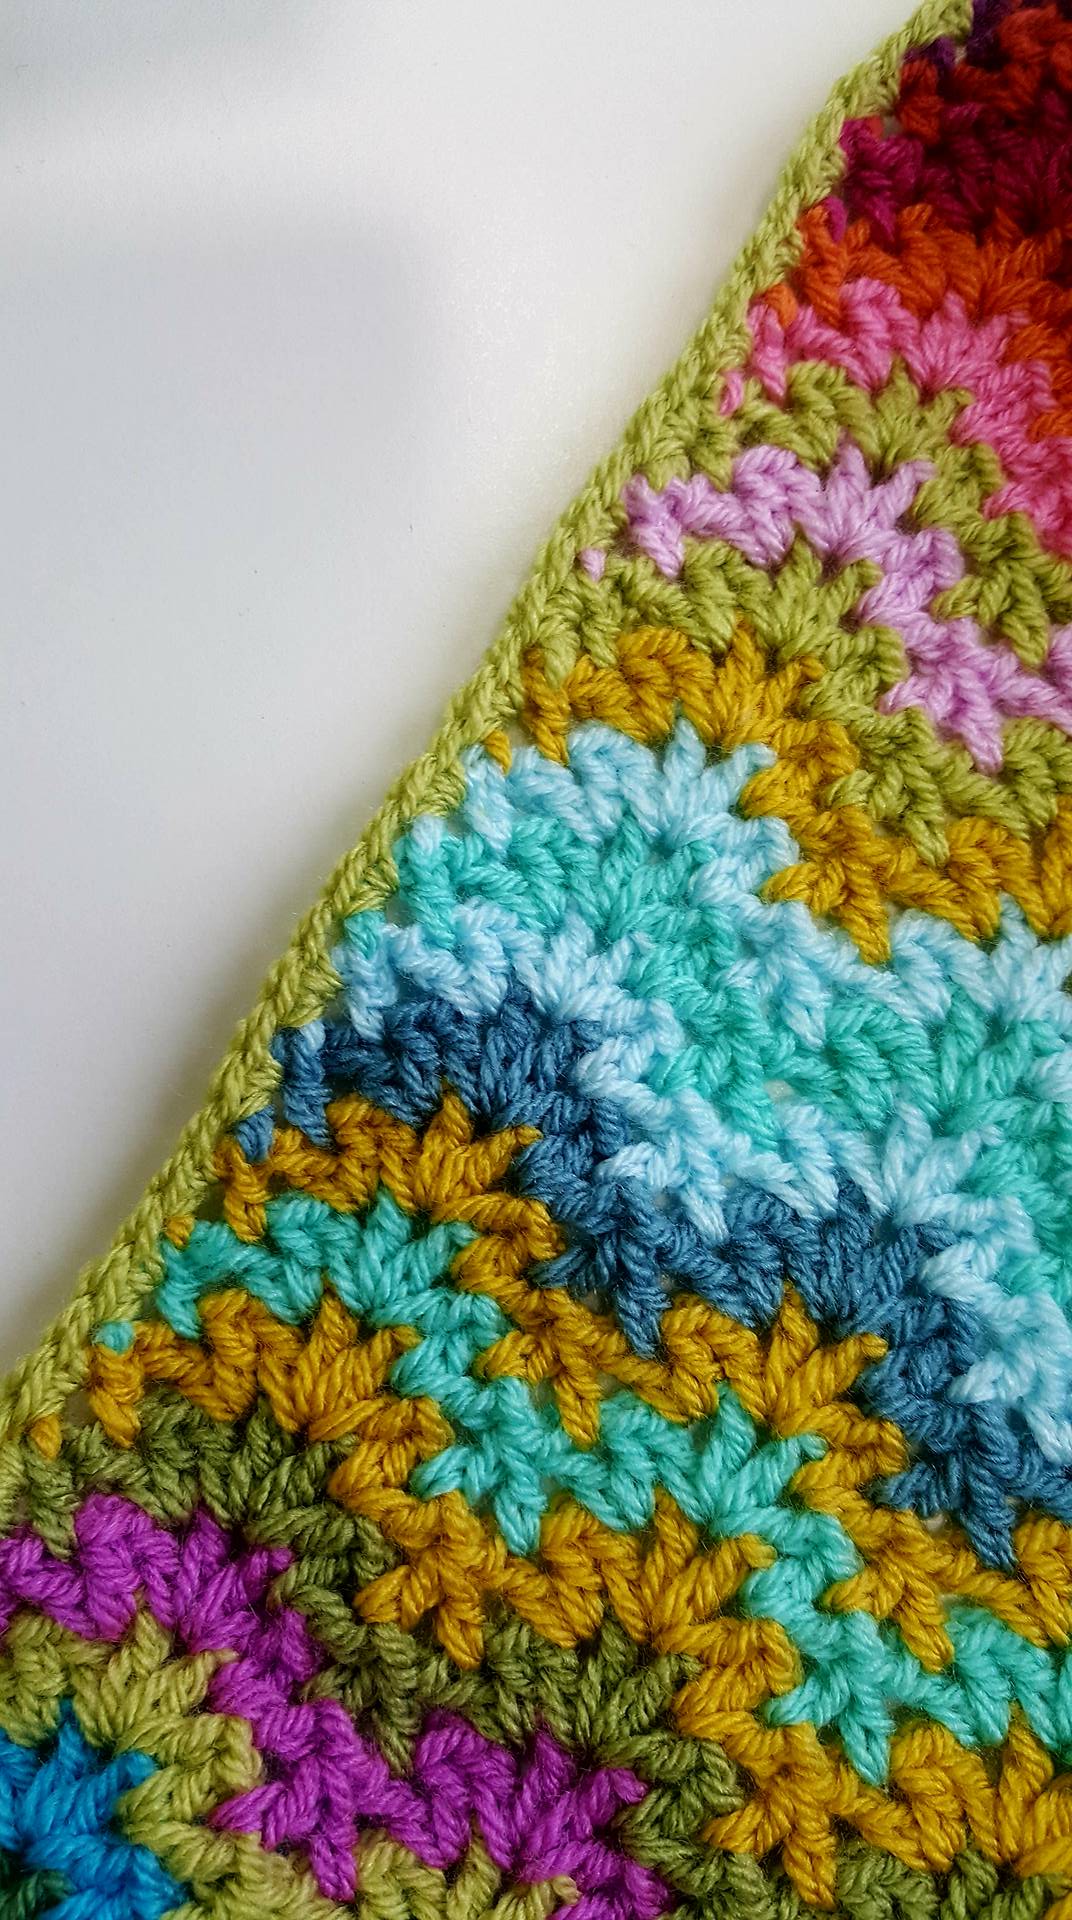
In my case, I filled the ripple because I prefer straight edges especially if you are opting for a more challenging border.
I draw the distribution of the “filling” stitches for the top and bottom of the blanket.
I started my foundation round with the Pistachio on the corner ( now you can see why it is good to start and finish the blanket with the same colour. it brings continuity on your foundation round, which means when you start the next round of the border with a contrasting colour ( in my case is the claret) you have a solid even base to work with)
on the side I worked 2 dc in the space created by each tr at the beginning and end of each round .
I have in my case 195 stitched in each of the vertical sides of the blanket and 114 on each of the horizontal for the 4 corners we have :(1dc-ch1-1dc) repeated 4 times.
so the foundation round is made of (1dc-2ch-1dc)+ 114 +(1dc-2ch-1dc)+195+ (1dc-2ch-1dc)+114+(1dc-2ch-1dc)+195.
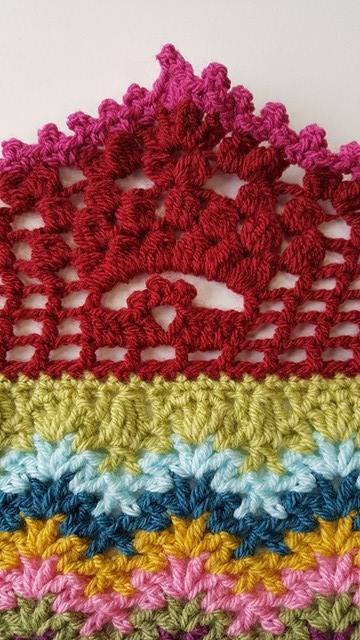
the border is done with Claret and a 3.5 hook
I have chosen for the border again a diagram I found on Pinterest this is a picture of it. I made some minor adjustments to the last couple of rounds to simplify it mainly because the pattern is written for a cotton thread and not DK yarn.
Ther repeat of the pattern is on a multiple of 10 so on my first round of claret I added 4 stitches in the each of the short sides and 3 on each of the long sides.
If you use another pattern for the border please consider adjusting the number of the stitches according to the repeat!
I posted a couple of close-up so you can see better how the pattern develops. It has a fair amount of rounds but it is pretty fast.
my last round is a contrasting one done in Fuchsia purple.
YARN QUANTITIES USED for the border:
for the Filling round and foundation, I used 35 grams of PISTACHIO
for the BORDER:
- ROUND 1 TO 7 : I used 150 grams of CLARET
- ROUND 8 : I used 30 grams of FUCHSIA PURPLE
last but not least….
I have been asked if I can transcribe the diagrams into words…. I know for many of you it is easier to use written instructions but I wish you tried ( NEW YEAR’S RESOLUTION !!!) to use a diagram!! It will open you amazing opportunities! this blanket, in particular, has such an easy diagram so please give it a try trust me you will never look back! there are loads of tutorial on you tube to learn how to read a diagram, do have a look and see which one suits you better.
love to you all…
I have something new I am working on so I will post again very soon,
lucia xx


Thank you, Lucia. ♡