ANATOMY OF A BLANKET…OR TWO

ANATOMY OF A BLANKET…OR TWO

If you follow me on Facebook or Instagram, you might have seen snippets of the two new blankets I made.

Do you know that each blanket tells a unique story?  A story about you, about what you like, about materials, journey to the shops, endless rummaging in your stash or afternoons on the laptop looking for a magic shade, they also tell about your love and caring because often they are made as a gift.

So no pressure!

2016-12-09-09-40-46

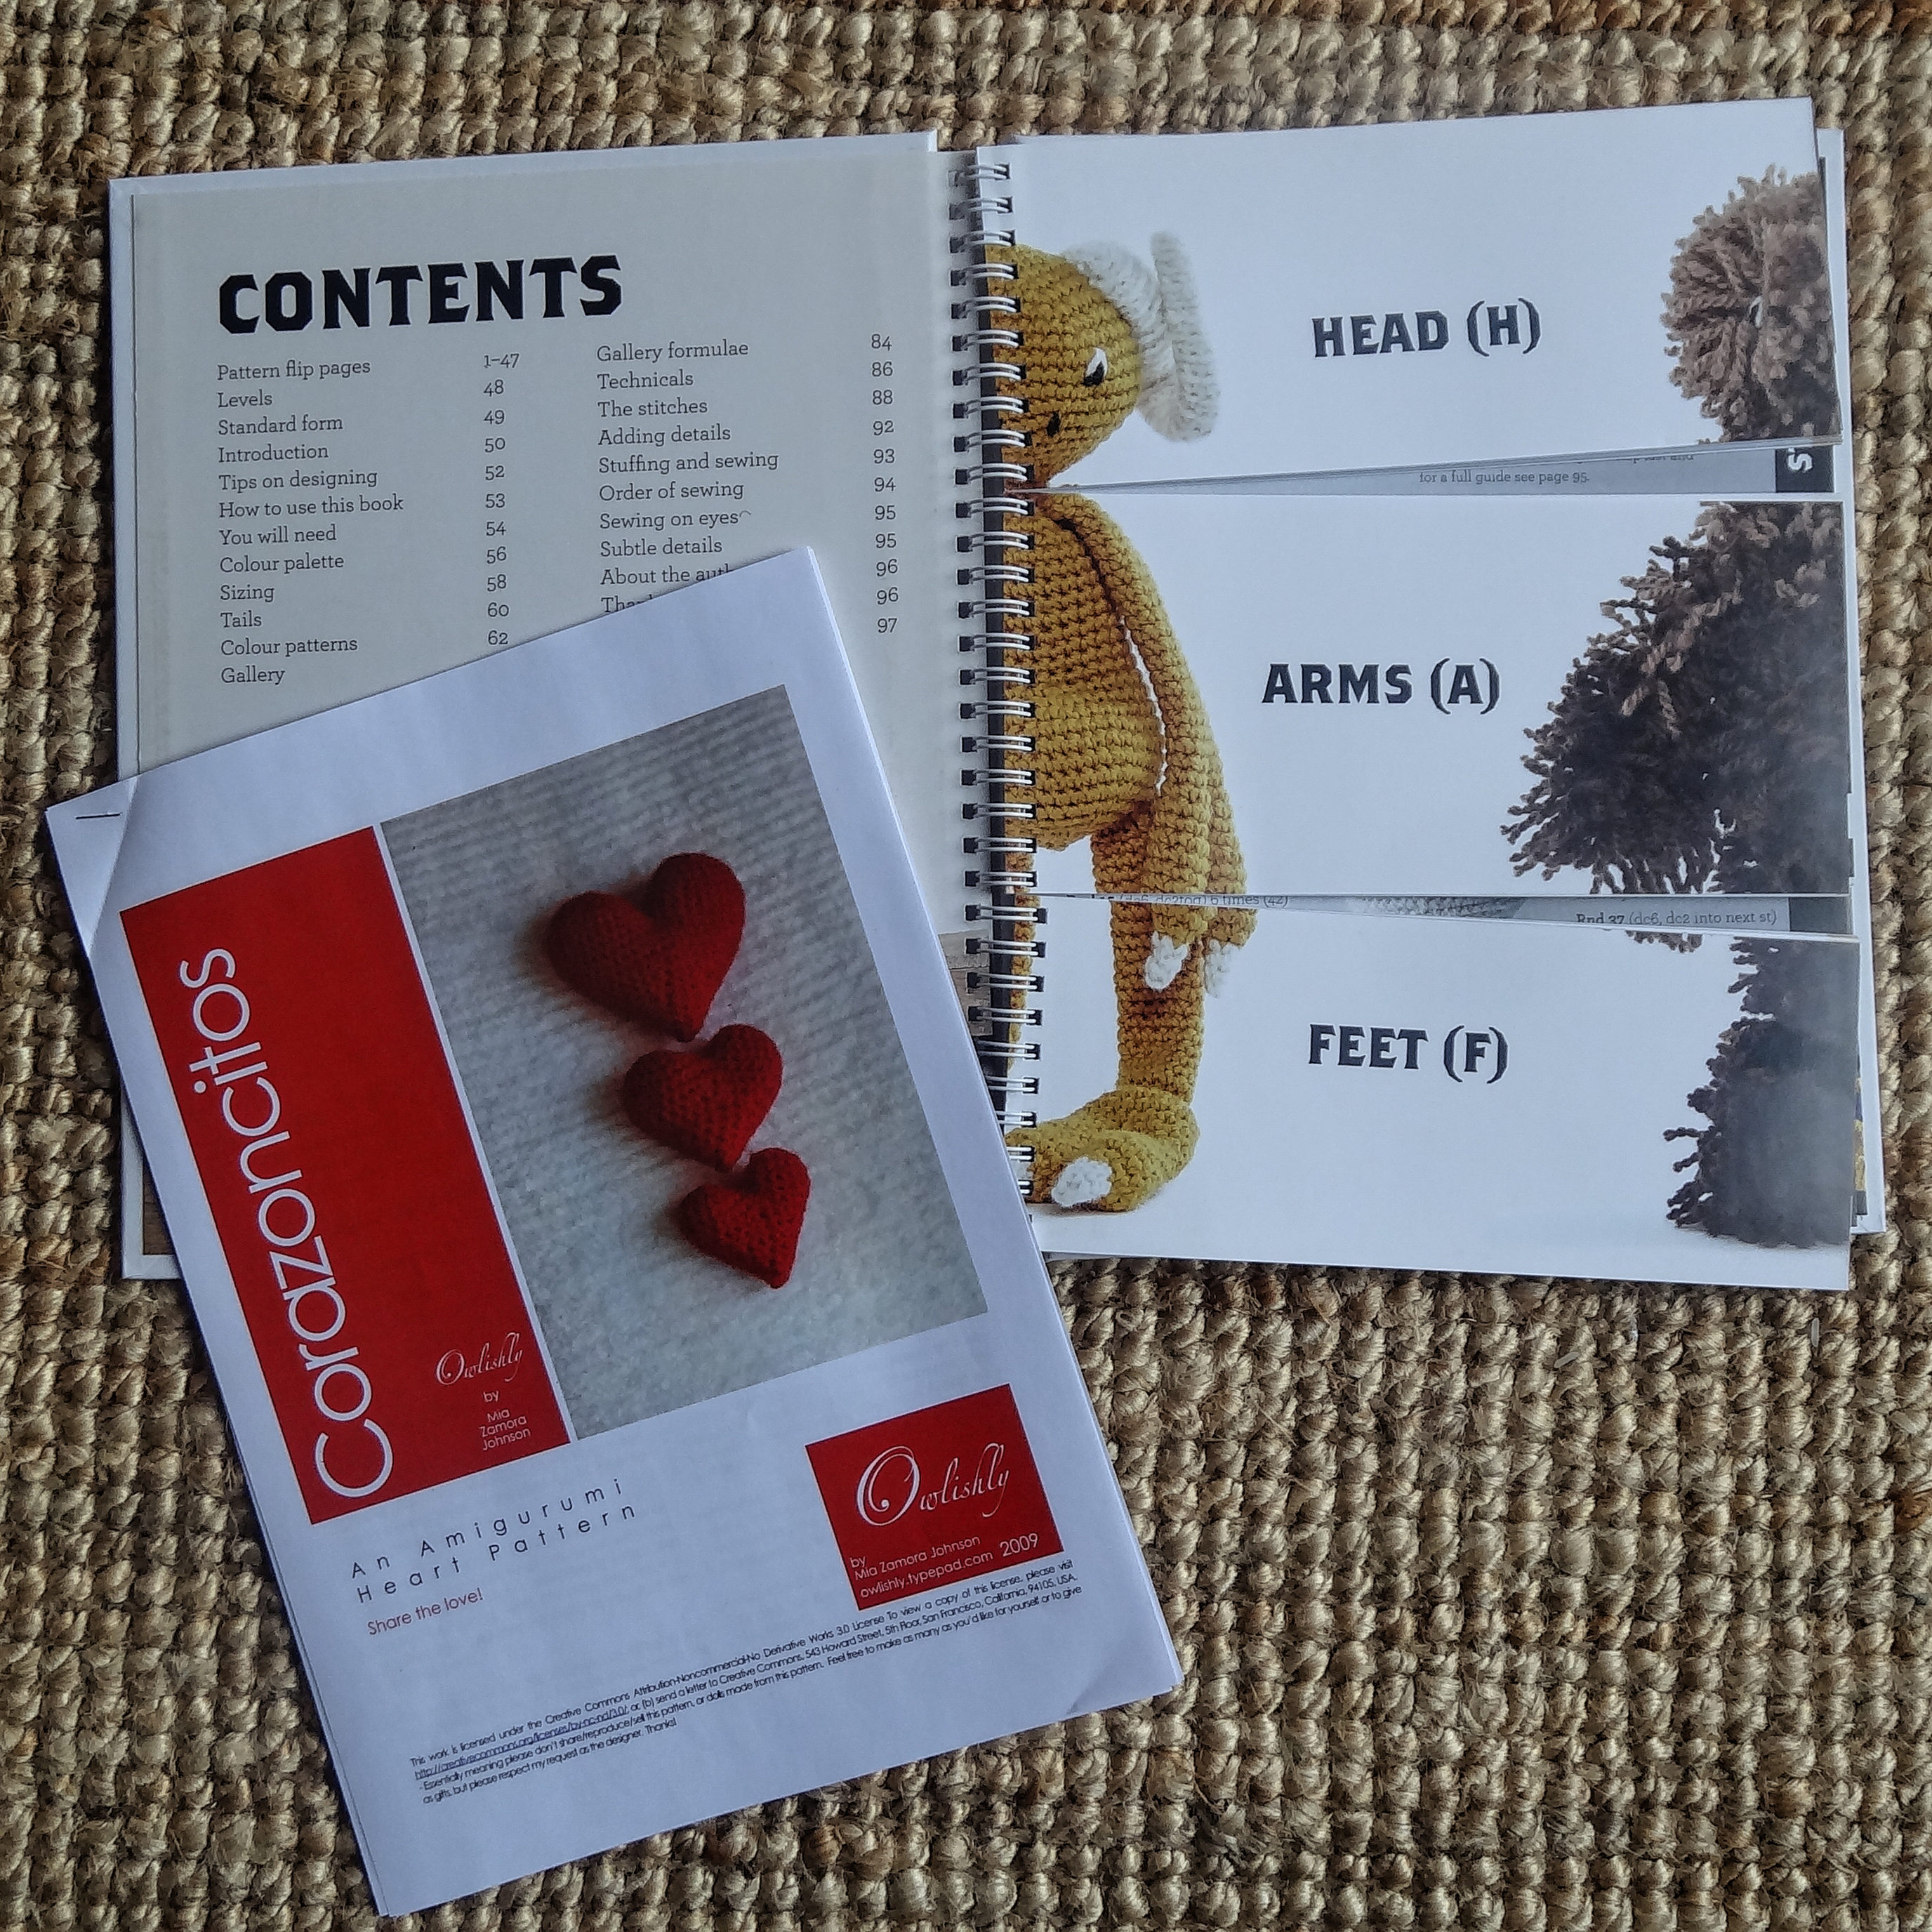
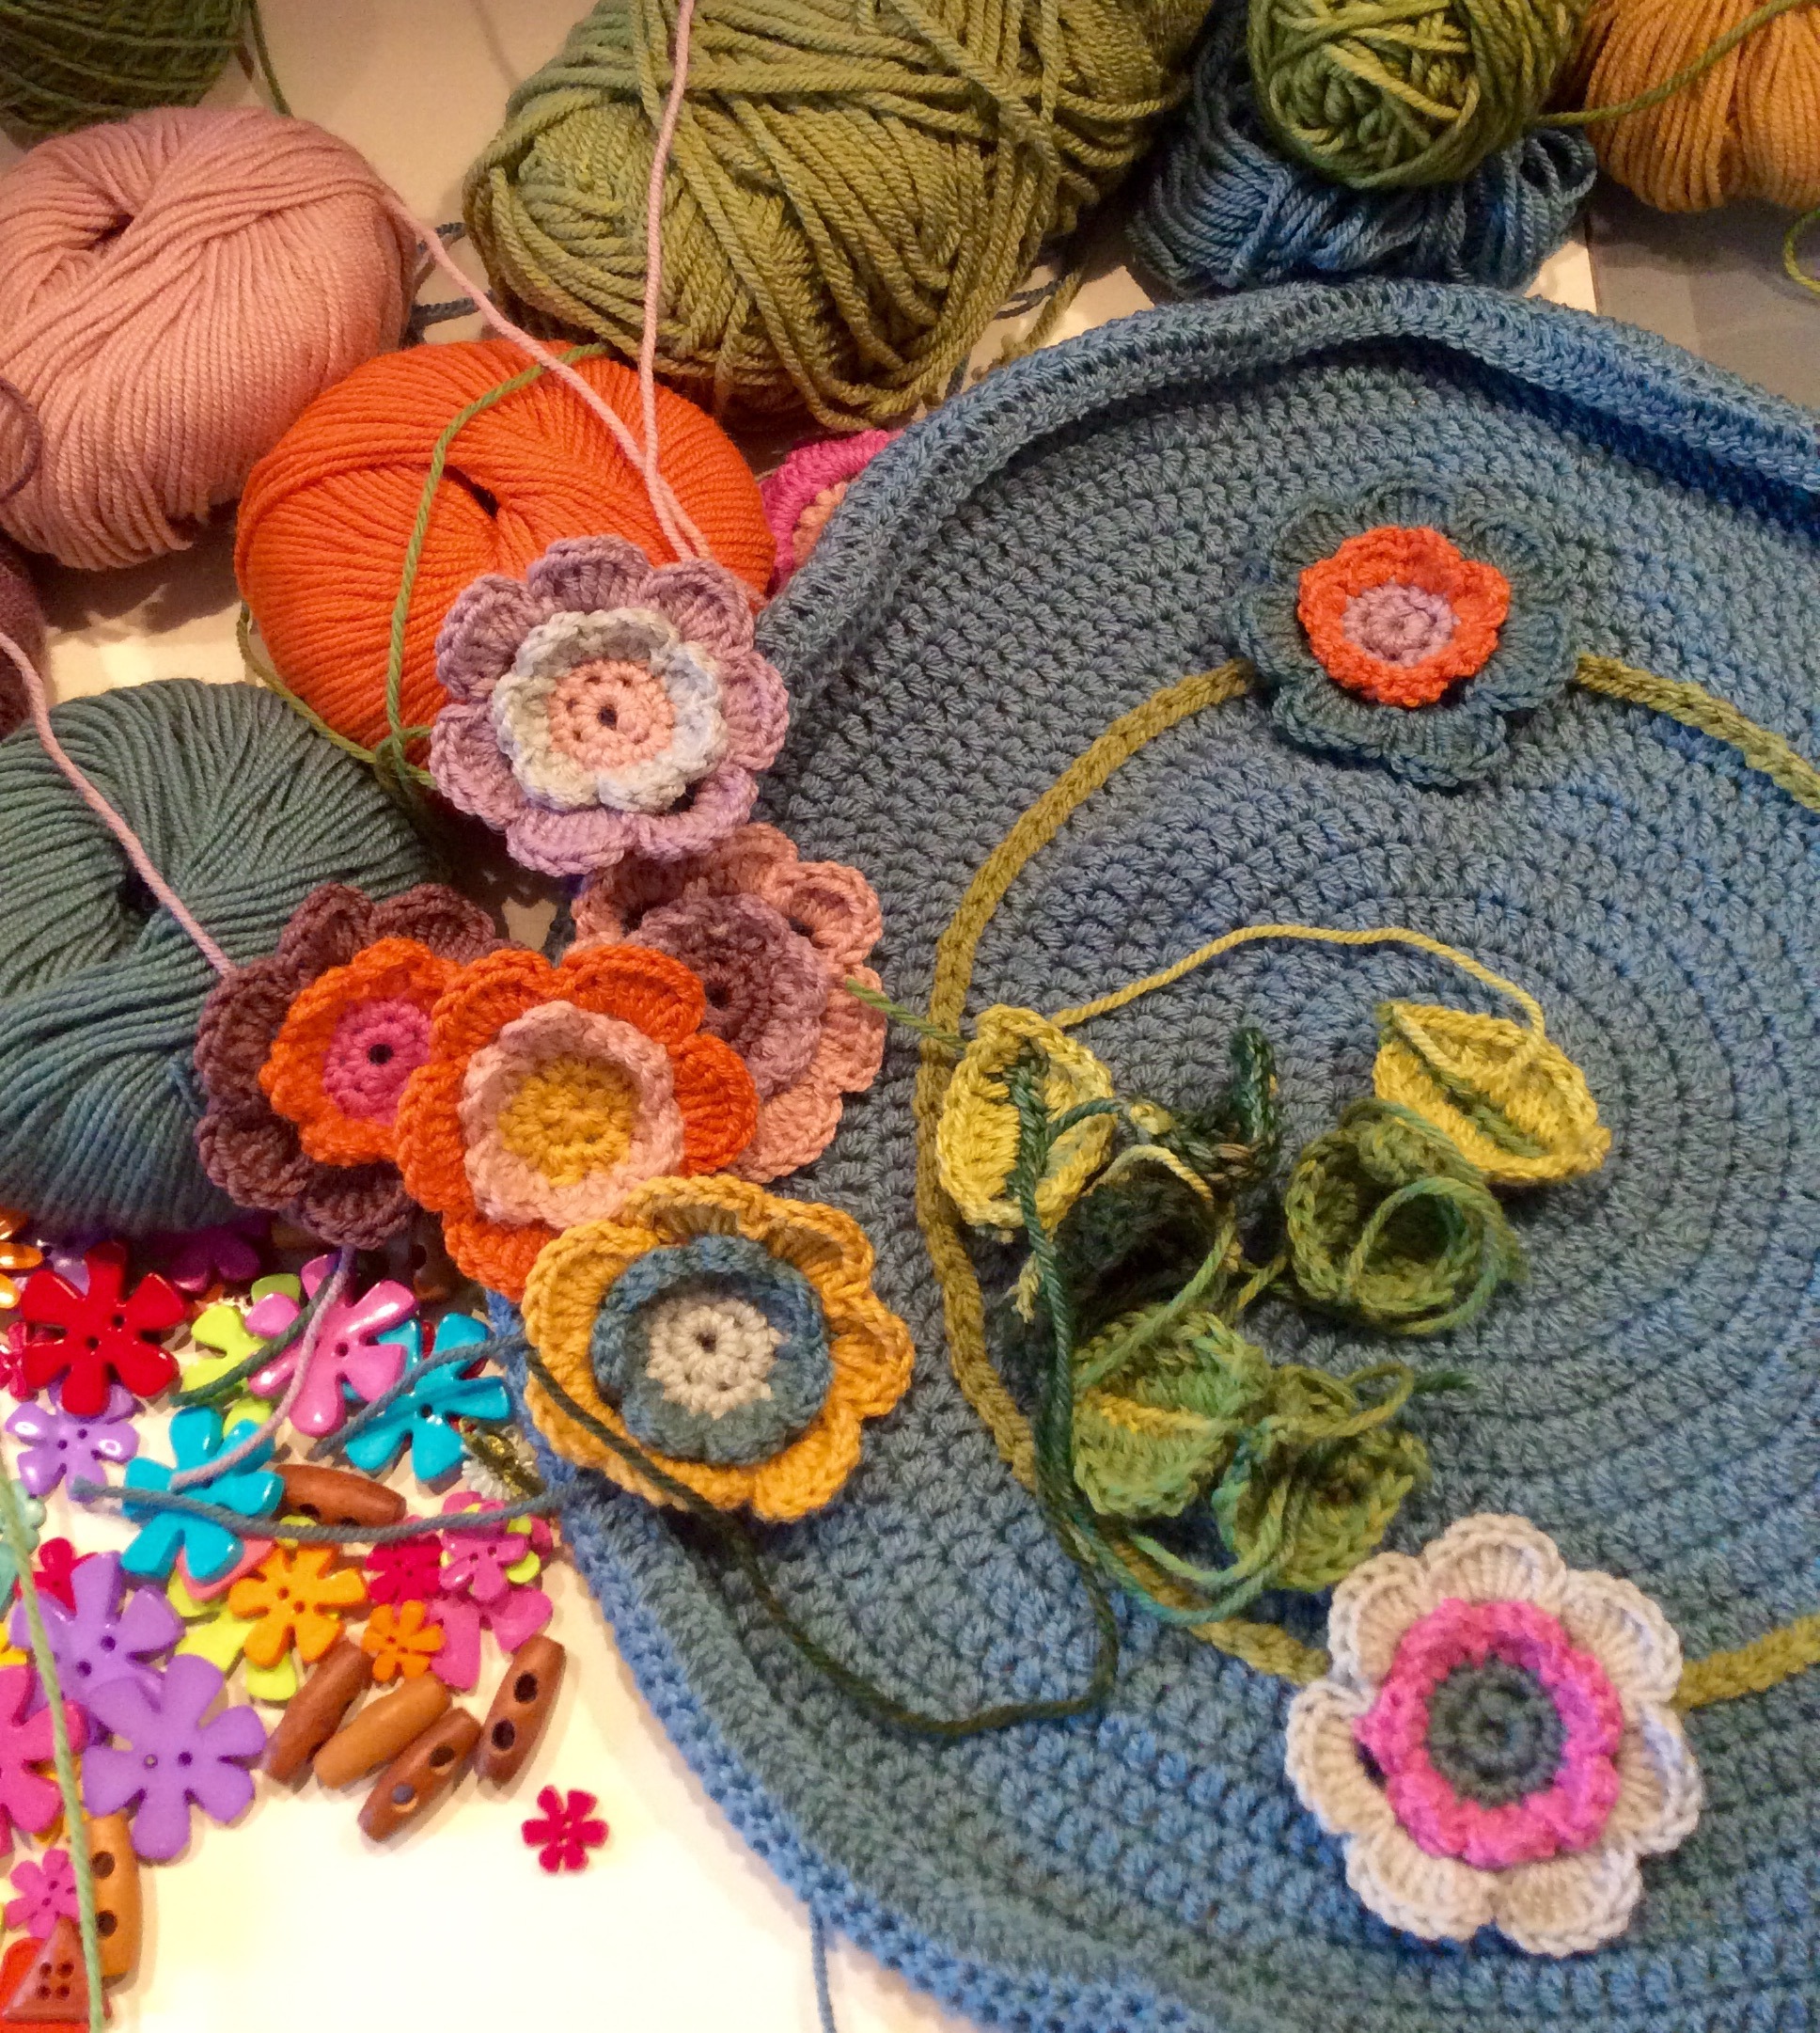
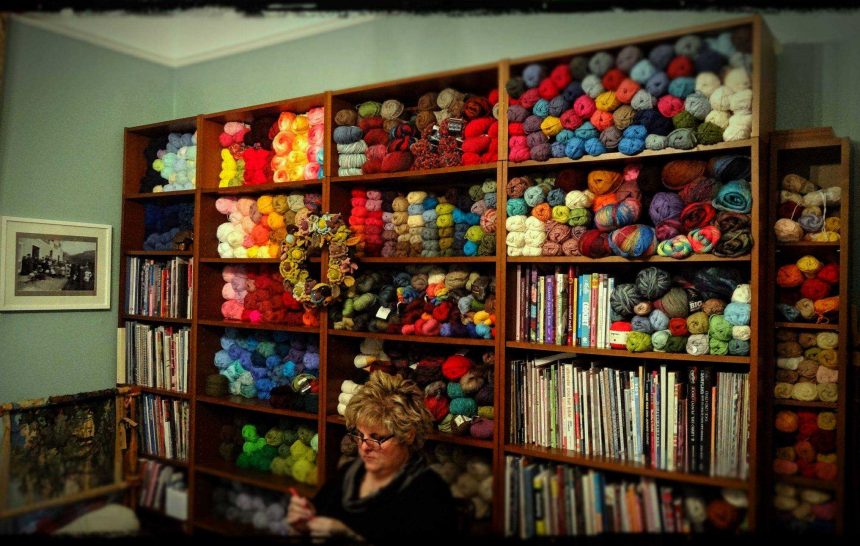
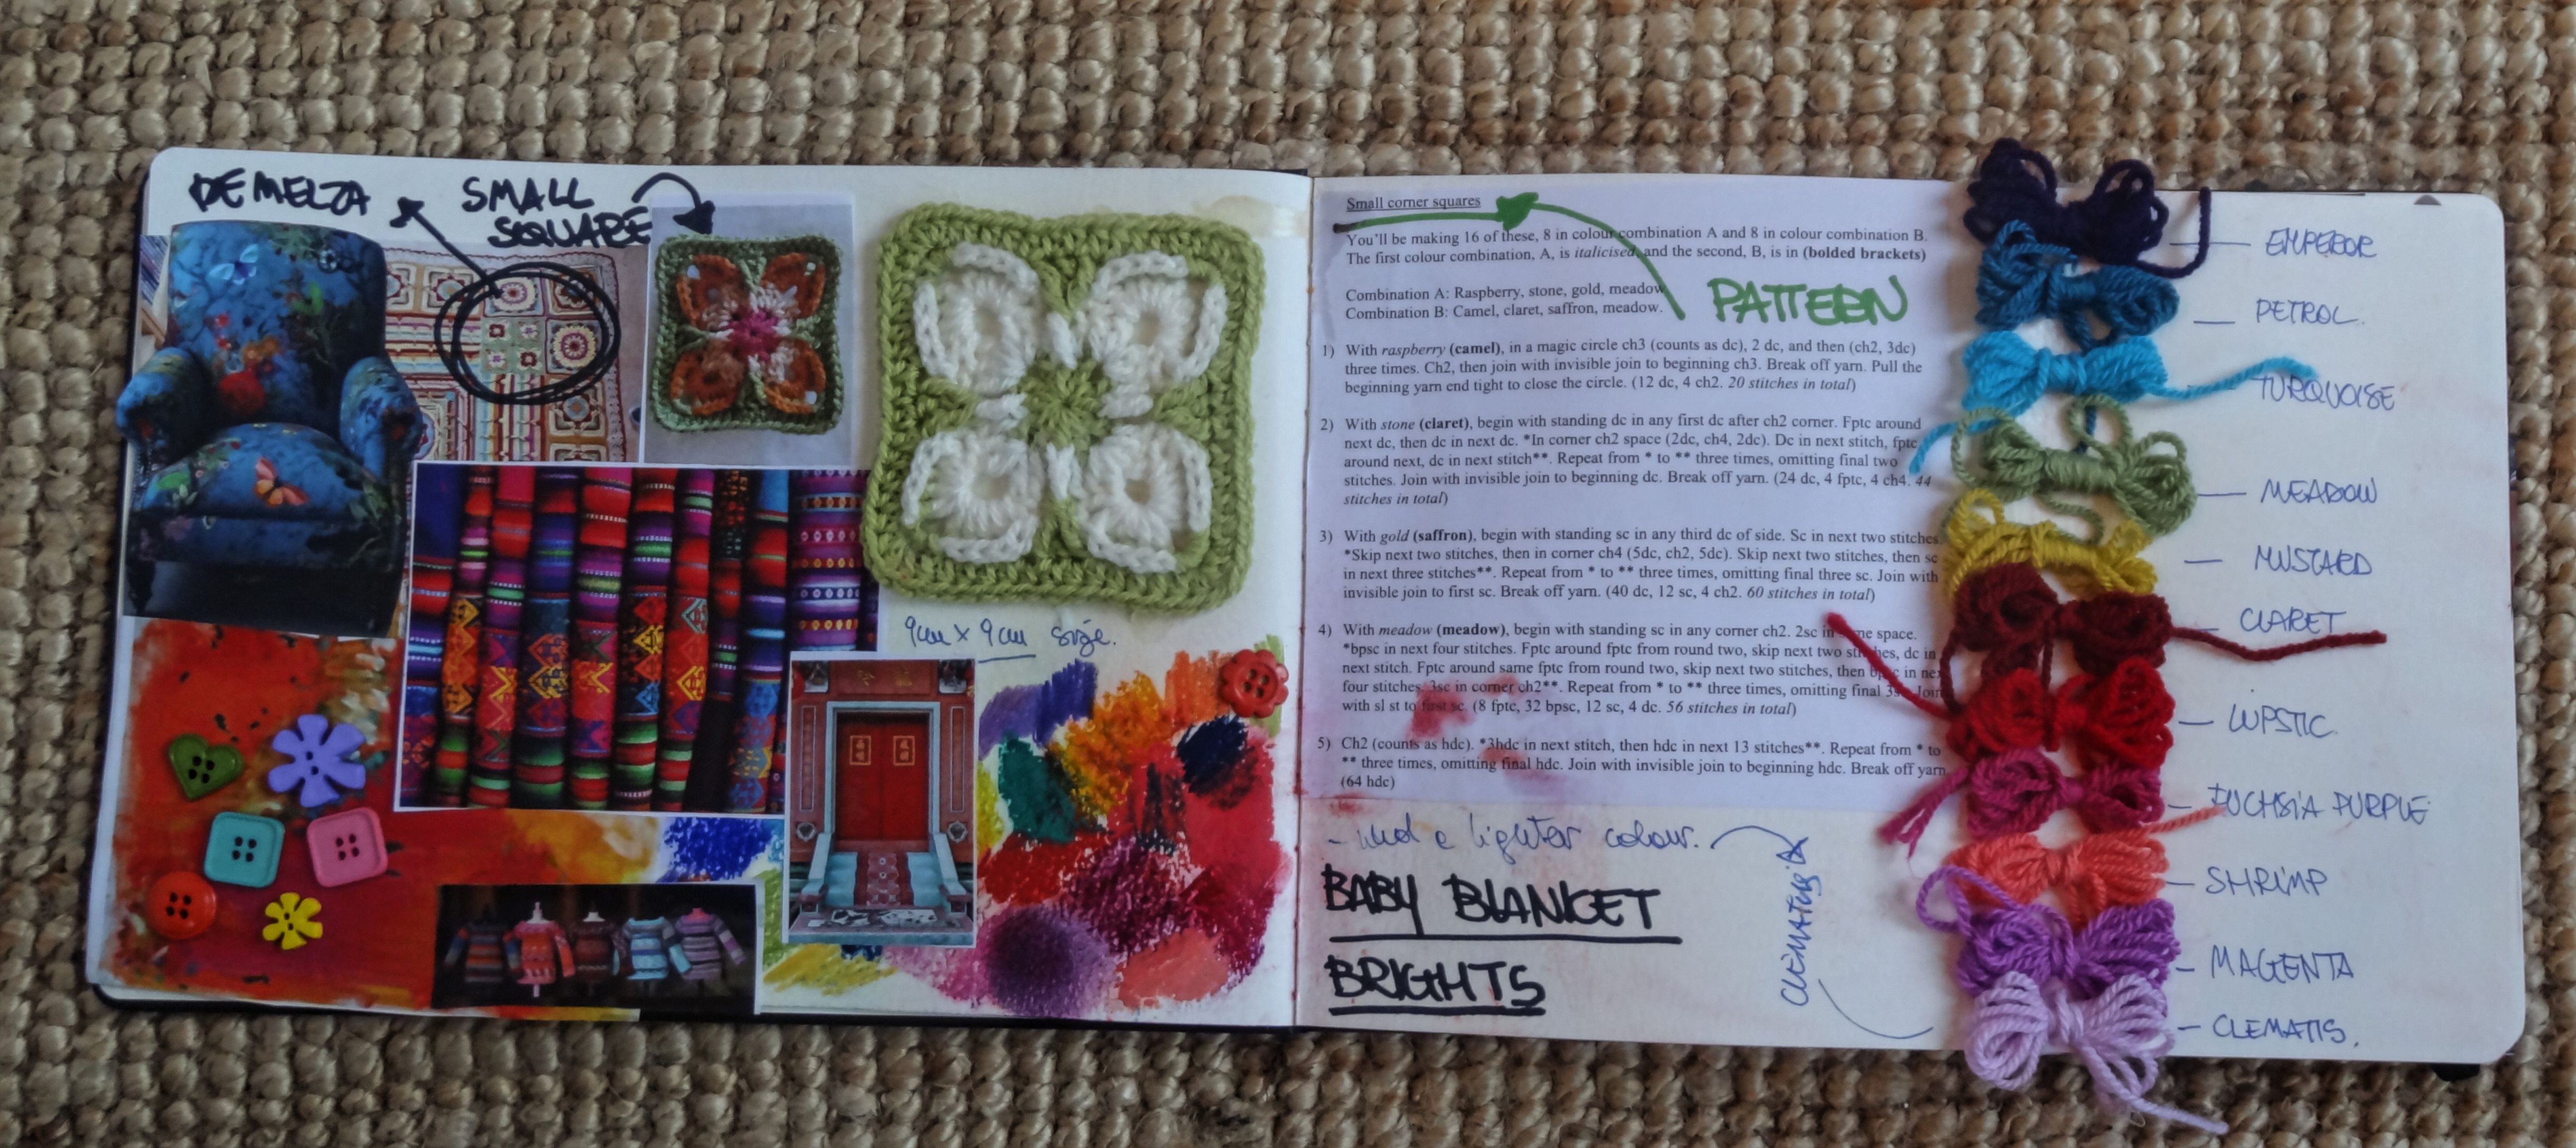
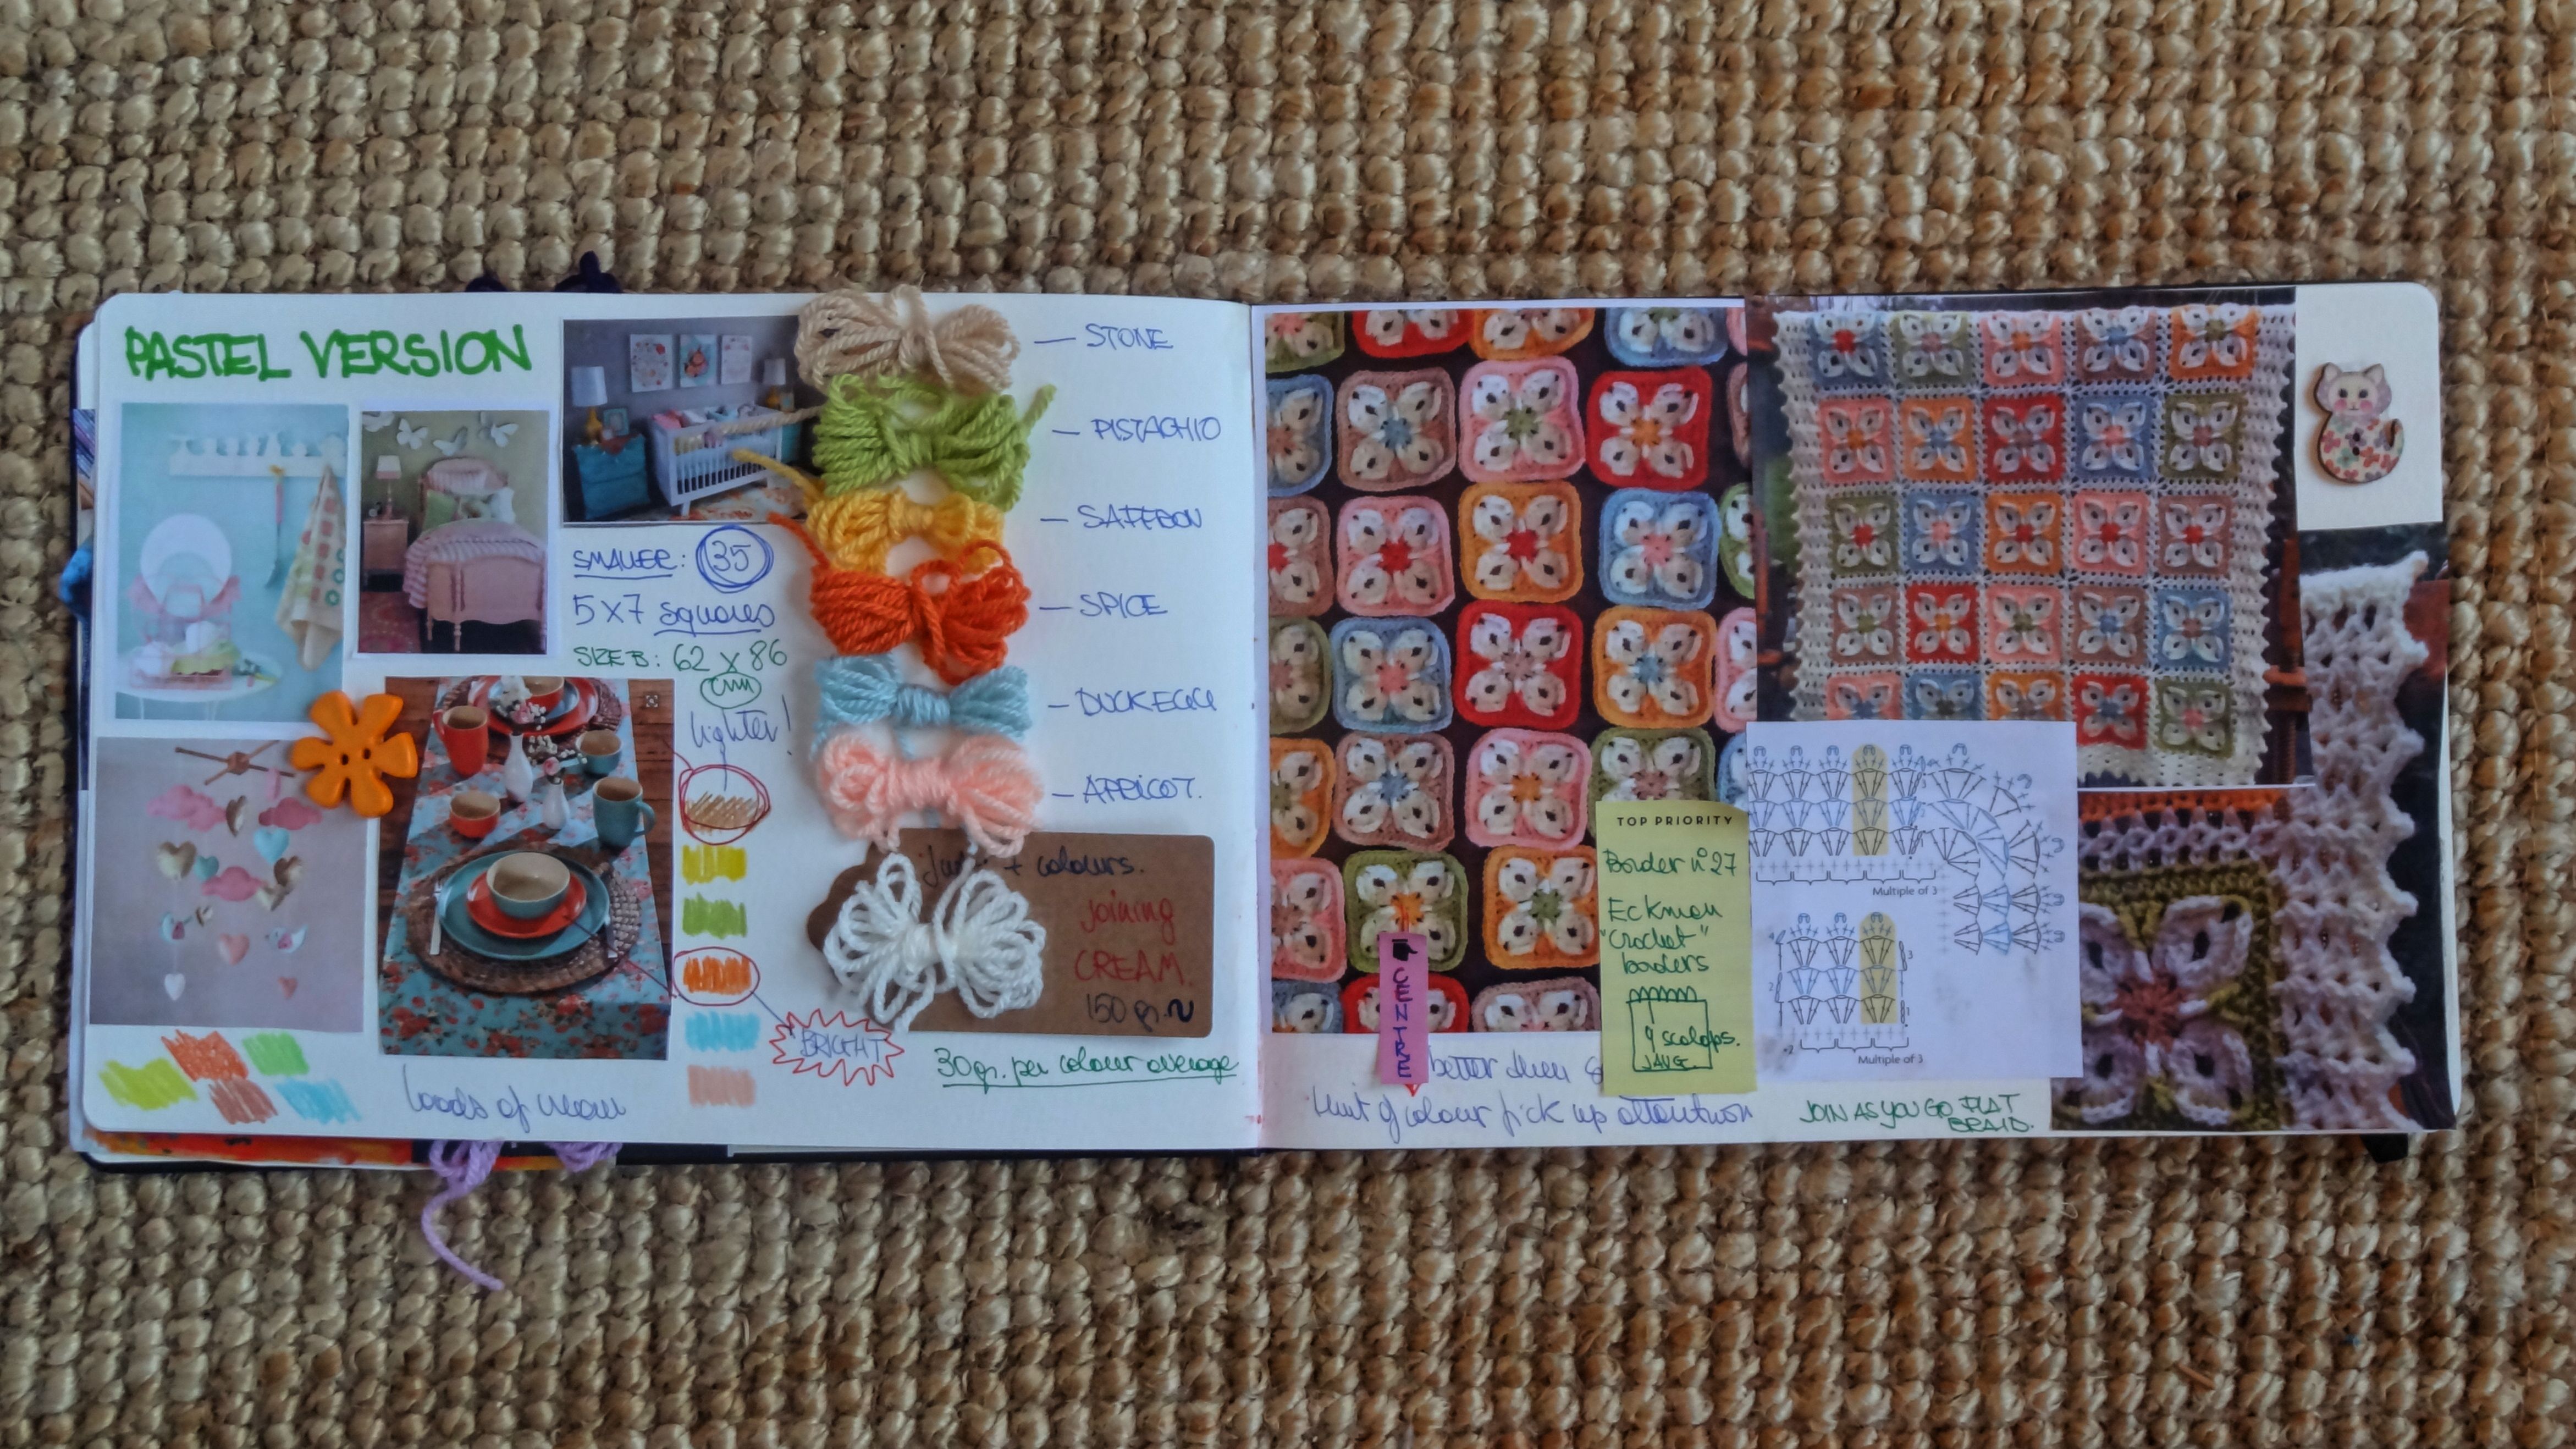
I keep journals of my blankets,  some  sort of record where I can note down sources, patterns, observations, colour swatches primarily mood boards.

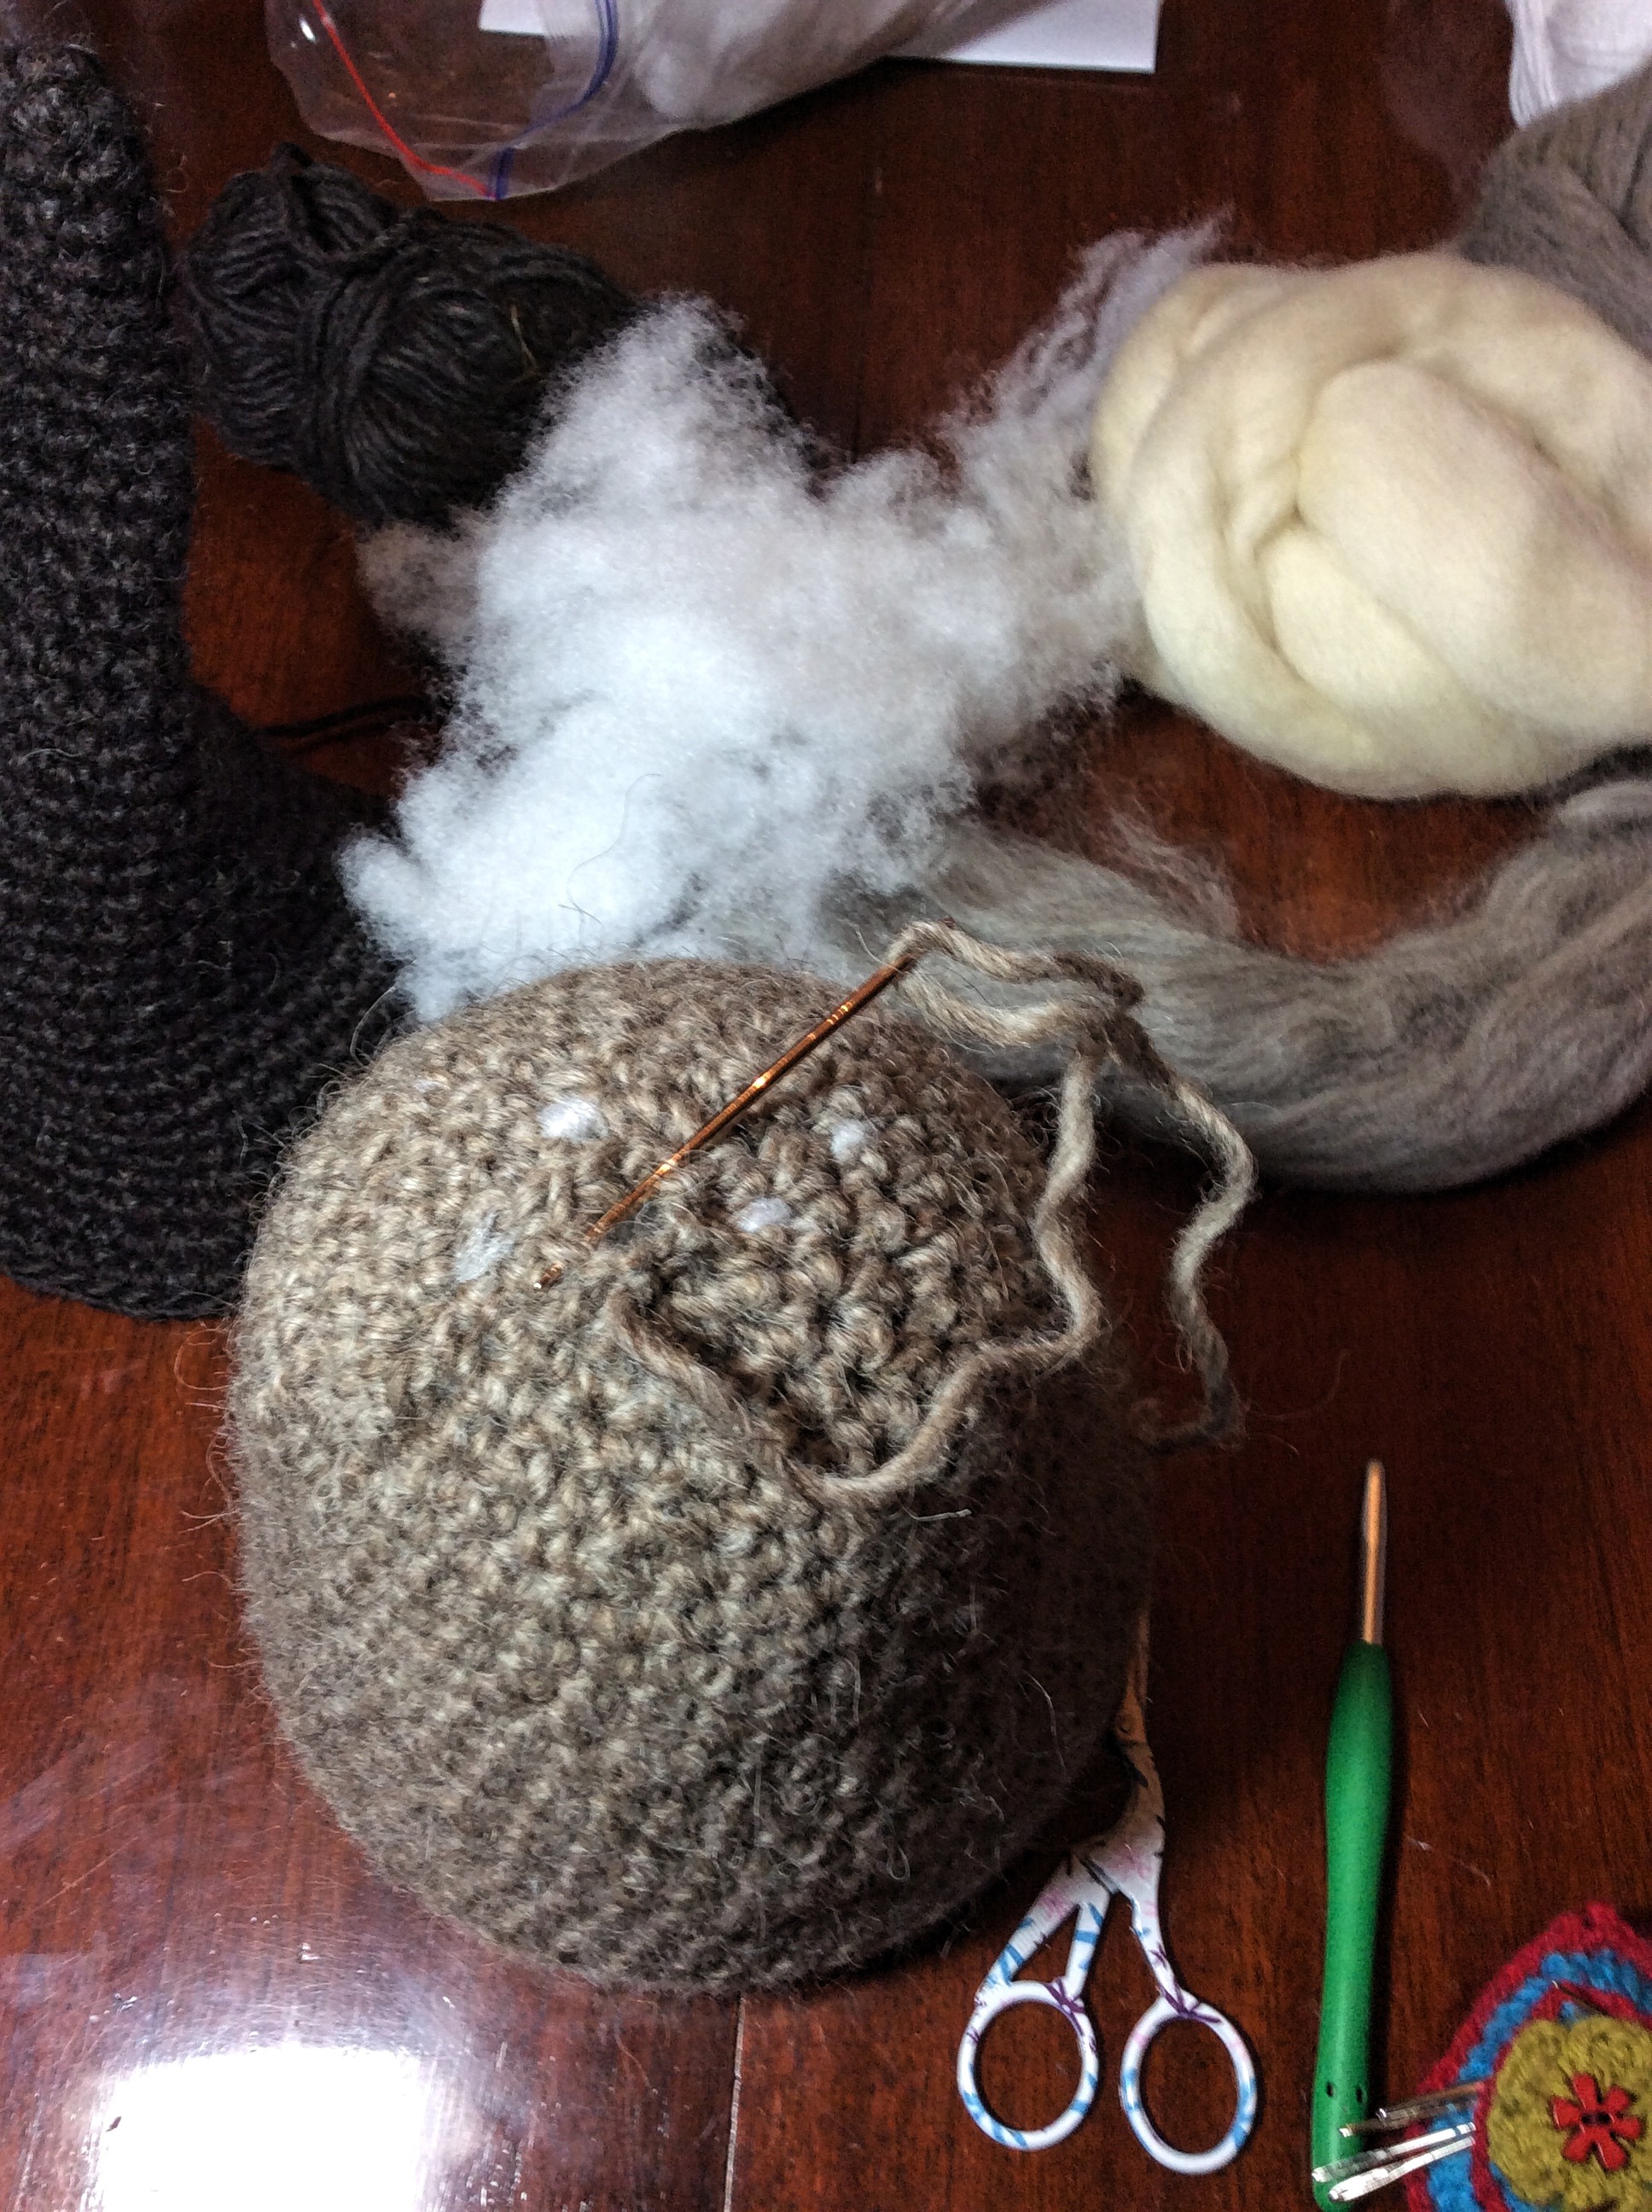
These are a few pages of my journal with the most recent blankets I made; they might look a bit chaotic as they are just meant for me but they can still give you an idea so you can create  your own.

You might already keep records of images and virtual mood boards for your projects, but I found the process to make a ‘real’ one very useful as I like to see the shades and patterns in real life.

2016-12-09-14-33-36

2016-12-09-14-32-43

2016-12-09-14-32-21


I start with a few questions:

-Who the blanket is for?

-Time schedule?

-Budget?


The answers to the above will determine, size, material, pattern,

Then comes the mood…

This is my favourite part  of making a blanket as it is the creative one! And that is where the journal come indispensable for me because allows me to create different scenarios without committing to a final one.

I start with  collecting pictures, images anything that attracts my attention then I select what I like best, and I print them, I also start to narrow down colours ‘s possibilities with pencils, crayons, little bits of paper, Leafs anything that can be glued on a page!

Colours for me are the most important part because you can be an amazing crocheter, or having an amazing pattern but if you mess up your colours, you mess up the all thing.

Colours  are also a huge topic  and I will get to it in more depth with a few entries I m planning for the new year, with details on COLOURS WHEEL, HUES, SATURATION and VALUE.

It sounds complicated but it is not at all once you get the basic you will be able to make your own combinations easy-peasy.

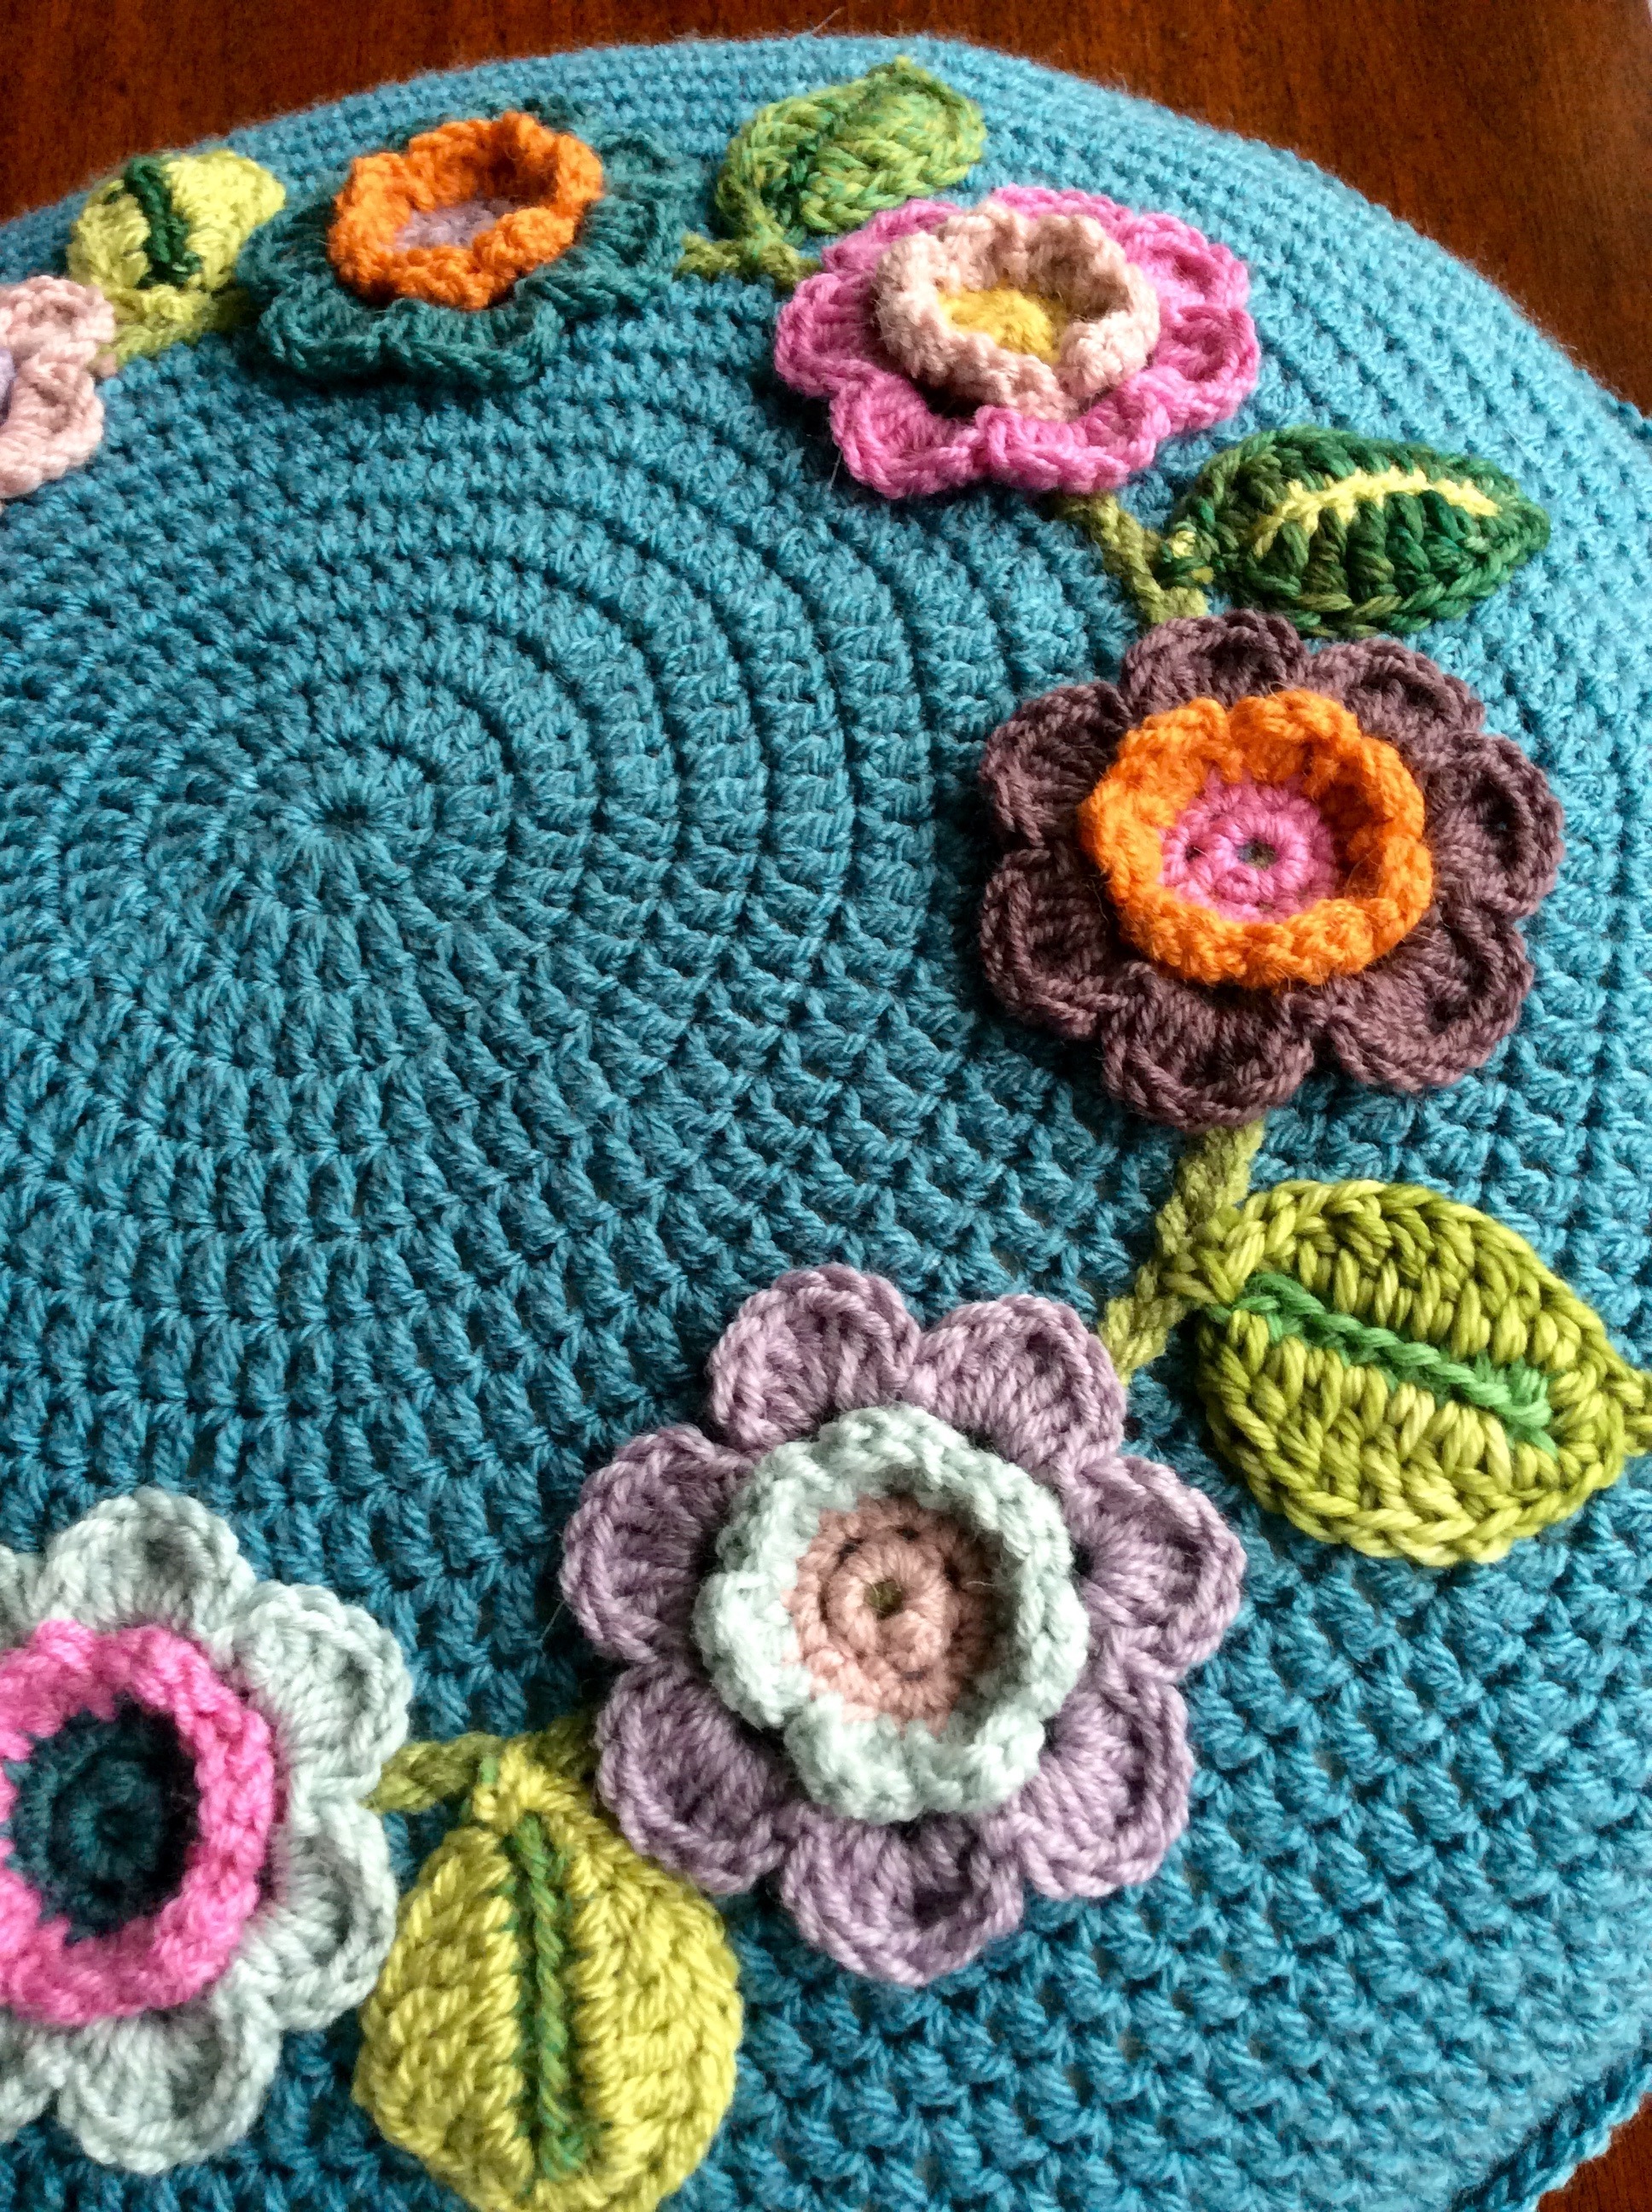
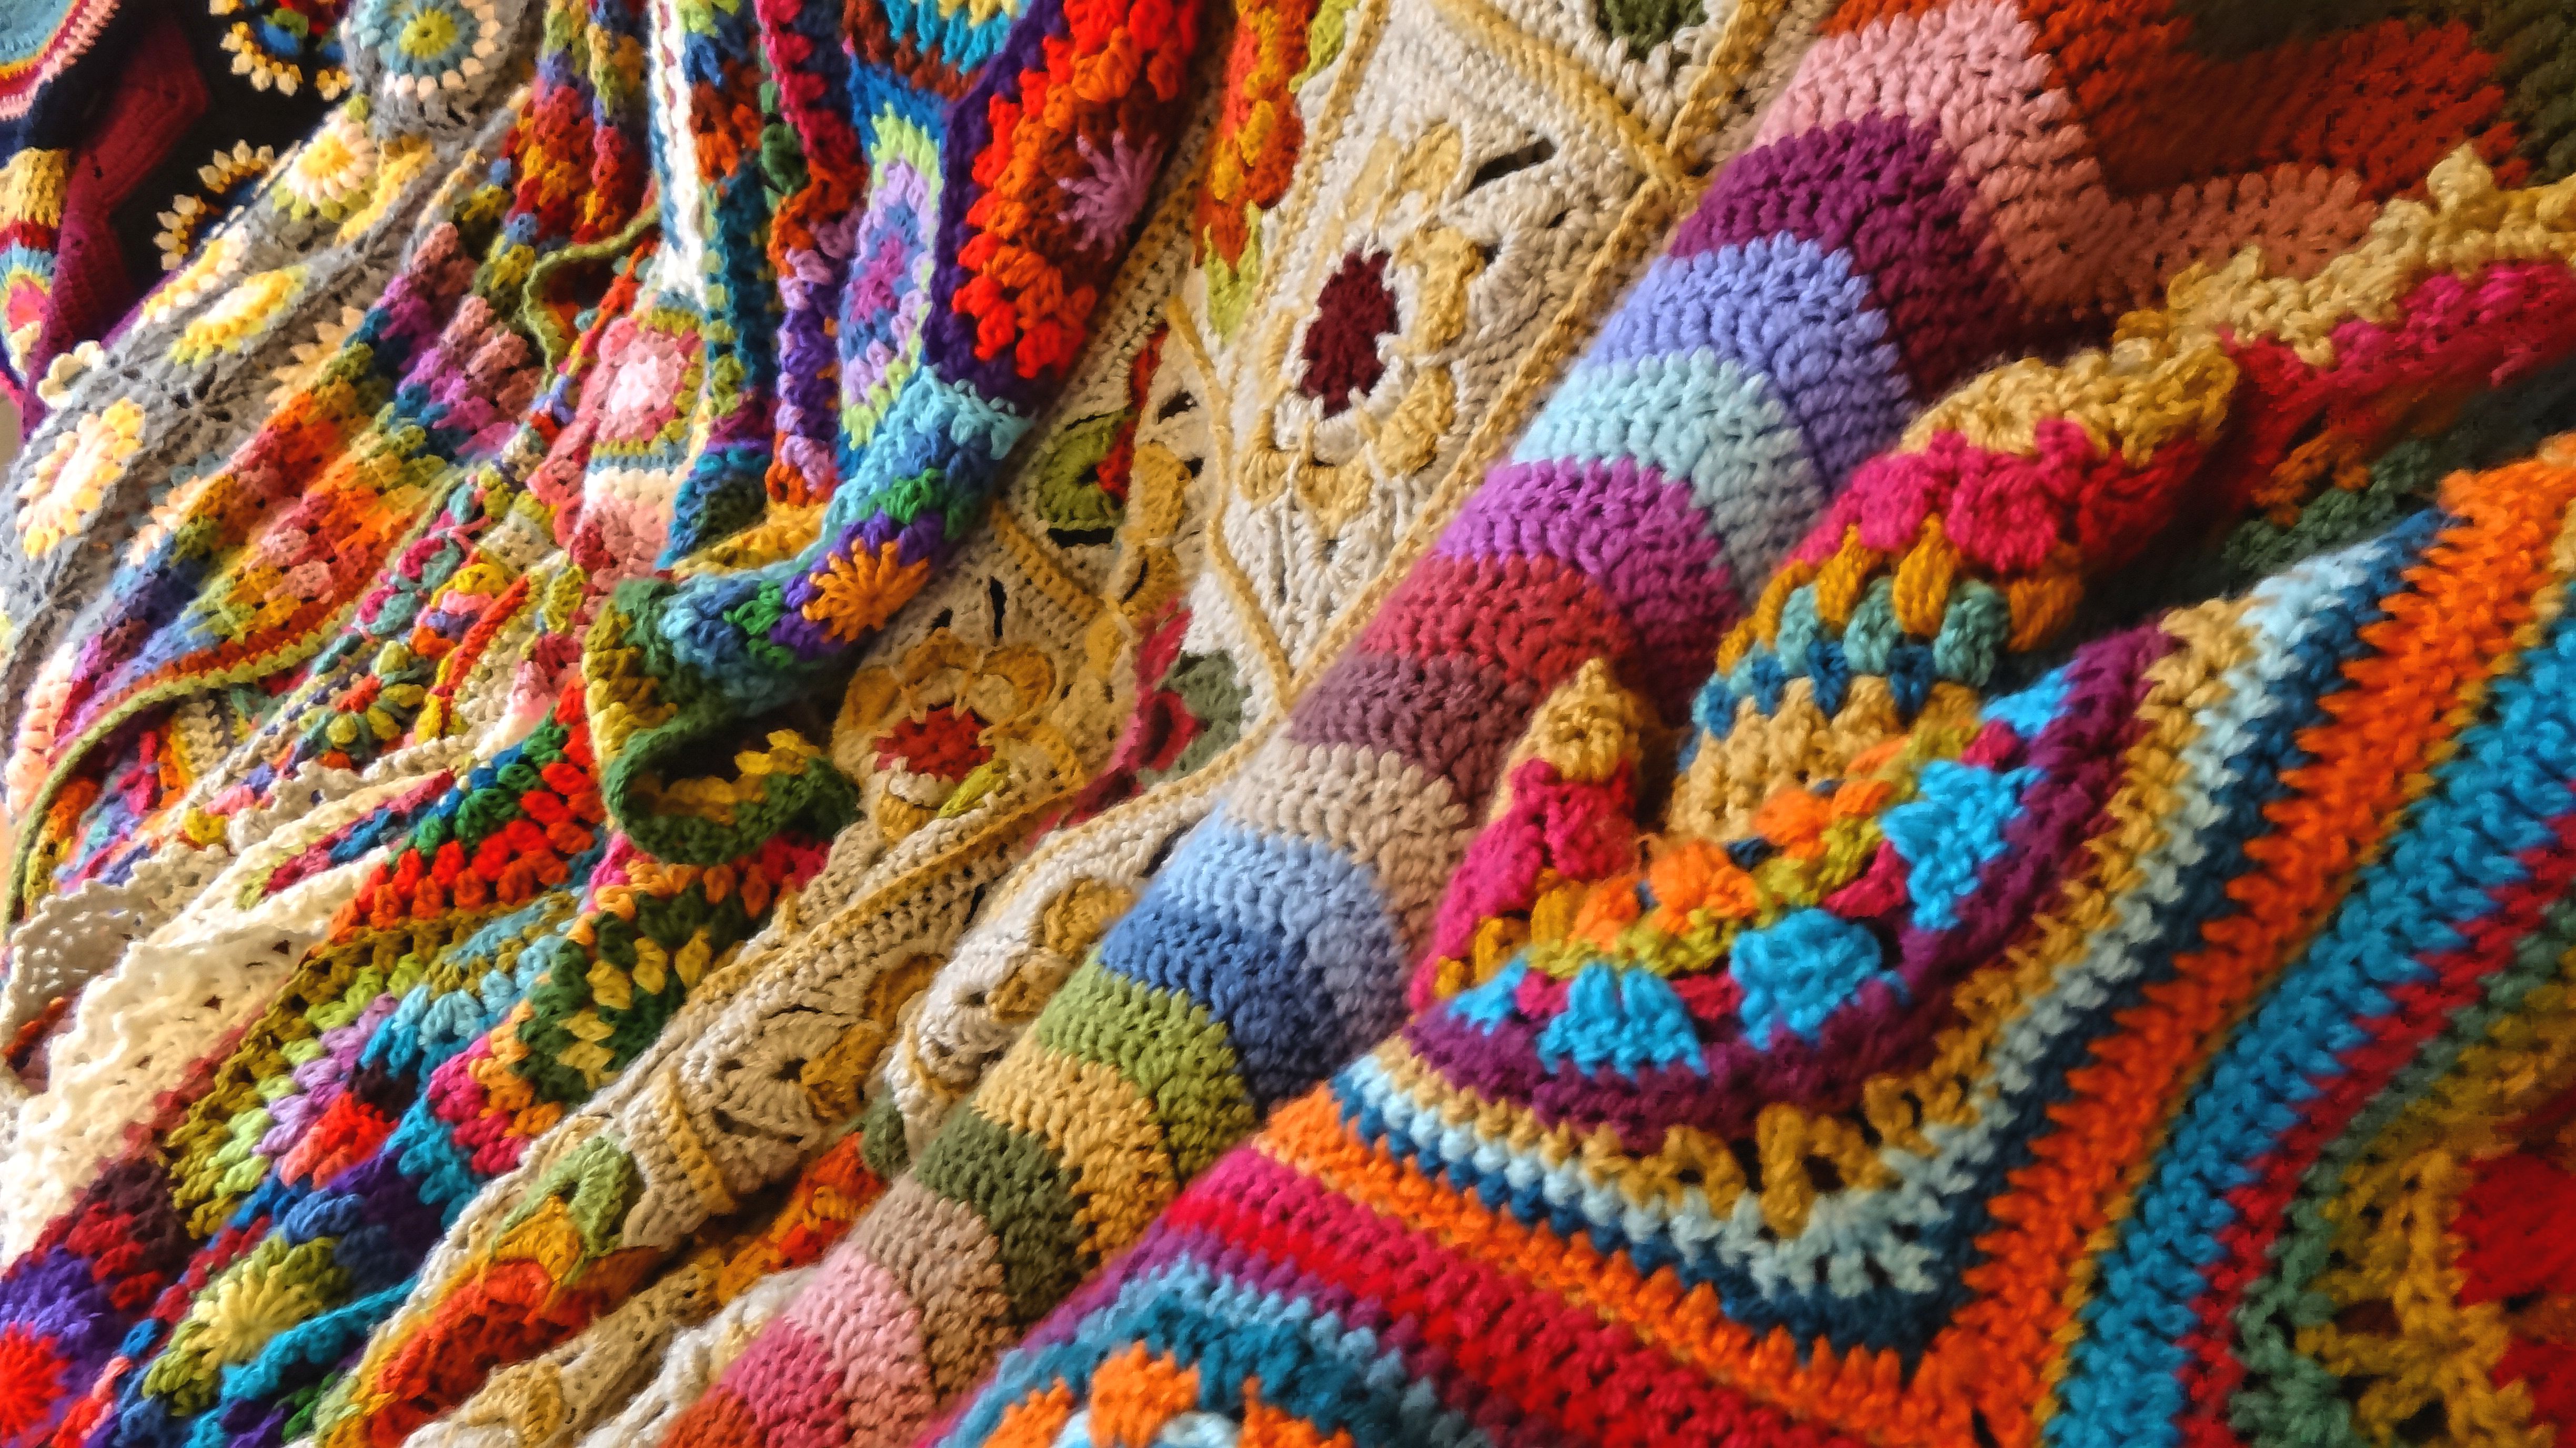
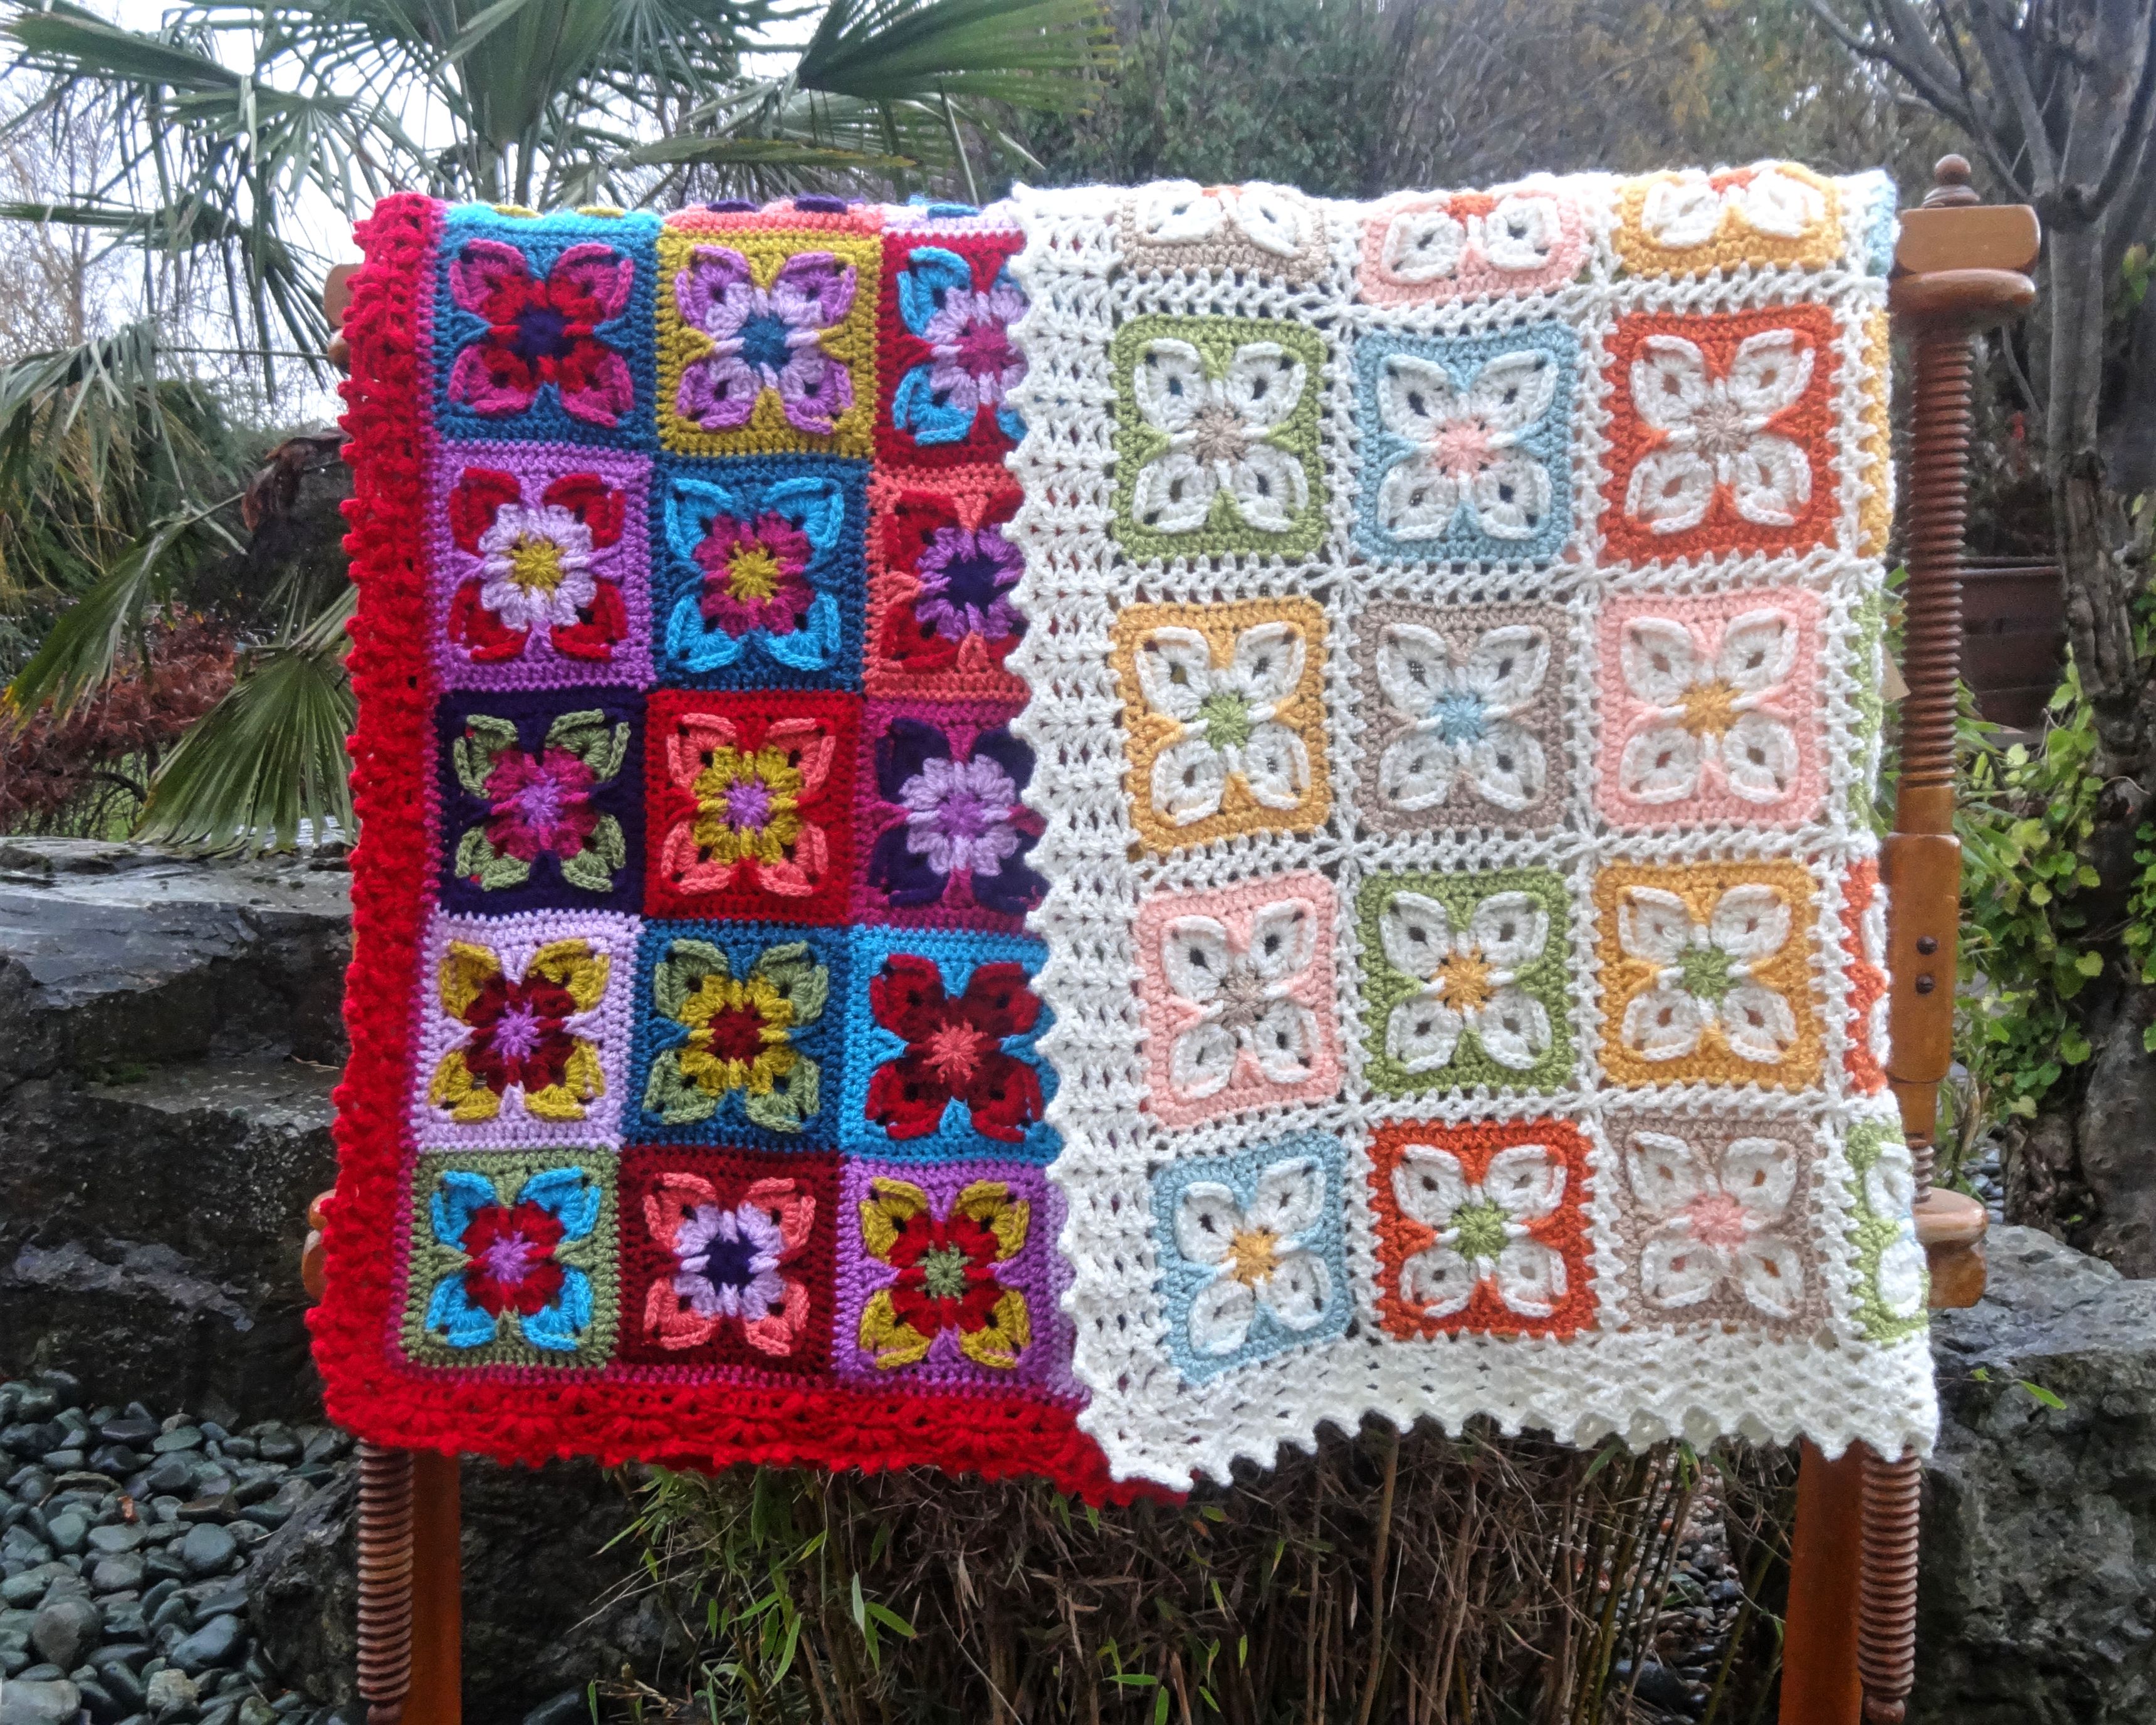
The fact that colours are so important you can see it in those 2 blankets, both similar size, same pattern, same material, VERY DIFFERENT LOOK and FEEL because of the colours choice.


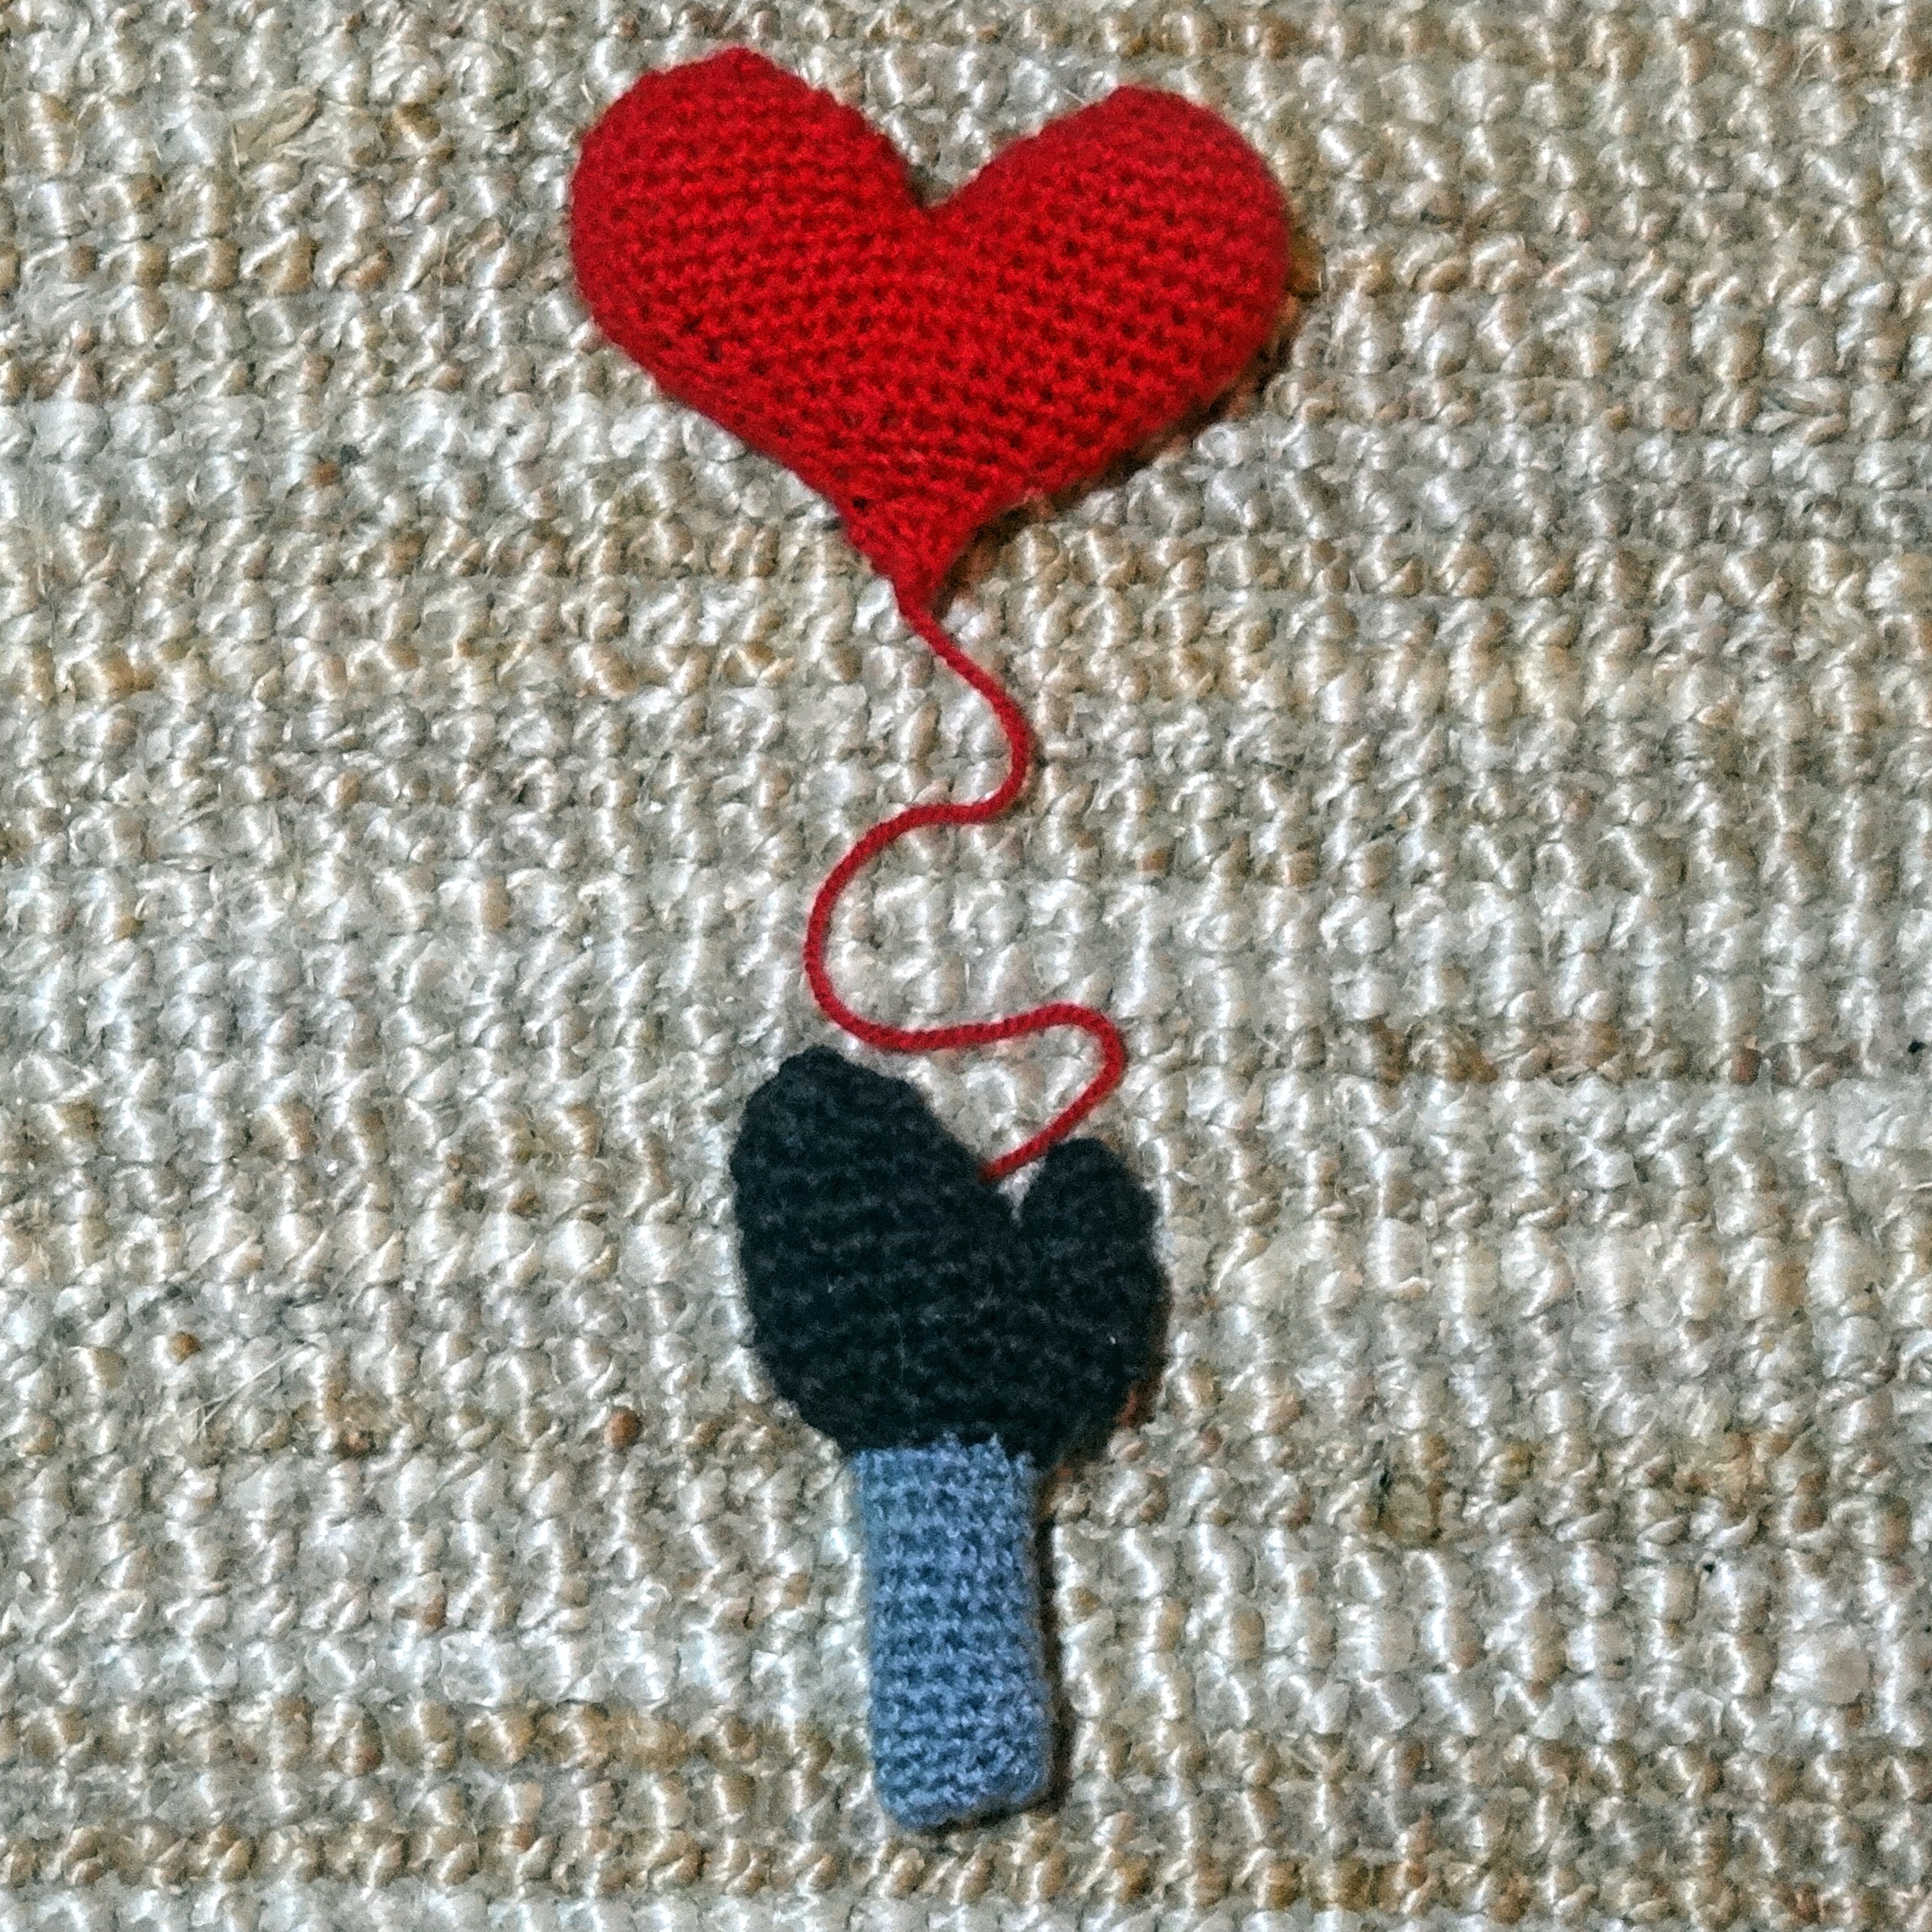
The bright one is for a colleague of mine that had a baby recently. I know she likes bright strong hues and , I hope, the blanket will reflect her taste and her heritage with loads of red for good luck.

2016-12-04-11-26-12

2016-12-04-11-27-49
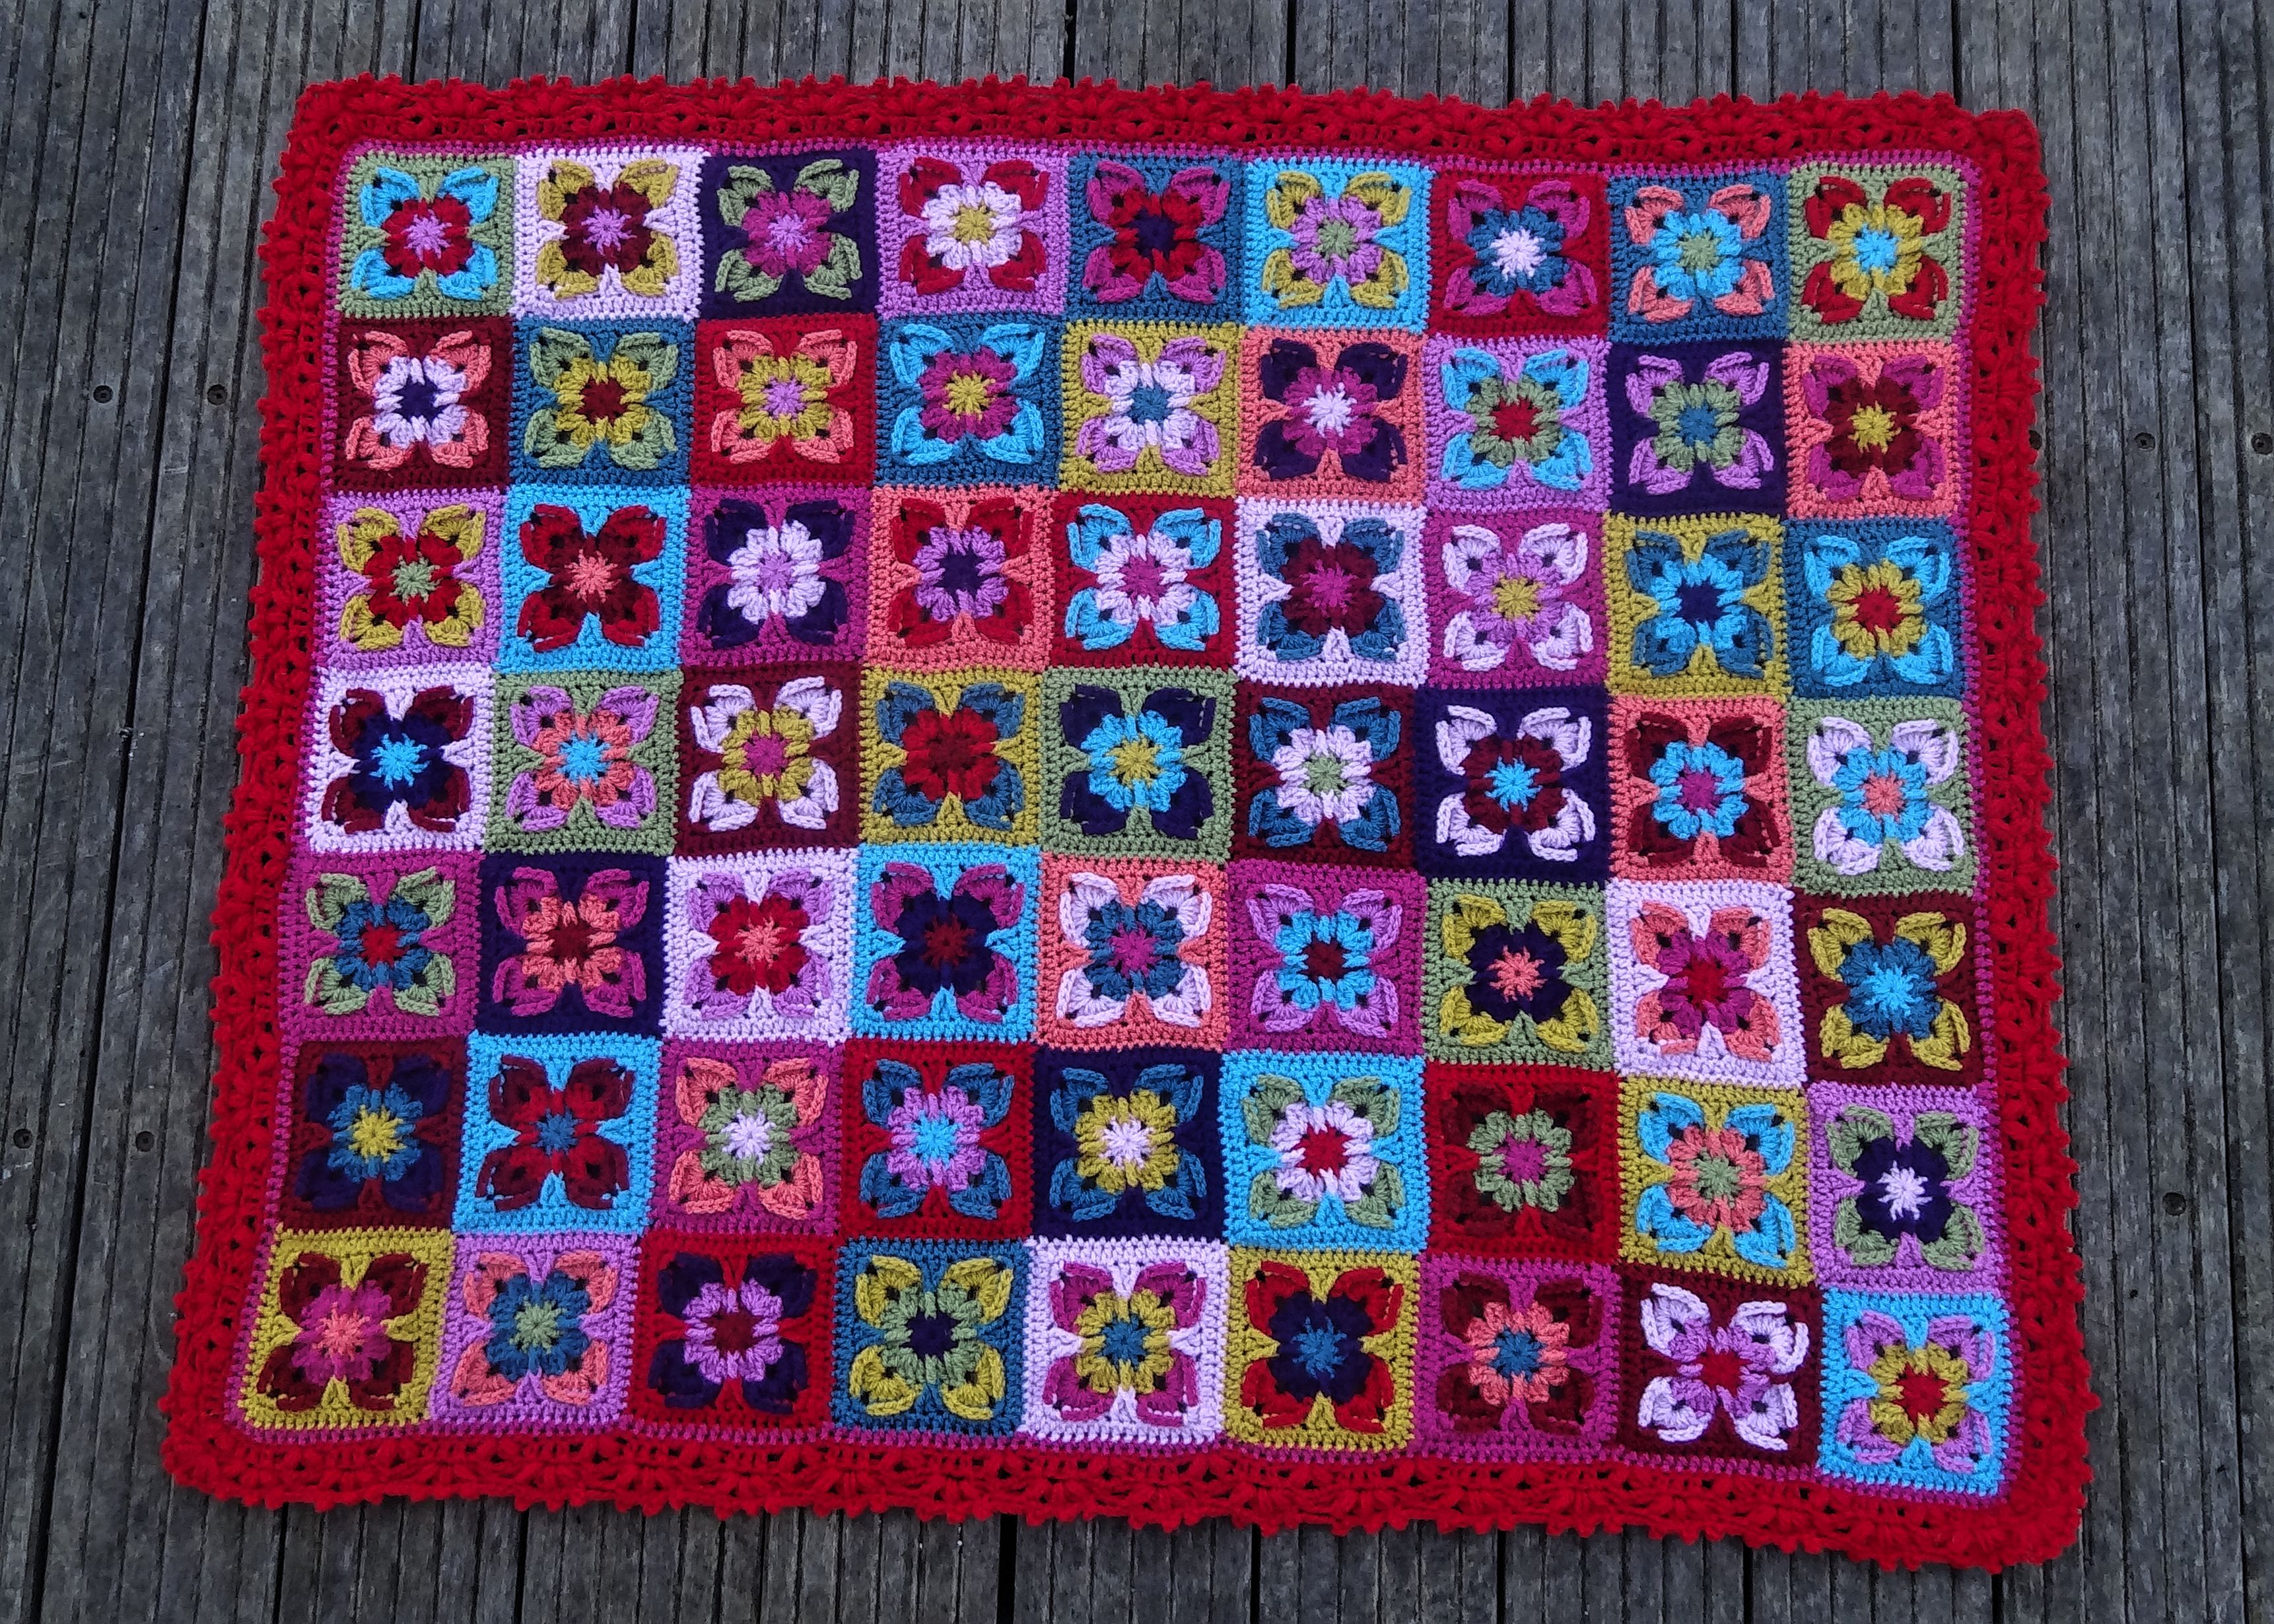
The border is bold and strong n the joining is virtually invisible because what matters is the colours.


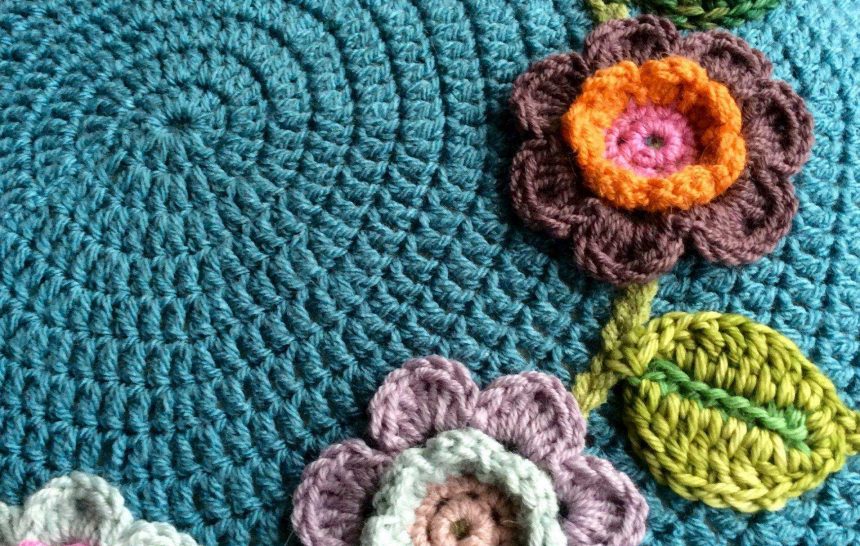
The second blanket is for another little girl, this mum loves pastels, muted colours and she has chosen neutral shades for the nursery . so I introduced more traditional baby hues, with a hint of colours to create some interest.

2016-12-09-09-36-54

The joining is a flat braid because I like the lacy delicate effect that compliments the border and the colour choice.


Did it helps? I hope so.


Some technical details if you are interested:

For my journals I use a moleskine  A4 watercolour folio, landscape, 200 gr paper. Shop around because the price can vary between suppliers. It is perfect  size to be transported, has an elastic band so it can keep everything inside,  the paper is heavy  so you can use watercolours crayon markers, whatever also it  holds swatches, bits of yarns and anything you want to stuck down.

I also use double sided tape for the ‘yarny bits’, Glue, pencils, pastels, stickers , buttons anything really.

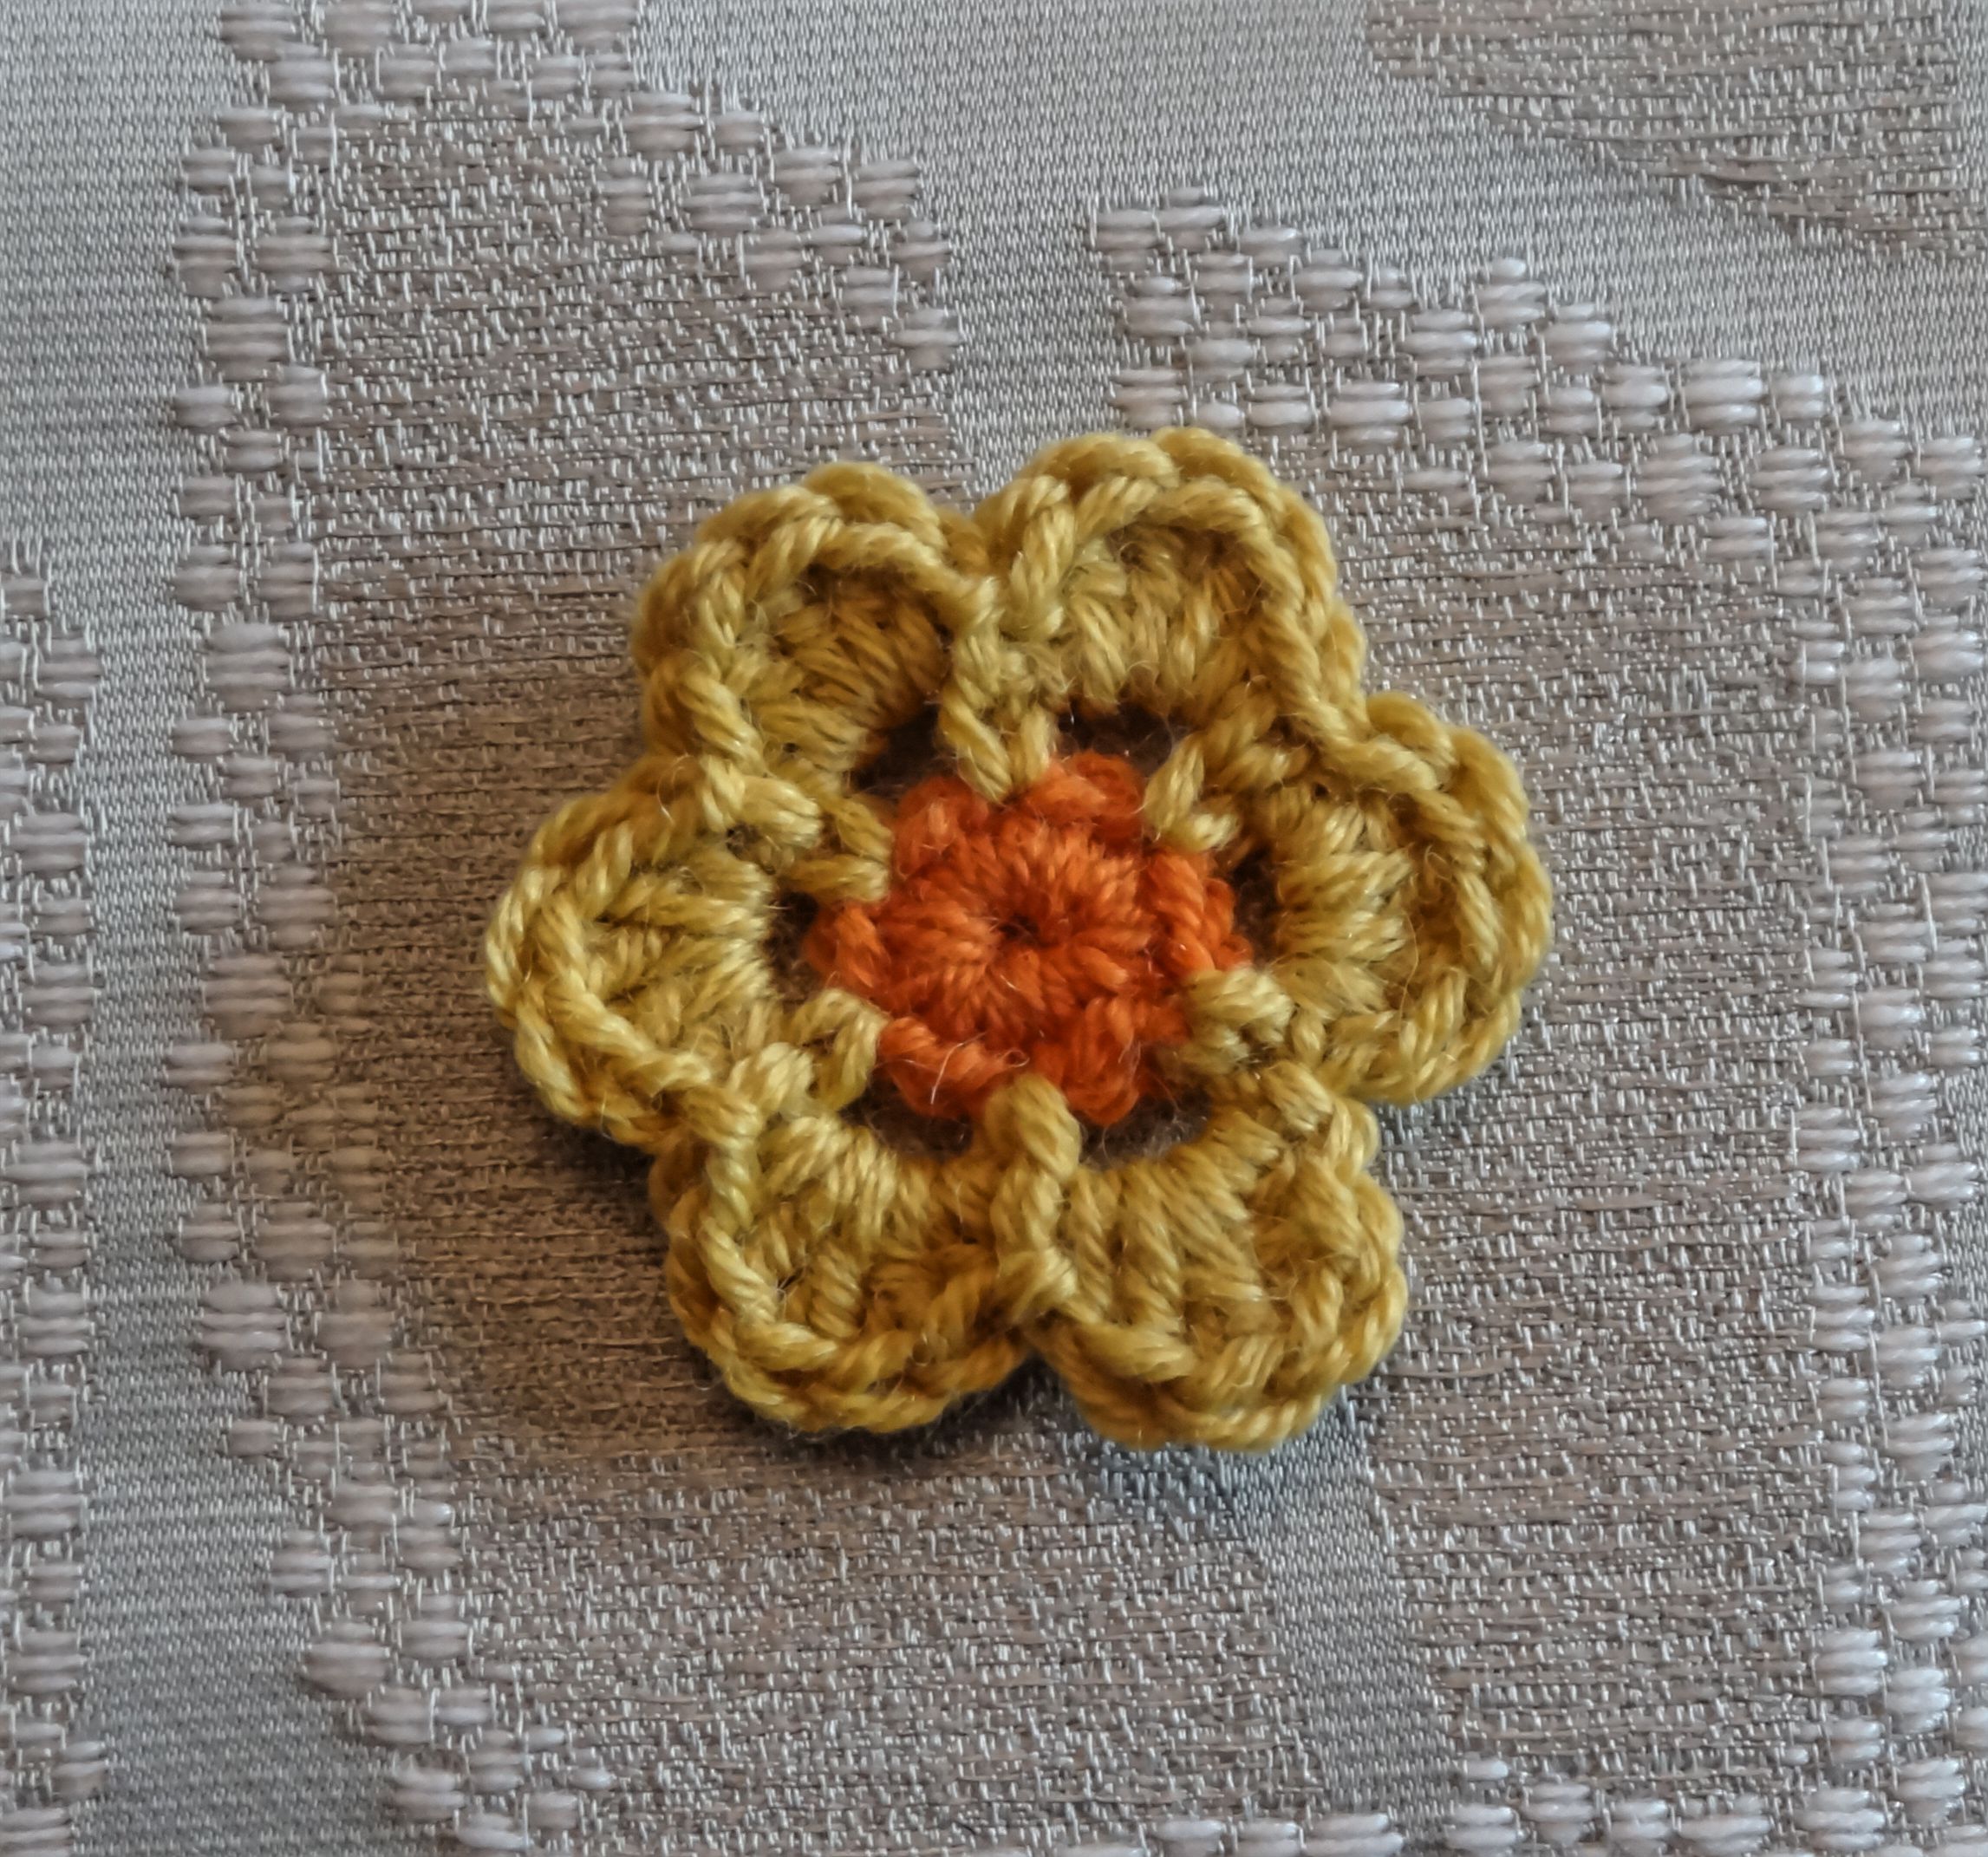
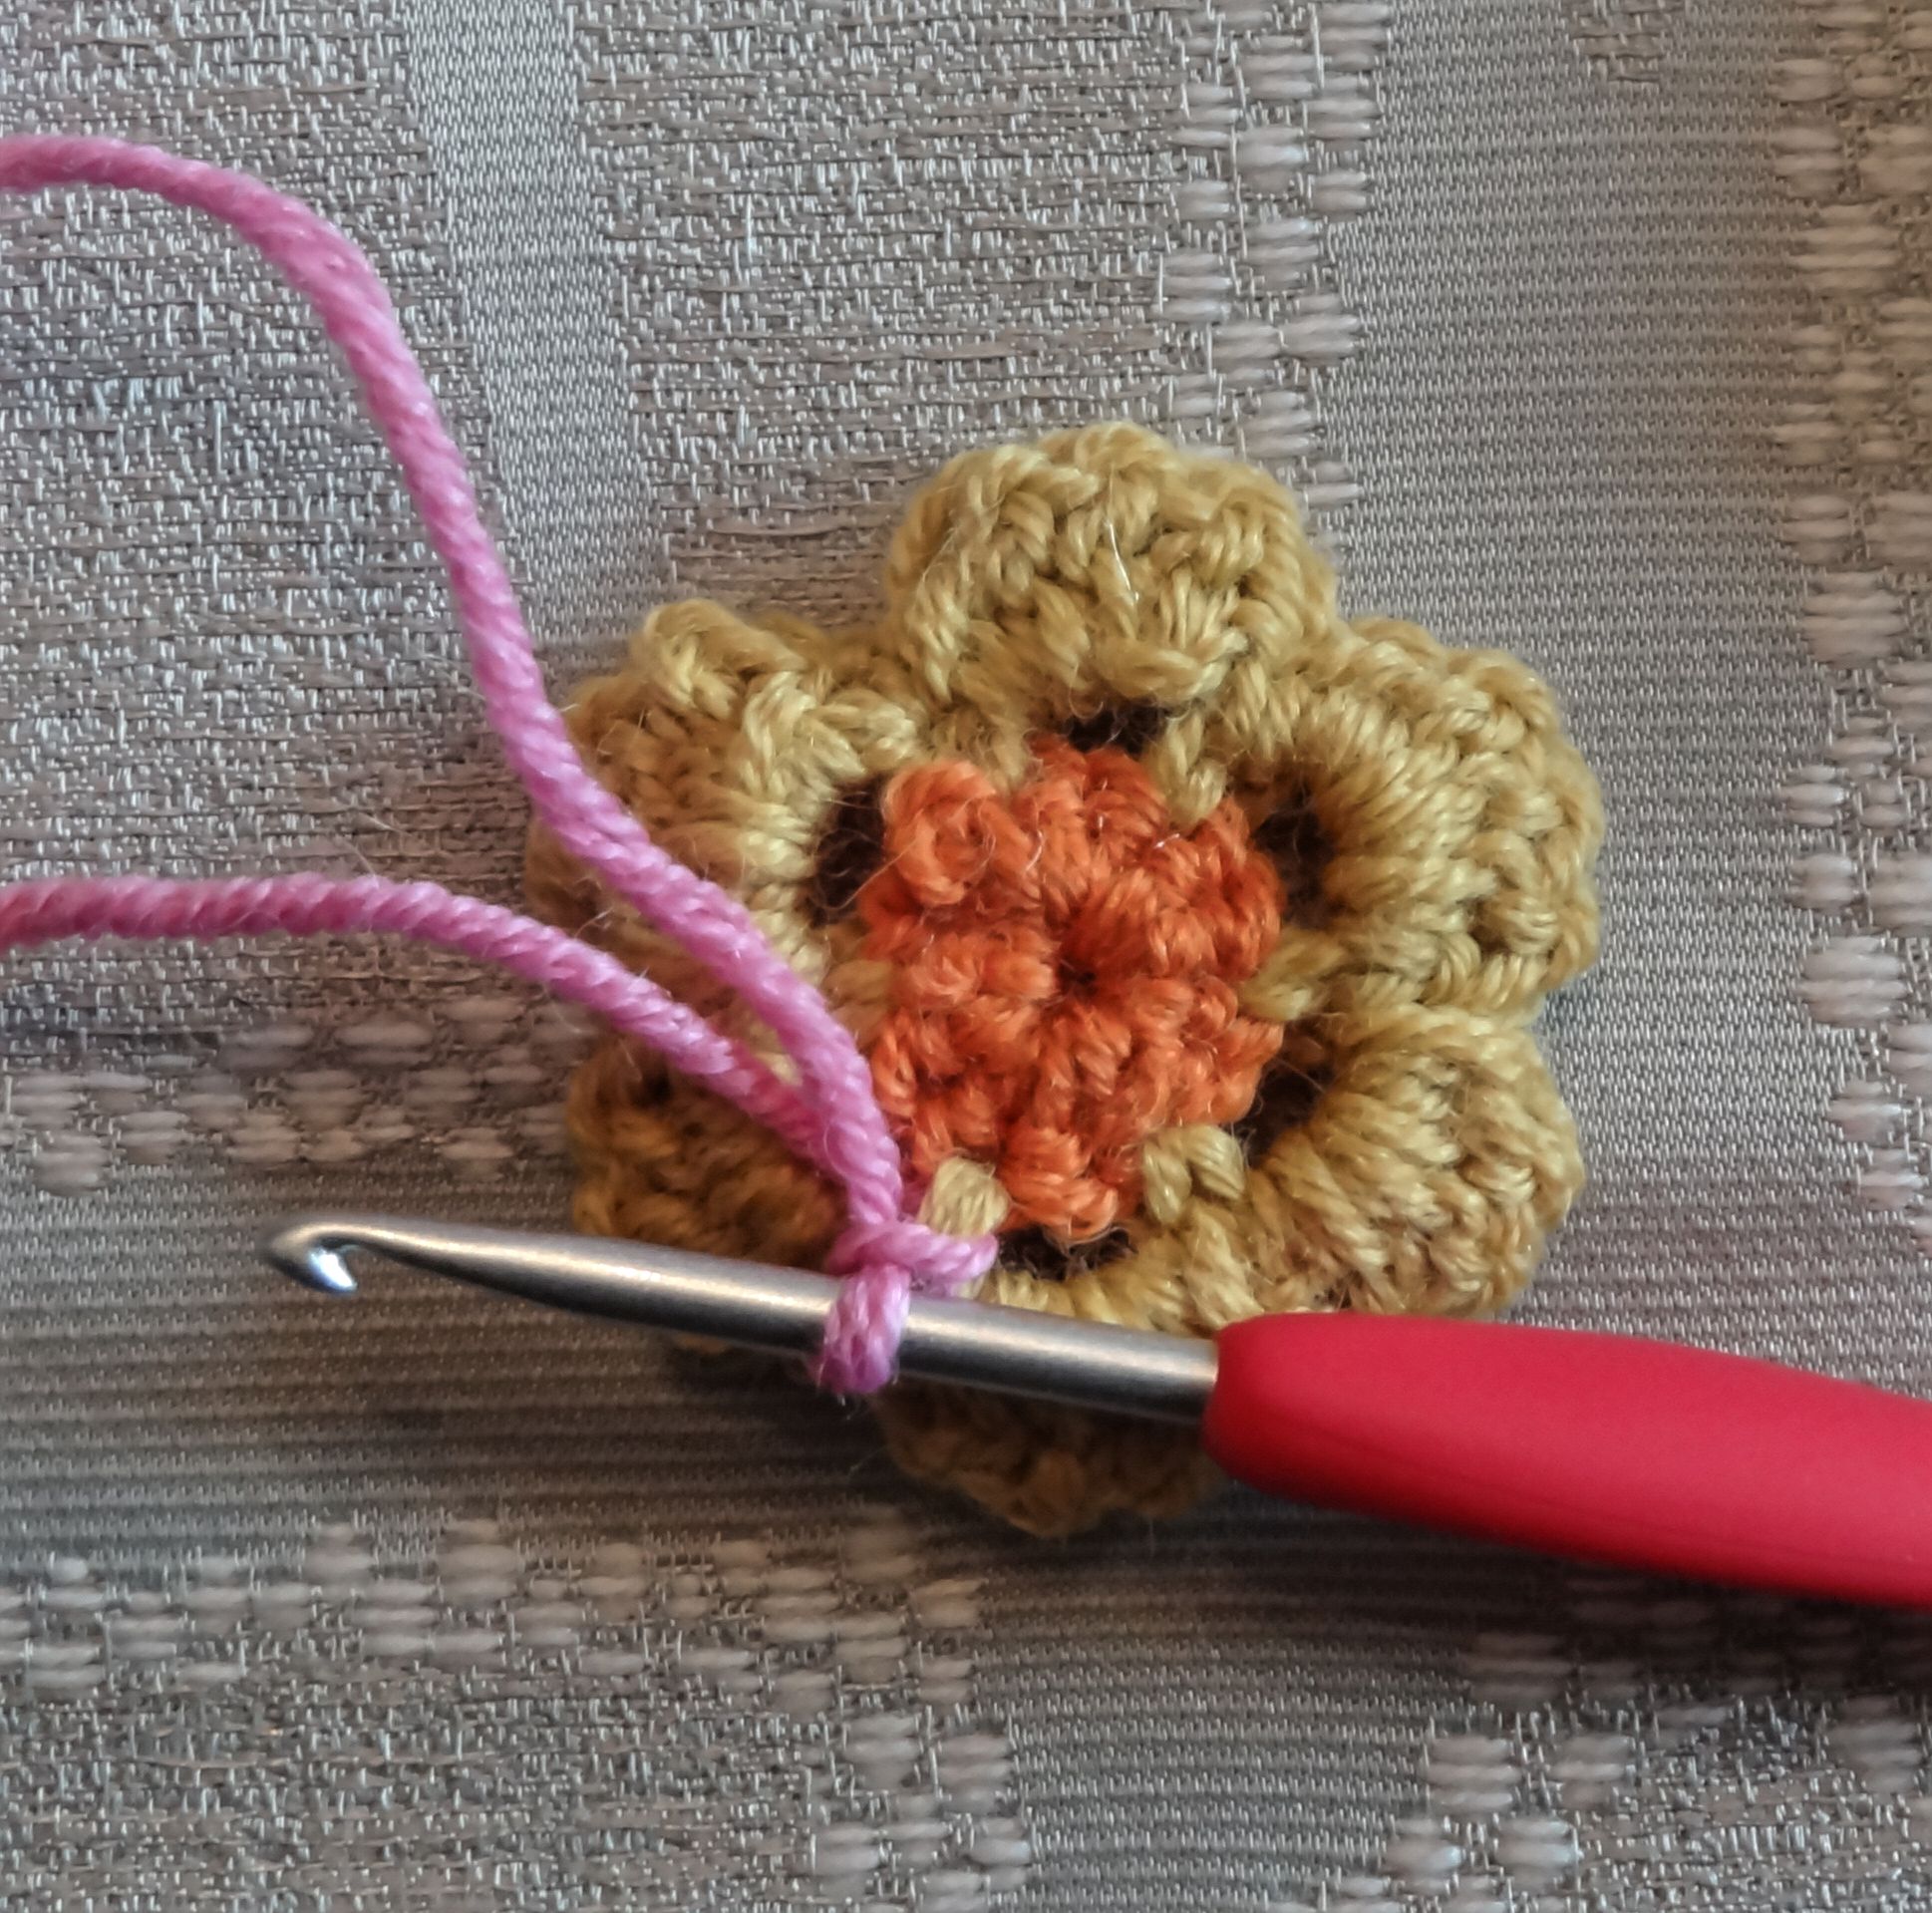
BRIGHT BLANKET DETAILS:

YARN: STYLECRAFT SPECIAL DK

COLOURS: emperor,petrol,turquoise,meadow,mustard,claret,lipstick,fuchsia purple,shrimp, magenta and clematis.

The border is done in lipstick. The pattern is adjusted from something I found in the internet sorry I have just the print on the journal and a swatch.

PATTERN :

it is the small square from @Catherine Blight’s Demelza CAL


PASTEL VERSION

YARN: STYLECRAFT SPECIAL DK

COLOURS:

Stone, pistachio,saffron,spice,duck egg,apricot

BORDER: Echkman: ‘crochet borders’ n.27

Joining as you go flat braid.

2016-12-04-11-37-32


Lucia xx


It is that time of the year….

I am one of those people that love winter and all the trimmings that come with the season, dark nights, log fires, candles, hot chocolate, lots of carbs,cosy  scarfs, mittens, blankets, handmade socks, friends and family gathering for the festive season and most of all I like to have an excuse for making  small things to decorate the house with.

Other things I like are Scandinavian decorations and imagery. One of my favourite artists is Lennart Helje,in particular  I love his whimsical snow-cloaked world of Tomtes , woodlands and animals, also a few weeks ago I saw a short motion posted  on facebook  of a knitter tomte  from Mochimochiland and I thought was lovely

http://giphy.com/gifs/love-comfort-knitting-3oriO6qJiXajN0TyDu

670c0d07ba82c764fe12e082766f7d05

so I decided to make a small guardian as a central piece  for  my  festive mantelpiece’s display.

If you are not familiar with the concept Tomte, is the Swedish name for a brownie or a hob, they are mythological folklore creatures typically associated with the winter solstice and yuletide. they look after the house and the occupants , they are small, with long beards and wearing a conical cap. they also can have a bit of temperament if ignored  but a good porridge and a beer will make them very happy.

2016-11-29-12-51-07   2016-11-29-12-51-19

My Tomte is made with some ODD ENDS OF CHUNKY YARN, I used some leftover Alafoss Lopi, some DK YARN in red, pale rose and grey ( Stylecraft special ) , SOME SAND or RICE,( can be  little pebbles anything  that  weight down and fit the body), some TOY STUFFING  and a bit of WOOL TOP  for the beard.

img_3962

You can change anything of the above to suit your stash or your decor but you need the wool top , the most distinctive feature of a Tomte is his beard so has to be wool top in my opinion.

I didn’t write a pattern because it is  straightforward, especially if you are familiar with amigurumi patterns. You have a cone for the body,  another cone for the hat, a small half sphere for his nose. I added to mine  two little arms with large mittens and a big  heart.

Just decide how big you want your Tomte to  be. Then start a dc circle ( same as the cushion I posted the other day).  When you are happy with the size of the base stop the increases and  keep crocheting; the sides will start to come up. Again when you are pleased with the height, place  a round of even spaced decreases, more rounds and some more decreases your cone will start to form.

img_3966

At this stage, it helps to start filling the body. I place a little bag of sand in the bottom to stabilise and stuffing all around.It is up to you how tall, slim you want your Tomte to be, mine has a 9inches tall body and 12 inches tall hat.

The hat is a cone too, start really small, and I added some increases for the rim to give it a’ Gandalf’s look’. Nose a semi-circle with some stuffing.

For the arms I used the A:15 pattern from  Kerry Lord’s ‘Edward’s crochet Imaginarium.’ grey dk for the arms and the chunky for the mittens.

Edward’s crochet Imaginarium is a fabulous book. Probably the best I bought this year. Very useful for all sort of little creature projects. The pages are split into three parts: HEAD-ARMS-FEET  plus some bodies patterns at the end of the book, so you can combine and make whatever you like.

You can use the body pattern for your tomte too.


The heart….

2016-11-26-17-03-14

I found an amazing free pattern online by Mia Zamora Johnson this is the link:

 http://owlishly.typepad.com/owlishly/corazoncitos-amigurumi-hearts-pattern-free.html

It comes in 3 sizes: small, medium and large. I used the medium pattern for my Tomte.

The mistletoe on his hat is pattern 53 from Lesley Stanfield ;’100 flowers to knit & crochet’ again anothe good book to have.

Make one it is really fun and a good omen too , all homes should have their  own little guardian!

In the next post I will show you some more crochet decorations and how I  used them .

Happy hooking! xxx

2016-11-29-12-43-57


so where to start?

After my all singing and dancing introduction, I thought better I start with something easy …
If you follow me on Facebook, you probably have seen my round cushions that I made a few months ago. A lovely lady called Pamela asked me the other day how I did my blue denim one and if I had the pattern for it.
It is very simple to make, and it is 2 flat round circles, joined with some lovely little flowers and leafs as decorations.
The pattern I followed for the circle can be found on several blogs, and books but I like Lucy,s one at @attic 24: http://attic24.typepad.com/weblog/crocheting-a-flat-circle.html there is a photo tutorial too.

another blog you might want to have a look to it , if already you are not familiar with is Sandra @cherryheart http://sandra-cherryheart.blogspot.co.uk/

http://sandra-cherryheart.blogspot.co.uk/ she posted two new cushions just yesterday!
The yarn I used it is STYLECRAFT SPECIAL DK in denim. My circle is 22 rounds wide, and it measures 45cm (18in) in diameter.
I used a 3.5 hook because I wanted a dense fabric, so please do a little swatch with your yarn of choice, so you are happy with the results.img_3151

FLOWERS….
There are hundreds of amazing flowers out there to be inspired with! You can source some on the internet on Pinterest, just type crochet flower, on the search engine, or you might have some books in your library.

I love books because I love something tangible to hold, but they can be pricey, so I buy mine mostly second hand from Amazon, charity shops, bargain bookshops, TK Maxx.., etc. so when you go shopping for other goods spare a moment to find a hidden-gem! Another source for free publications it is Danish electronic publishing platform for magazines, catalogues, and newspapers called
@ISSUU
https://issuu.com/
ISSUU has a tool, CLIP, that allows readers to take a snapshot of any part of a publication and share that on social media or through email.
Under’crochet’ you can find lots of magazines from around the world, books and articles. It is especially useful if you, like me, love Japanese crochet books.
One note about Issuu, I read some controversy about infringing copyrights, so if you are unsure about it, please accept my apologies, as, I assume, having over 100 million active readers all over the world, it is a legit site.
Back to Japanese books, I love them as they are made with lots of care, they have lovely pictures and great diagrams, the only downside is the price especially when you add the delivery costs to the UK. So  I always have a look on Issuu first, and check if they got a digital version of it, and if I like it I might buy it otherwise I just pick a couple of patterns that might be useful.
If you want to buy Japanese crochet books and are in the UK the best platform it is Etsy. I get mine from:
https://www.etsy.com/uk/shop/pomadour24
Pomadour24 is a very reliable company so far, I bought books from them few times, they come beautifully packed, via airmail, in about a week. I am waiting for delivery in the next few days …
a note:
I might mention in my blog websites and links where I buy materials or patterns I would like to say that any of those companies does NOT sponsor me, I just provide you with some information that you might find useful. In the eventuality that I get asked to try or test something, I will make that very clear to you all.
Besides If I want to sell something I have a shop here, at the moment it is empty, but I might use to sell blankets or whatsoever in the future.
The blog is a platform for me to share my experience and my unbias view only.

the pattern for the flowers on my cushion is:img_3153

FLOWER

1st round: make a magic loop,2ch (to make the first dc),11dc in the ring, pull the ring tightly close n ss on the top of the 2ch. (12dc)

2nd round: change colour,2ch , dc at the base of the first ch,*3ch, skip a dc from the previous round,1dc on the next dc,* repeat **6times, close the round with a ss.( 6dc, six ch3 spaces) do not cut the yarn

3rd round: in the three ch-space work: 1htr-3tr-1htr,1ss on the dc of the previous round, repeat all around; fast off the yarn.

4th round: new yarn, fold the petals of round 3 as we are working on the back of the flower, one dc around the dc of the 2nd round,5 ch; repeat all around do not fasten off the yarn,

5th round: ss on the dc of the previous round, in all the ch5 spaces, work as follow: 1htr,5tr,1htr. ss on the last dc and there you go you got a flower!

LEAF

a little basic leaf:

Ch 8, start on the second ch n work as follow: 1dc,1htr,3tr,1htr,1dc on the last dc work 3 dc together. This makes one side of the leaf.
Now turn, we are working on the foundation chain row as follow: 1dc,1htr,3tr,1htr, 3 dc in the last ch. That makes a little comma that looks quite lovely n very ‘leaf-like’.
As I said, please experiment and see how you like your leaf, there are so many of them to choose from all easy n VERY quick.

for some extra decoration, you can add a little embroidery of chains in the centre of the leaf.

leave a long tail so you can sew your leafs n flowers on your circle!

flower1  flower2flower3


FILLING YOUR CUSHION
I like to use feathers pads because I like how they ‘sit’.Normally I have no issue with the squares ones, but I tried to buy some round feathers pads on the internet, but they have been of poor quality, I ended up returning them n tried a different source, still not so good either. So be aware of that. Another point is if your cushion measures 18 inches consider to buy a bigger pad. Especially if you have used acrylic yarn (like I did), it stretches quite a bit, and you want your cushion to look nice and plumpy.

HAPPY HOOKING!!!


img_3756


why another crochet blog?

why another crochet blog?
this is a very good question! There are so many amazing blogs out there and what mine will add on?
well, that has been swirling in my mind for a quite some time, but I think I got it now: I am gong to write a blog about crochet because…
I LOVE CROCHET!
I just not only love crochet, but I also love knitting, embroidery, painting, gardening, cooking, reading, I love anything that has to do with creativity.
I want to share with you my process of thinking and how we all can be creative because the act of making and creating is deeply satisfying, life-affirming and rewarding.
Been creative means be curious and having a zest and a willingness to try.2016-11-26-10-26-22

I read often in crochet groups, comments about how some of you don’t have confidence in choosing colours or trying a new pattern or indeed creating a new one, so I thought if I share how I go about you can do the same.
The internet has been a great support for all crafts generally because has made much easier to source informations, materials and also like minded people and networks were to plug in, but there is a downside too: It can be a little overpowering, too much of everything and not enough time. So we need to learn how to navigate, source, use and indeed have fun!

Family, work ,children, chores…without even mention all is going on around us it can be overwhelming and there is where been creative and making things come ‘handy’ ( excuse the pun…)
It comes handy because it brings contentment, purpose, well deserved relaxing time and a place to unwind,but it is not all puffy clouds and pink unicorns! I also know that making things can be really infuriating too!! especially when we can’t understand a graph or some instructions, the yarn is unsourceable or too expensive…or when we lost the reference of that most amazing pattern that you always wanted to make…but ,at the same time, nothing makes you feel so alive and connected to the world as making something, a gift for a loved one, something to donate to a charity or simply something to snuggle under, wrap your baby in it or something that make you smile.
What I am saying is that to bring a little square to life or indeed a full blanket, it is a powerful form of self-expression and make us beautiful humans! ( so tell this to your husband when he grunts because yet another delivery of yarn has just arrived at your front door!)
So have faith in your confidence, believe that you need some space and time for your creativity and more so BELIEVE THAT YOU CAN DO IT!!


2016-11-26-10-25-19

Hello and Welcome

lucia-fig-logo

Long last here I am!
The blog is finally live… It is exciting and also REALLY scary too!
My primary concern is the English and my grammar so. Please be patient with me as it is not my first language as you probably know if you are already following me on Facebook.
So let’s crack on with this.
A quick intro about myself so to set the scene and give you a bit of background on Lucia’s fig tree:

img_3577

My name is Lucia, I am originally from a small village in northern Italy, but I have been living in Scotland for the last 25 years, I am a mother of four lovely kids, well not really kids anymore..my oldest is 23 and my youngest 12.

I did architecture at University in Venice and my love for fabrics, interiors and colours and yarn as been not only part of my job but also my hobby too.
I started to crochet when I was young during my summer holiday in Tuscany with my two grandmothers, their cousin Mariuccia and several other ladies which regularly came for few hours every day, under the shadow a massive fig tree.
It was an oasis for chatting, learning crochet, knitting plus cooking naturally!
Time has moved on, and I live in another country, so I decided to take advantage of the Internet and create a virtual fig tree where we can all gather together and make things!

X