The EASTERN JEWELS is finally LIVE !
The September blanket is a bit of an unusual one…because I start making it 7 months ago…it took ages ( but I am going to tell you why) but I finally can share it with you and I never been so eager to write about a project as much as I have been for this blanket.
So here is the story behind this latest collaboration between Jane Crowfoot, https://janiecrow.co.uk/presta/Stylecraft https://www.stylecraft-yarns.co.uk/ and myself.
I will start with a bold statement:
THIS IS THE BEST BLANKET I CROCHETED SO FAR!!!
…and let me tell you I have crocheted quite a few of them!
It has been a real labor of love and,considering that it is not such a big blanket, it has also taken me ages to come up with the final color selection. I have been through several balls of yarn and I have a big basket of failed attempts sitting in my studio!!!!
Look at this “baby”…how lovely is she????
So grab a coffee or a tea, sit comfortably so I can tell you the story of the latest creation I have been working on, behind the scenes, for the past few months.
It all started back at the beginning of the year with another recoloring project: the Frida Primavera which I am sure many of you have seen it.
I enjoyed the challenge very much, I knew the blanket as I had taken part to the CAL that Jane ran for Stylecraft the previous year.
And, I am taking the opportunity to say that I am so happy that the new colorway was well received by many of you, thank you again for all your lovely messages!!.
On that wave, Annabelle from Stylecraft and Jane asked me, back in March, if I would consider doing the same for the Persian Tiles.
and by now you know me so I said …
YES!!!!
I knew the original pattern as I had bought a copy from Jane when it got released but I never got around making it…
Hence I got quite excited about the prospect of working on something new. The Persian tiles was another chance to unplug, look away from the screens and my day job, let the liminal brain take over and unleash creativity.
Doing that for an already existing pattern is an added bonus as I feel like it is a bit like coloring between the lines, in a way, quite a safe exercise, as all I have to do is focus on the colors which are my favorite part of the process.
Where did I start from?
I always start, like I do for all my blankets, by making a sample of the motif with some random yarn as long as it is the same composition and gauge. It might seem a waste of time but it is the opposite. Making a sample helps you to familiarise yourself with the pattern. It helps you to solve some possible “tricky” parts and it gives you an idea of tension and size of the final motive. It also allows you to see if you need to adjust or not the size of your hook and finally it is a record of your work to keep as future reference, especially if you are making the blanket for someone else.
this is a picture of one of the ‘trial’ motifs I made as said, it is random yarn to start with….
Once I got the motif right then is when the fun starts as it is COLOUR TIME!
So this is the original Persian Tiles. The picture is from Michelle and Anne’s page crochetbetweenworlds.net Michelle and Anne are also Blogstars for Stylecraft, they are amazing and you should check their page! I believe this blanket was made by Michelle
what catches your eye first?
For me was the geometry of the pattern and how the original colors emphasized this aspect, so my first thought was that in order to make something that looked different and was a real alternative to the original, I needed to do something more than merely changing the original seven colors. I needed to come up with a different way to use colors and keep the geometry but in a more relax and loose manner. I show you what I mean with an example of actual tiles…
Here you have a collage of different way to use the colors in tiles that are very similar in style and all retain the same strong geometry feel. As you can see just changing how the colors are used it changes quite dramatically the overall look.
Using the tiles above as a reference, I thought that Jane’s original color selection was similar to square N.1. What caught my attention was square N.3
I liked how the geometry aspect was a bit diluted by the apparent randomness of the colors.
So let’s have a close-up look at the Eastern jewels…
Can you see where I am coming from? By not repeating the same sequence of colors for each motif it makes the blanket looks more ‘random’. In reality, it is not random at all, Every single color and its position have been chosen.
I used just 12 colors to start with including the buttermilk which is my “neutral”.
The buttermilk is actually the most important hue in all blanket. I was so pleased when Annabelle at Stylecraft accepted my proposal and introduced this new color in their range! I was so determined to convince her that it was a must! now you can see why…
these are the “neutrals” on the Stylecraft range…so you have:
white, cream, parchment, and buttermilk.
I apologize as the white is not in the picture but ..I run out of it!
Said that it doesn’t really matter because what I want to show you is not the actual hue but how they work with the other colors.
So now look how these neutrals behave in blankets….
WHITE:
CREAM:
PARCHMENT:
and finally the BUTTERMILK:
you will agree with me that if we are looking at:
PICTURE 1:
just ONE round of white in a very bright blanket still makes a huge impact.
PICTURE2 :
even if the percentage of the use of cream is much higher than in picture 1 it is still predominant but not as stark.:
PICTURE3:
there is a LOT of parchment…but it blends more with the colors and the impact is quite subdued.
finally PICTURE 4:
in the Eastern the buttermilk it is completely blended and helps the other colors to keep the geometry!
I know it might sound a bit too technical and boring but I want to give you the tools to see how colors behave so you can make your own combinations.
Another bit of theory and then I promise I stop..
the blanket uses as I said 12 colors. I needed to keep the number of colors down to keep the cost of the blanket ‘s kit down and also to avoid to have a lot of left-overs.
To create the illusion of LOADS of colors EVERY motif has a DIFFERENT colors combination, BUT even if there are 12 colors and 14 rounds on each of the hexagons, I used just an average of 7/8 colors for each Hexagon. The result is that each hexagon has a color which is more predominant and that is what creates the effect you see. Ironically if I had used all 12 hues for each hexagon ( considering that there are 14 rounds you could, in theory, use all the hues for each motif) I would have a much more uniform looking blanket than what you see.
how did I decide what colors to use and when? very, very simple:
I wanted a “HAPPY” blanket, and I started by selecting colors that I identify with that. Colors that remind me of the past, of happy holidays, beautiful landscapes, the Mediterranean sea, but also the colors of food, spices, and even, why not, …smells.
As an example of colors reference how about this picture of the Cinque Terre, five small villages on the Ligurian Coast of Italy called Monterosso, Vernazza, Corniglia, Manarola and Riomaggiore…beautiful places so worth a visit if you are touring Italy.
Someone once asked me what computer program I use to choose and select the position of my colors…I actually laughed!!! because if you knew me in person you would know that my relationship with technology certainly is one of “LOVE-HATE”!
I love computers as they allow me to communicate with you, but at the same time, every single task doesn’t seem to come ‘naturally ‘ to me. I always struggle and forget the sequence of steps I have to take even in simple tasks as transforming an HR picture in a more manageable format so not to take all my allowance of data for the blog…so the idea of me mastering complex technologies and using some amazing gizmo of a color program is totally ludicrous!!
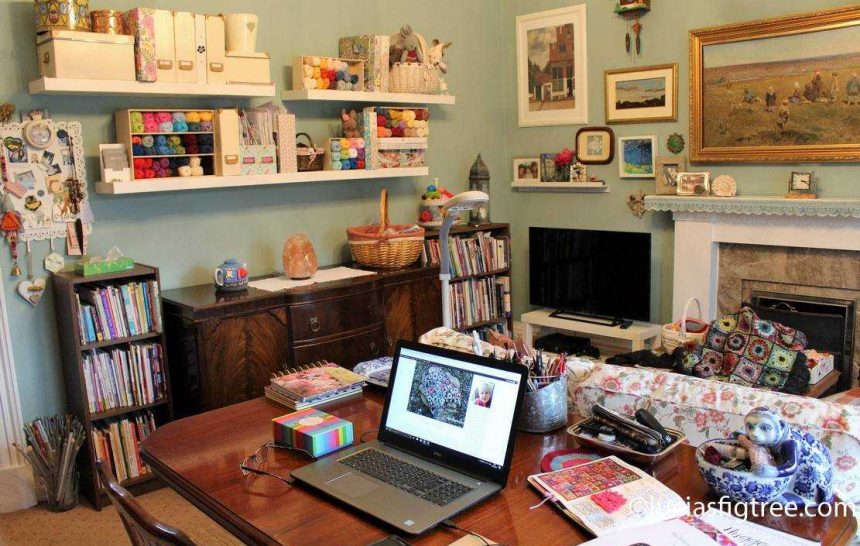
I use a large table crammed with pencils, balls of yarn, color swatches, and most of all my eyes…that is all there is to. No magic formulas in operation here!
Same goes to balance the blanket and choose the next round.
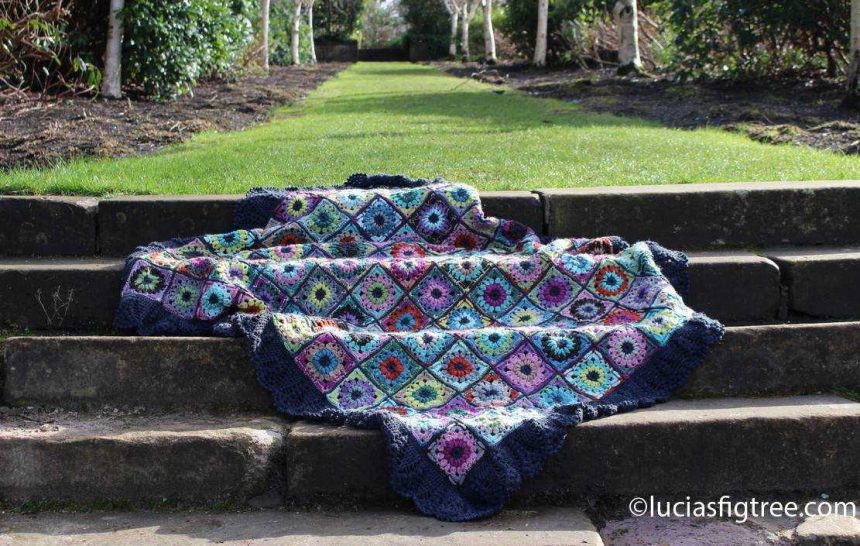
I always make one round at a time for each of the main motifs then I place them on the floor, the best place is outside if its not raining… as I get a real feel for the colors in natural light. Here is a couple of pictures of the blanket starting taking shape.
I wanted to share the creative process with you because it gives you an idea what takes making a blanket .. and that is just one part of it.
After the blanket is done, then the long and a bit tedious, process to record and translate my scribbles on my copybook into something that can be used starts…
I have to say I am not a fan of this particular stage of “blanket making” because you got to be precise and make sure that everything is correct and make sense, and I find all the above quite boring! I like playing with colors and making things..I do not like papers! but at the end of the day that is of no use if it is not shareable…after all it is like a cooking recipe: you cant say ‘Oh there is a bit of this and a pinch of that..’ if you want someone else to make it!
That is all there is about it, my dear fellow crocheters!!
I want to thank Jane once again for letting me play with her patterns, and Annabelle plus all her team at Stylecraft for their hospitality and making me feel part of the team, for checking and re-checking my notes …. for the copious amounts of yarn they send me on a regular basis and the platform they have offered me to share my work with all of you out there!
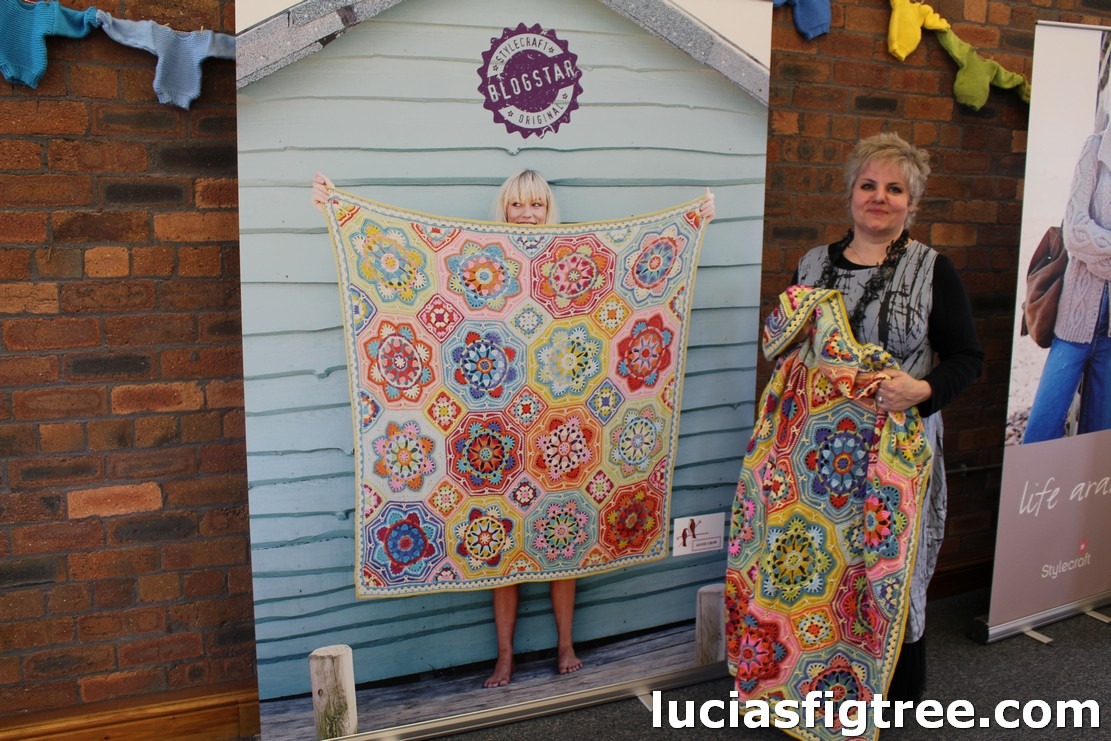
I leave you with a couple of pictures I took in July at Stylecraft’s HQ…
and… I know the Model on the billboard looks much better than me holding the blanket… but please indulge me a little. lol!!.. after all I do love the Eastern very much and
I hope you will love it too!
thank you for reading
love lucia xx


